
A Short Reference About the Author
Bohdan is a Dynamics 365 Developer with unique development skills. He has extensive experience in Dynamics 365, Power Platform, Power Automate, Azure, AI, and other Microsoft technologies.
Introduction
In one of our projects, connected with the automative industry, we faced a problem: customers send many invoices in PDF format, but since they vary by company, we often have to decide which data is relevant to us. In addition, some customers may mistakenly send files that are not invoices at all. We also need to check the customer's contract to ensure we process the invoice correctly. Manual analysis of files is time-consuming, so we have developed a chat where users can ask questions about both the invoice and the contract.
In this article, we will learn how to develop and integrate a chat powered by GPT models into the Side Pane for a specific table.
The Idea Realization
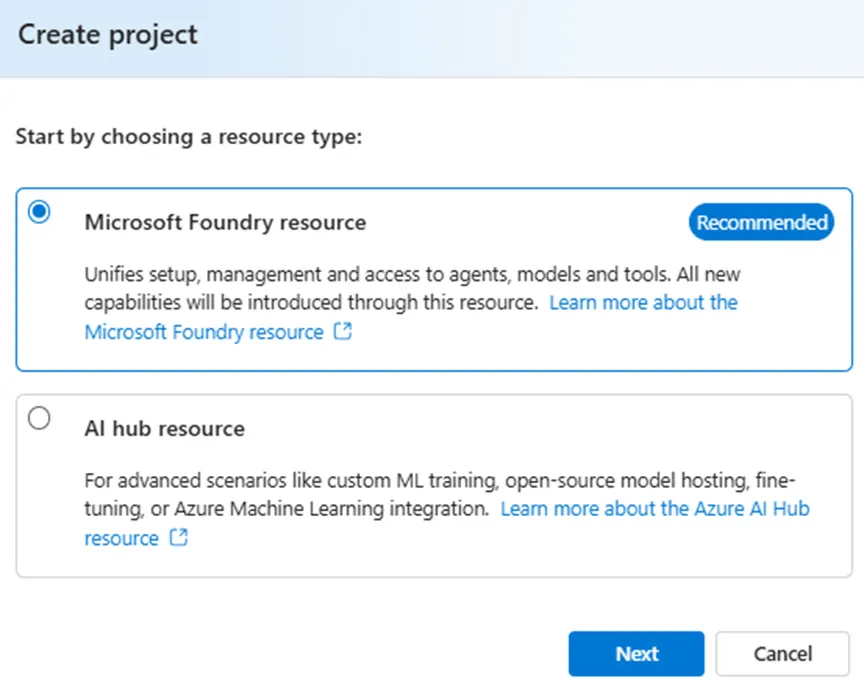
Azure AI Foundry
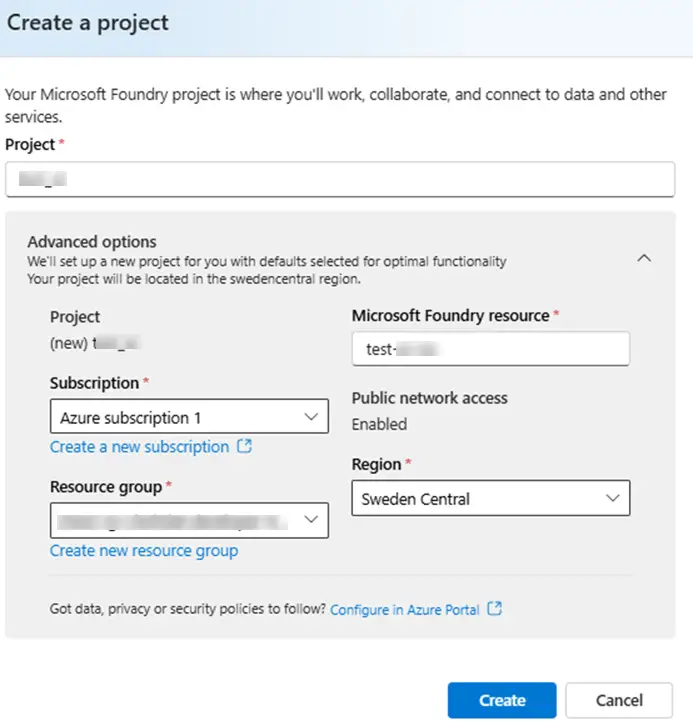
To implement the client’s request, we will use Azure AI Foundry. Inside, we need to create a new project:

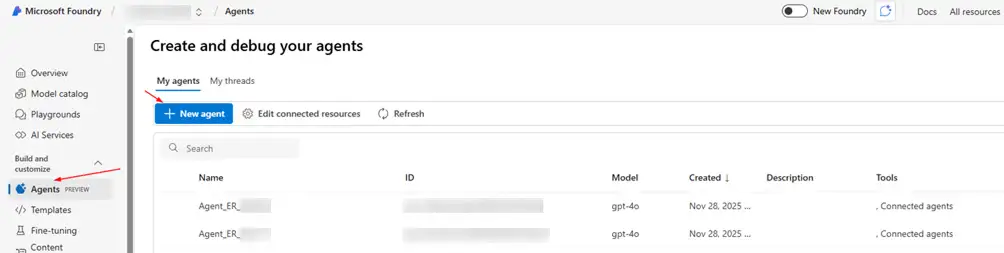
Now, we will go to the “Agents” tab and create a test agent:
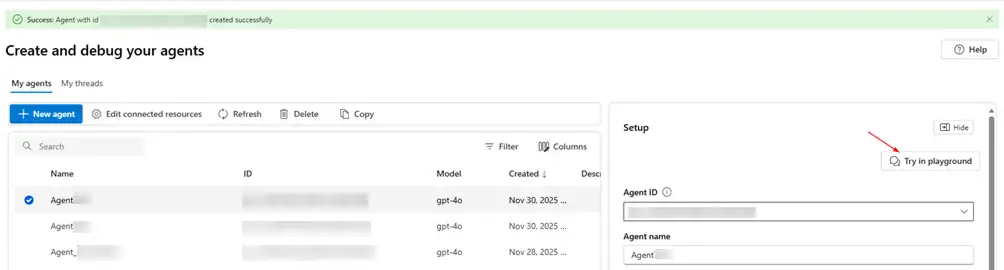
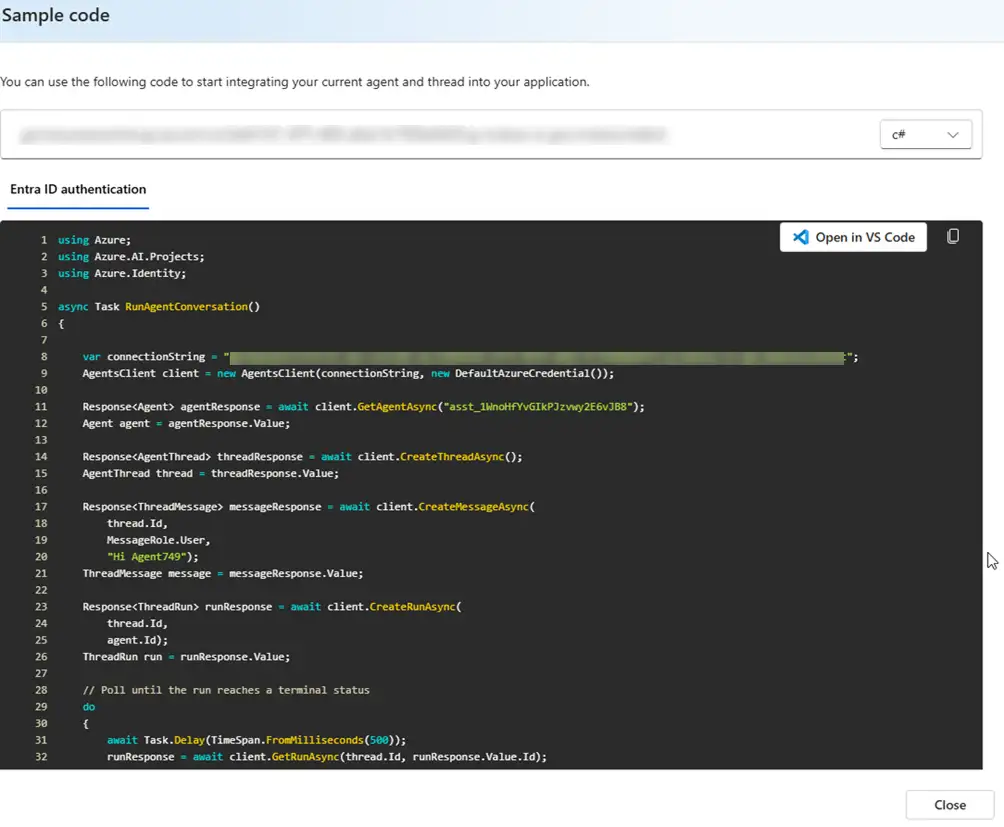
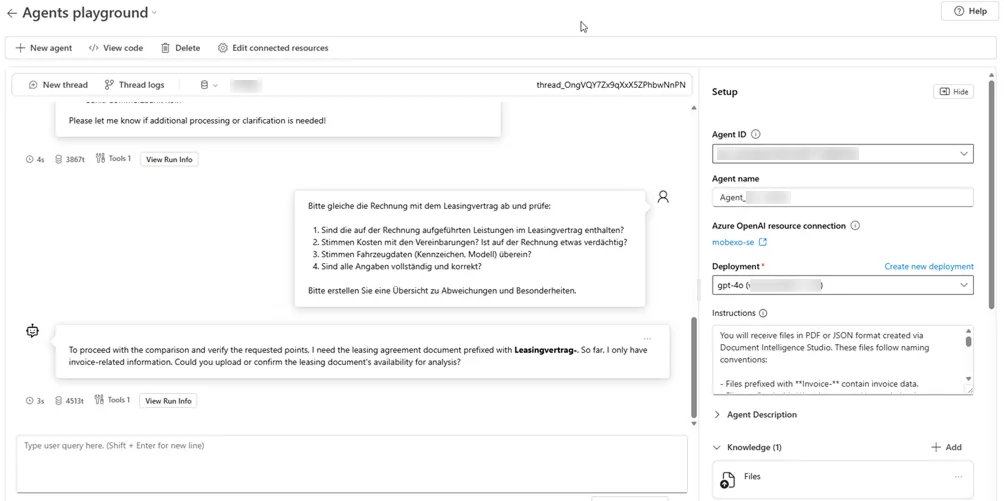
Next, let us open it in the “Try in playground”:
After that, click on the “View code”. This will give us the base code, which we will modify and use to automatically create agents.
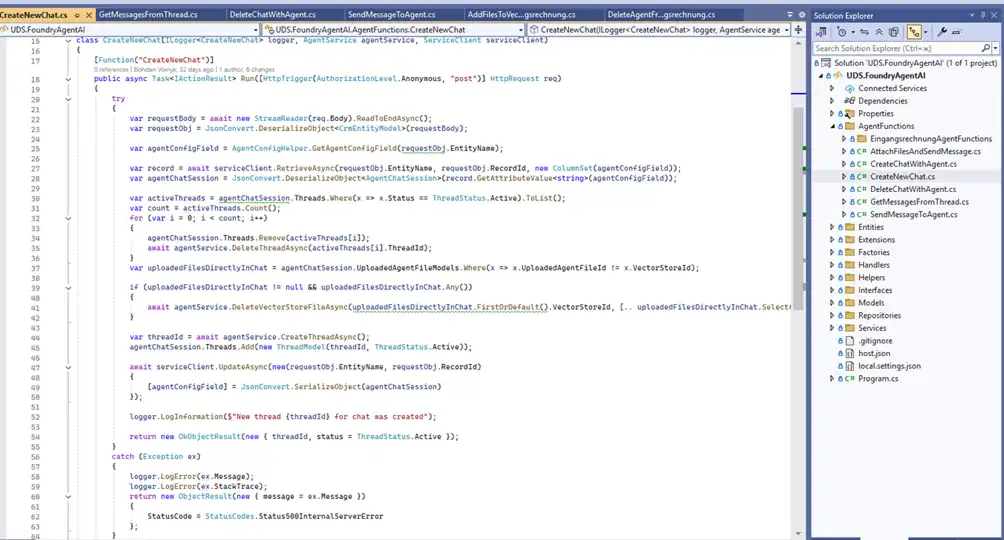
Now, we will begin implementing the server part.
Backend part
Since we do not expect a huge number of chat requests at once, we will build an architecture based on Azure Functions. To do this, we will create a new instance in Azure and add the following endpoints:
- api/AttachFilesAndSendMessage, to send a message. It is possible to attach an additional file
- api/CreateChatWithAgent, to create a new agent
- api/CreateNewChat, to create a new chat
- api/GetMessagesFromThread, to get messages from the chat
- api/AddFilesToVectorStoreForEingangsrechnung, to add files to the chat (in our case, a file with a contract)
- api/DeleteAgentFromInactiveEingangsrechnung, to delete unnecessary agents
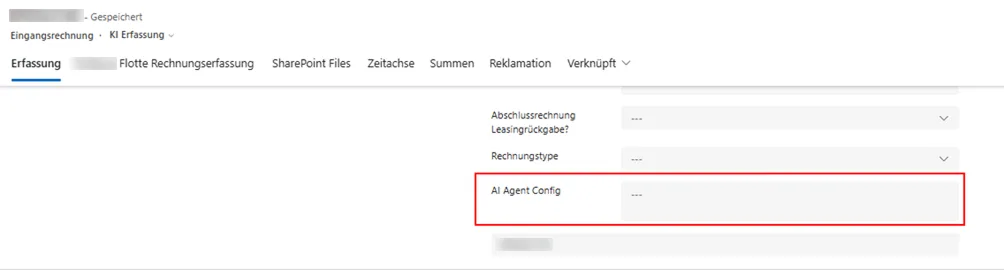
We will also create a new field in CRM to record the agent, chat, and file IDs:
Now, we can move on to connect the backend part and CRM.
CRM part
First, we need to create a few web resources:
- To visualize the chat, we will use “React”.
- To tie the chat to the side pane, we will use the documentation from Microsoft:
Creating side panes by using a client API in model-driven apps - Power Apps | Microsoft Learn
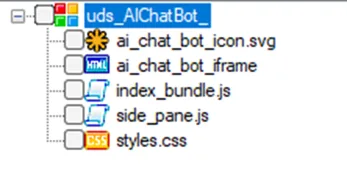
side_pane.js is a script used on forms that need to display the chat. Inside, it contains the following code:
using System;
using static System.Runtime.InteropServices.JavaScript.JSType;

var UDS = UDS || {};

UDS.ChatBot = UDS.ChatBot || {};

UDS.ChatBot.pane = null;

UDS.ChatBot.onLoad = function () {
  Xrm.App.sidePanes
    .createPane({
      title: "Mobexo Copilot",
      imageSrc: "WebResources/uds_AIChatBot_/ai_chat_bot_icon.svg",
      paneId: "AlChatBotPane",
      canClose: false,
      hideHeader: true,
      hidden: true,
    })
    .then(function (pane) {
      UDS.ChatBot.pane = pane;

      pane.hidden = false;

      pane.navigate({
        pageType: "webresource",
        webresourceName: "uds_AIChatBot_/ai_chat_bot_iframe",
      });
    })
    .catch(function (error) {
      console.error("Error creating pane or navigating:", error);
    });
};

document.addEventListener("DOMContentLoaded", function () {
  if (UDS && UDS.ChatBot && typeof UDS.ChatBot.onLoad === "function") {
    UDS.ChatBot.onLoad();
  }
});
All the other web resources are needed for visualization. Now, let us go to Power Apps and connect the web resources to the form:
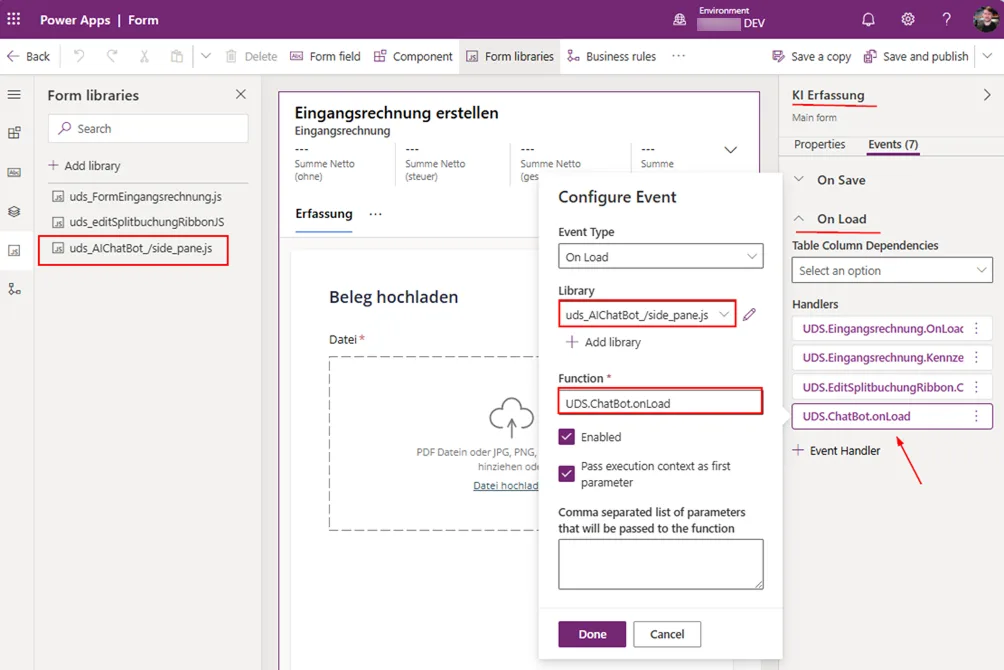
We have added the UDS.ChatBot.onLoad function from the side_pane.js library to the KI Erfassung form. The function is triggered when we open the form in CRM.
Now, we can move on to demonstrate the functionality.
The Visualization
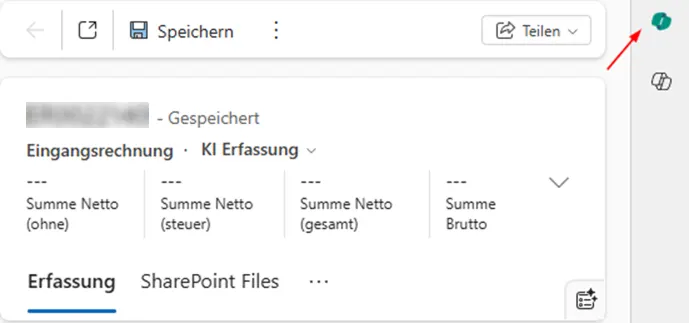
After loading the form, we can see a new icon:
When you click on it, the following happens:
- If there is no agent for this record, it will be created automatically (if there is a PDF document in SharePoint). The endpoint api/CreateChatWithAgent is responsible for this.
- If the agent already exists, the messages that were previously in this chat will be pulled up. The endpoint api/GetMessagesFromThread is responsible for this.
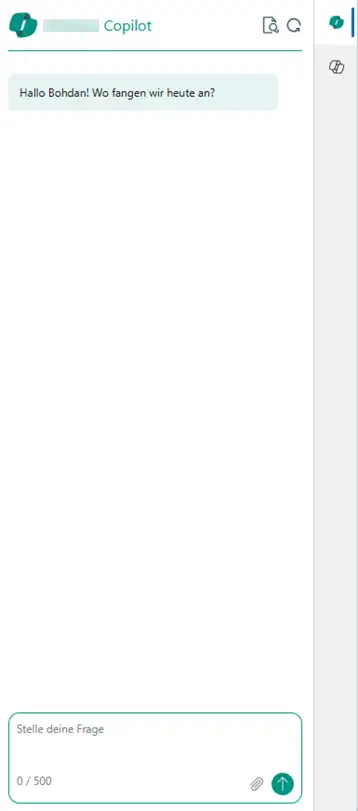
In our case, a new agent will be created, and we will see a chat with a message, for example, “Hallo, Bohdan! Wo fangen wir heute an?”
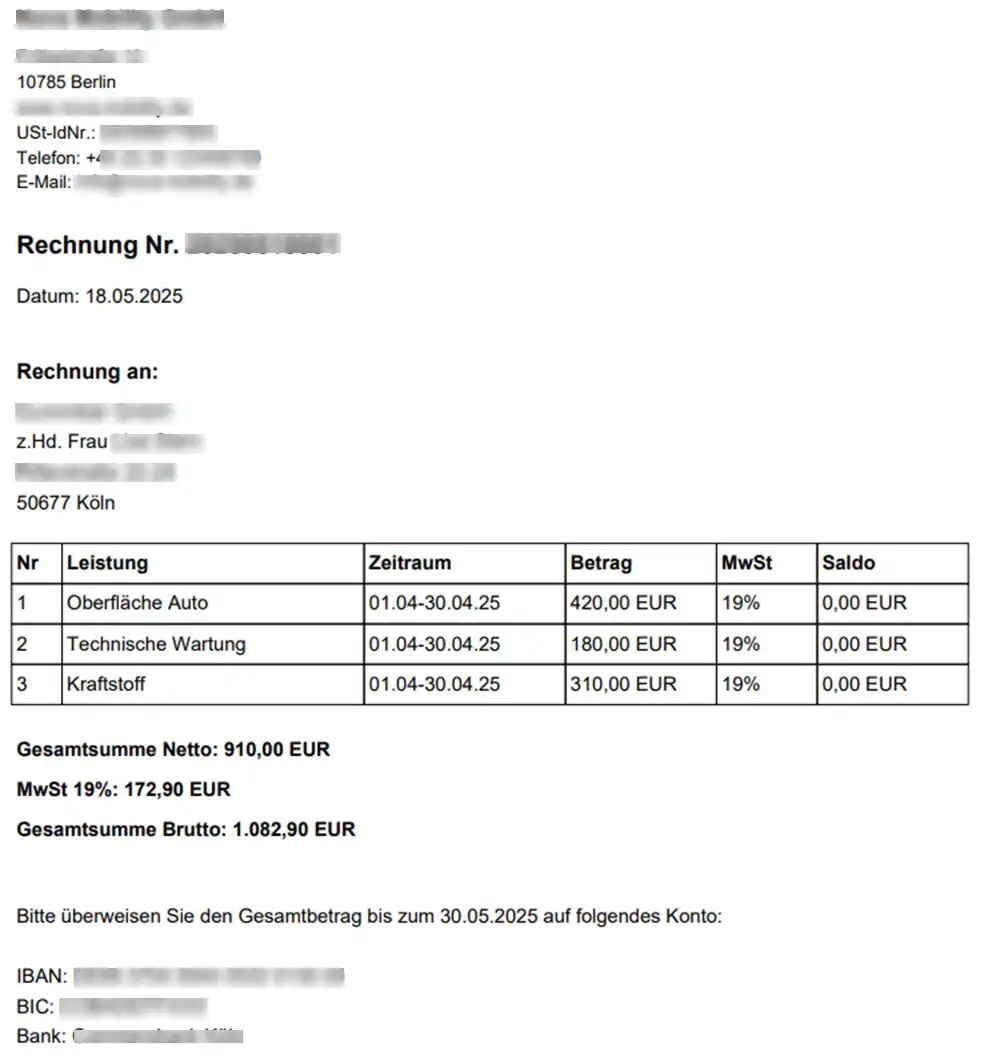
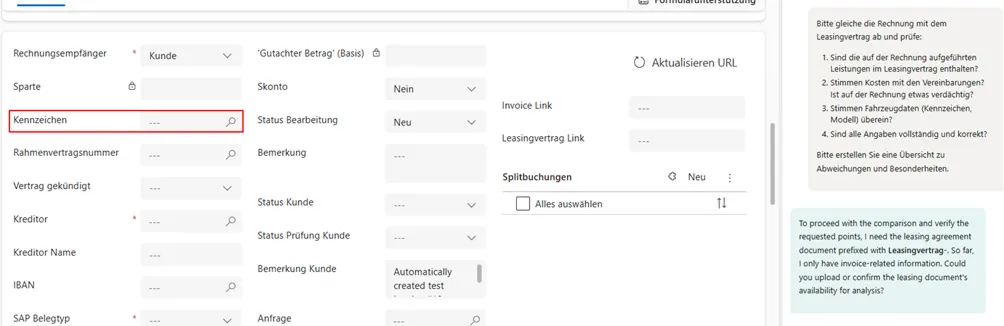
Now, we can ask in the chat about a document in SharePoint:
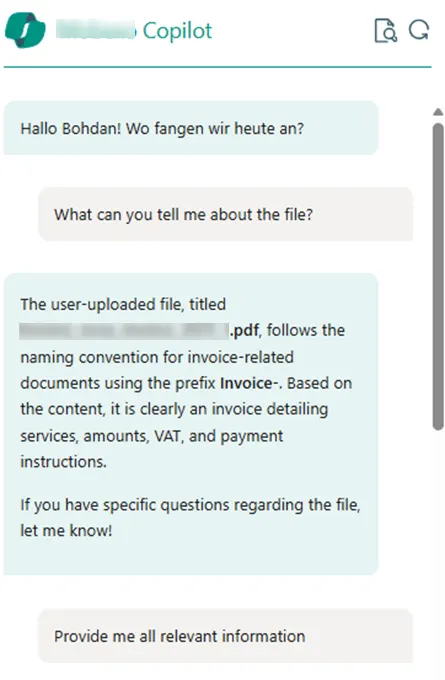
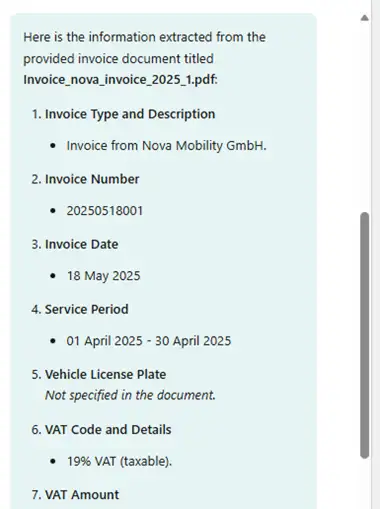
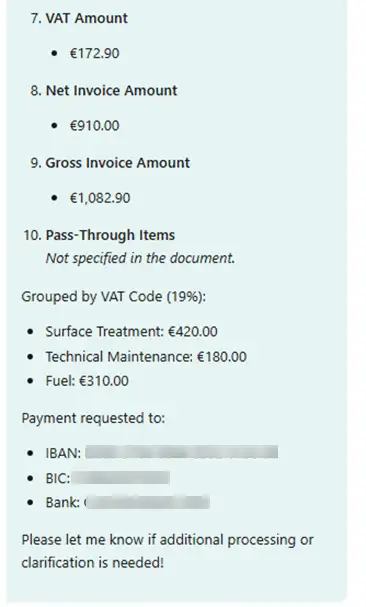
If we compare this data with the PDF file data, we will see that the agent can correctly and quickly find the necessary information:
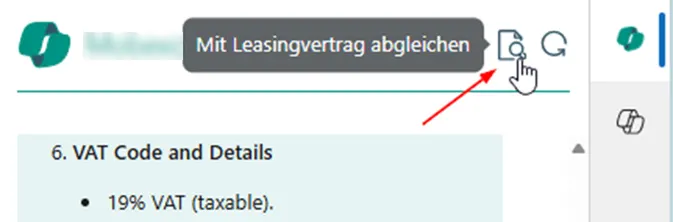
We can also quickly ask the bot about the contract, and if there is a corresponding document in its database, it will check it. Otherwise, it will report that it cannot find the corresponding information. In our implementation, we retrieve the vehicle's contract file from SharePoint. If the vehicle has not yet been registered, then there will be no document with the contract in the database:
Additionally, if necessary, we can check the corresponding chat in Microsoft Foundry. Let us check what we have.
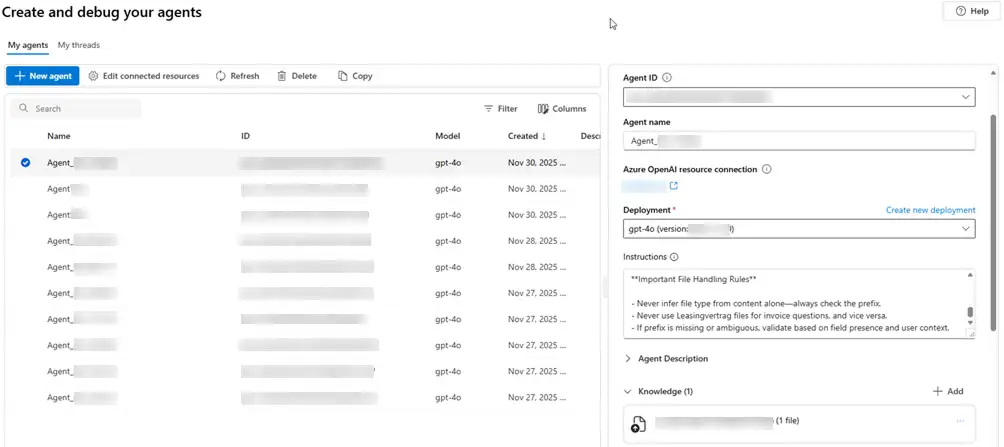
As seen from the screenshot, the agent has been created automatically. It already has instructions on how to behave. There is also a knowledge base, which includes 1 document, which was also automatically downloaded when the agent was created:

In the “My threads” tab, we can see all the active chats. Let us open the one we have been working with in CRM:
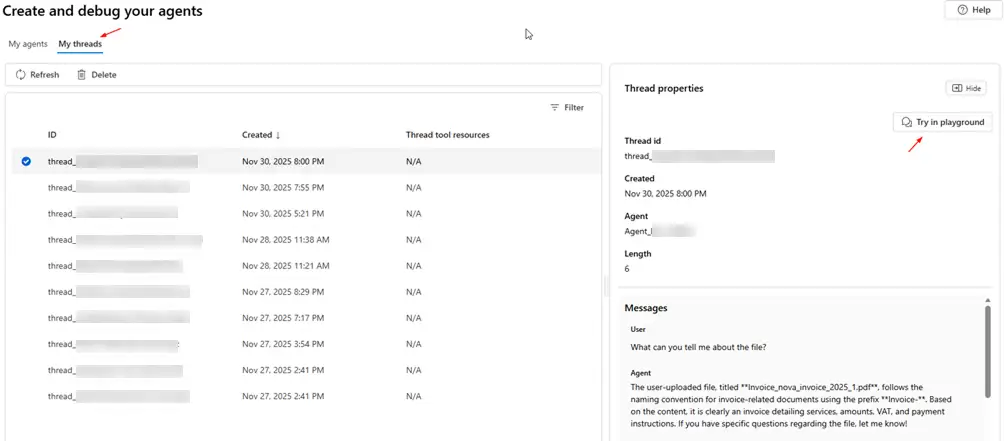
We can see our correspondence, as well as the agent settings. If desired, we can change the models, instructions, and even the knowledge base.
Conclusion
Therefore, as we can see, the chat works correctly. Users can quickly request uploaded files, saving time, and simplifying work. The main advantage is automation: the agent and chat are created automatically, with no additional effort required from the end user. Plus, non-users do not have to upload a file to the chat, because this is also done automatically.