Top 5 Data Management Tips For Dynamics 365 Users
Working with Dynamics 365, sometimes you need to navigate through data to find specific records or get the general picture. In this article, we review techniques and tools you can use to get Dynamics 365 data at your fingertips
- Tip 1. Custom view
- Tip 2. Diagrams
- Tip 3. Mass Edit
- Tip 4. Edit in Excel Online
- Tip 5. Dynamic Excel Export
Tip 1. Custom View
This tool allows access to preselected data with specific columns and filters. If you use the same filters often – this tool is indeed for you.
Let’s take an example of how to track leads from Redmond. Steps we do for leads can be applied to any record type, like opportunities or cases.
To setup Custom view, do the following:
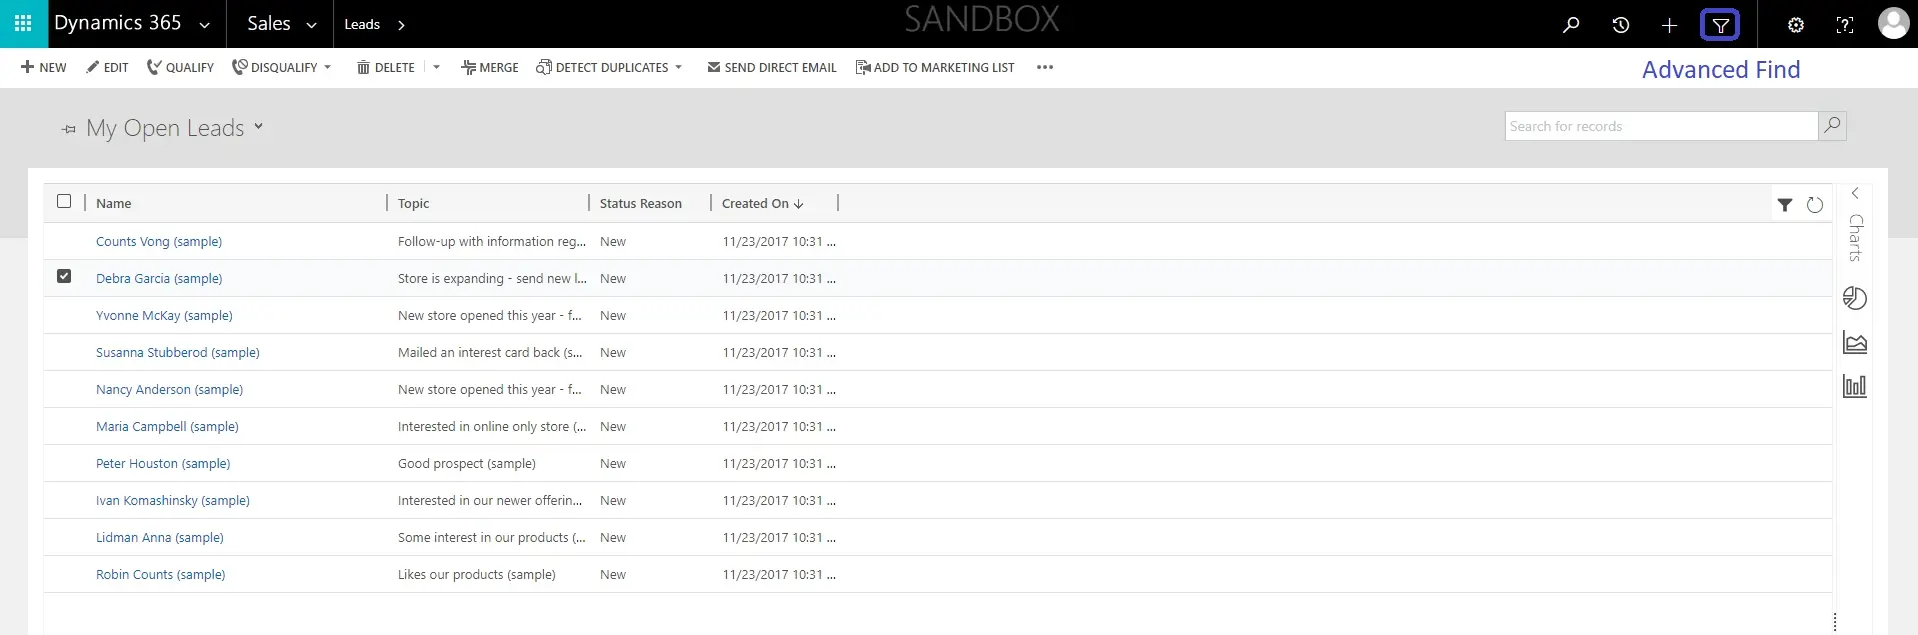
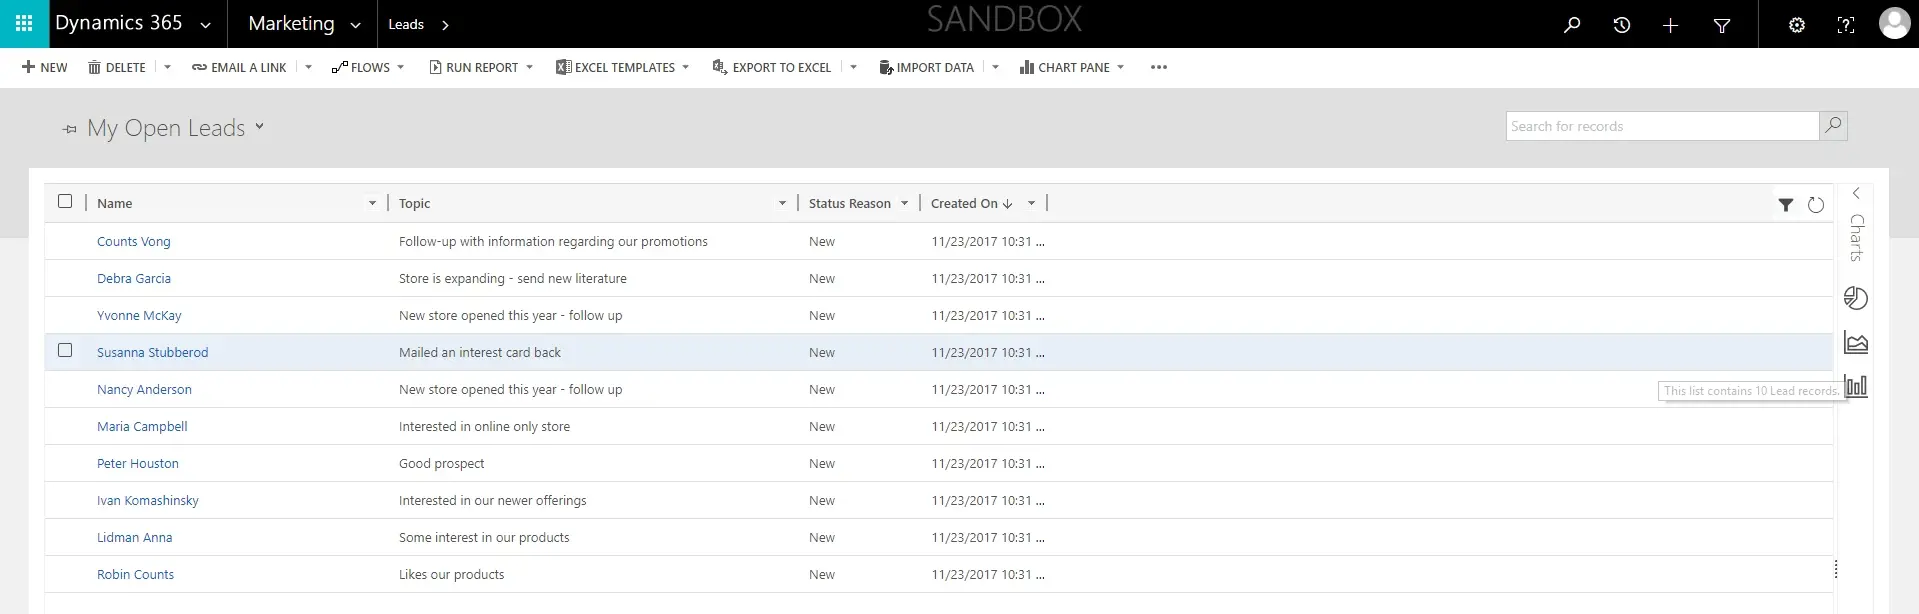
- Open lead list
- Open the Advanced Find tool on the top right
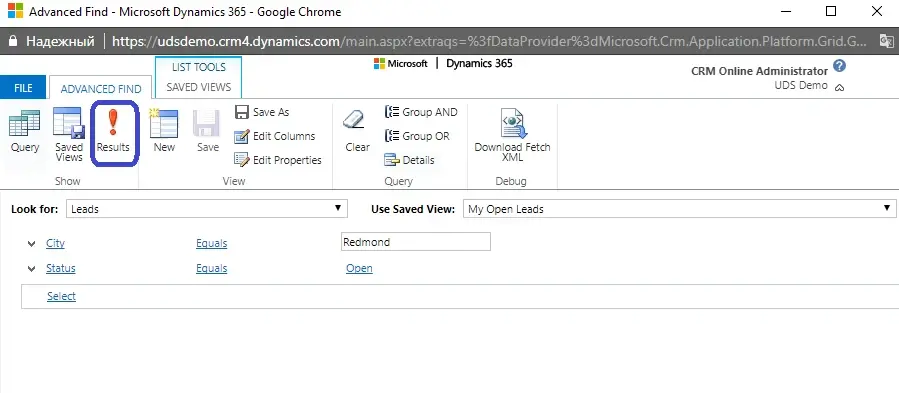
- Press Details and edit all criteria you want this leads to fit. In our case, we need Open Leads from Redmond

- You also can edit columns included in view using the Edit Columns button 5.
- Press Results to ensure your selection is valid
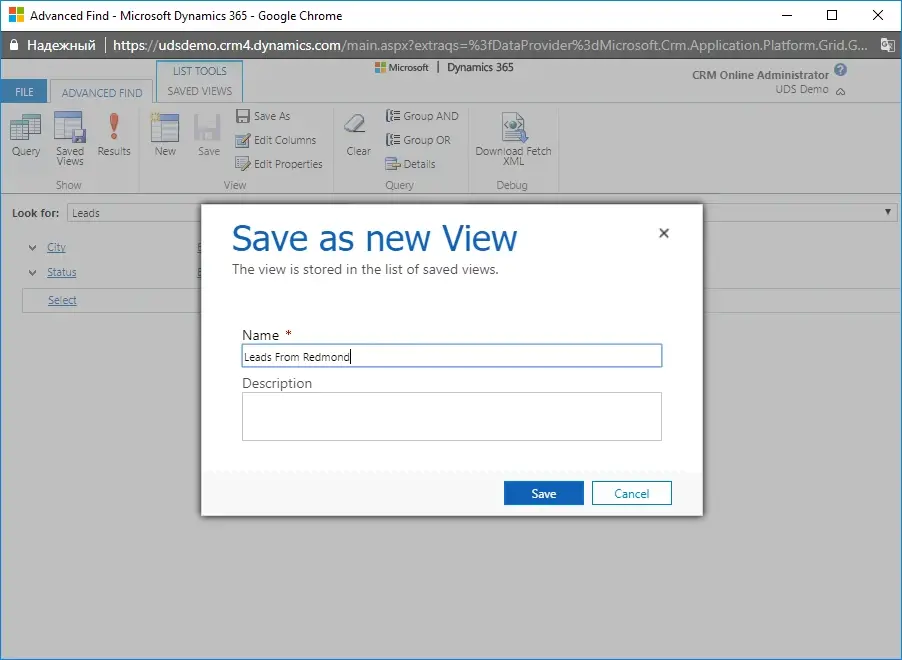
- Then return to Advanced Find and press Save As to save this view for future reference
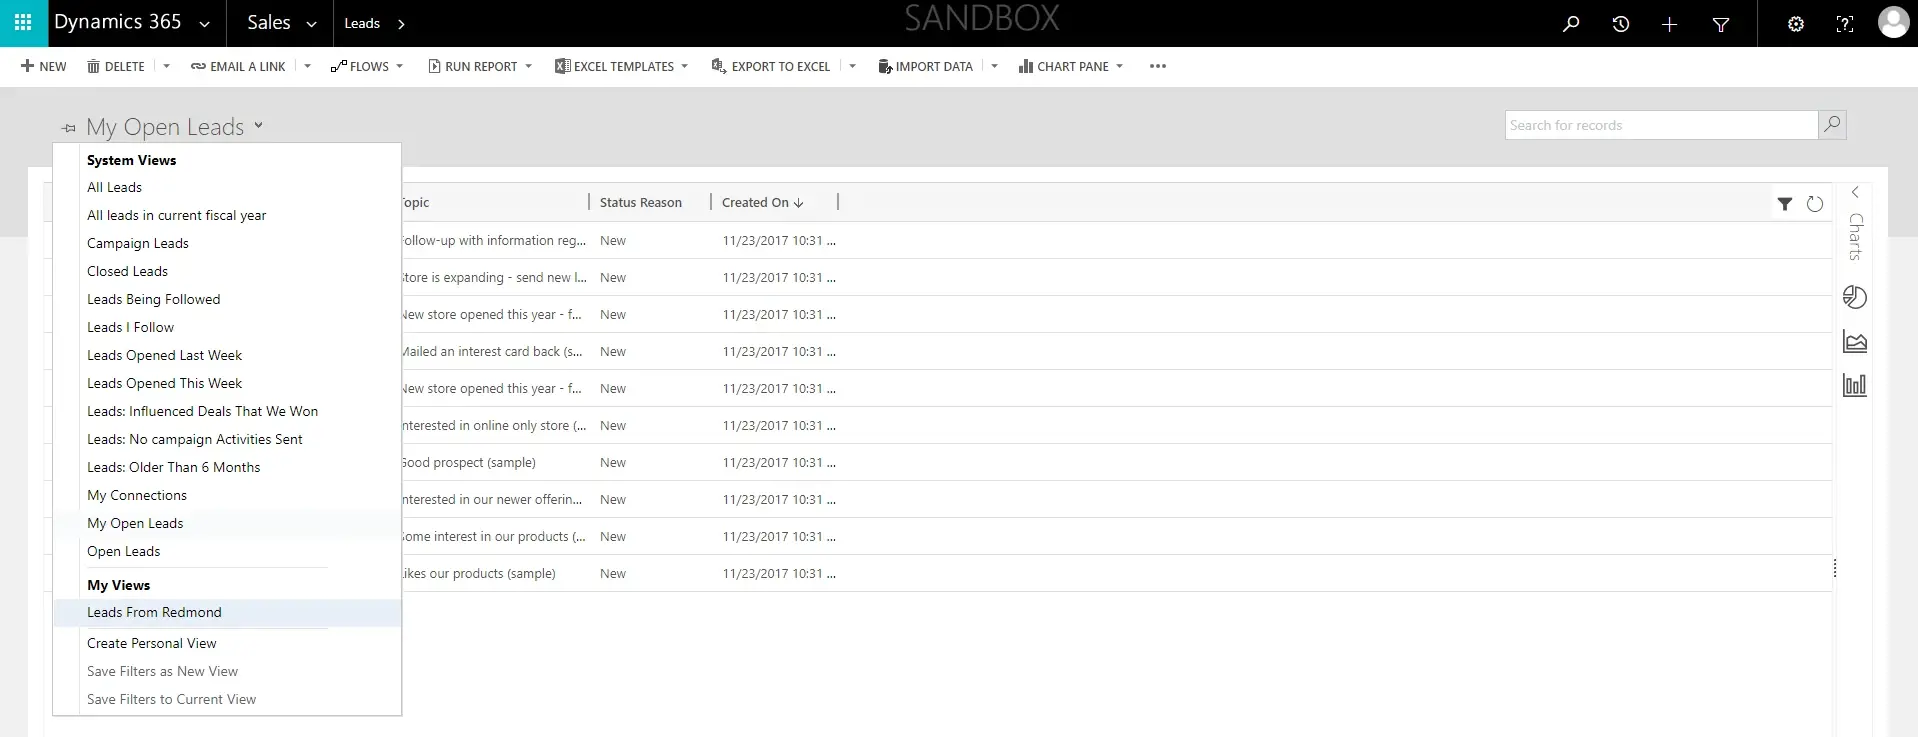
- After doing so, you will be able to select this view under My Views (Refresh the browser window in case it is not there)
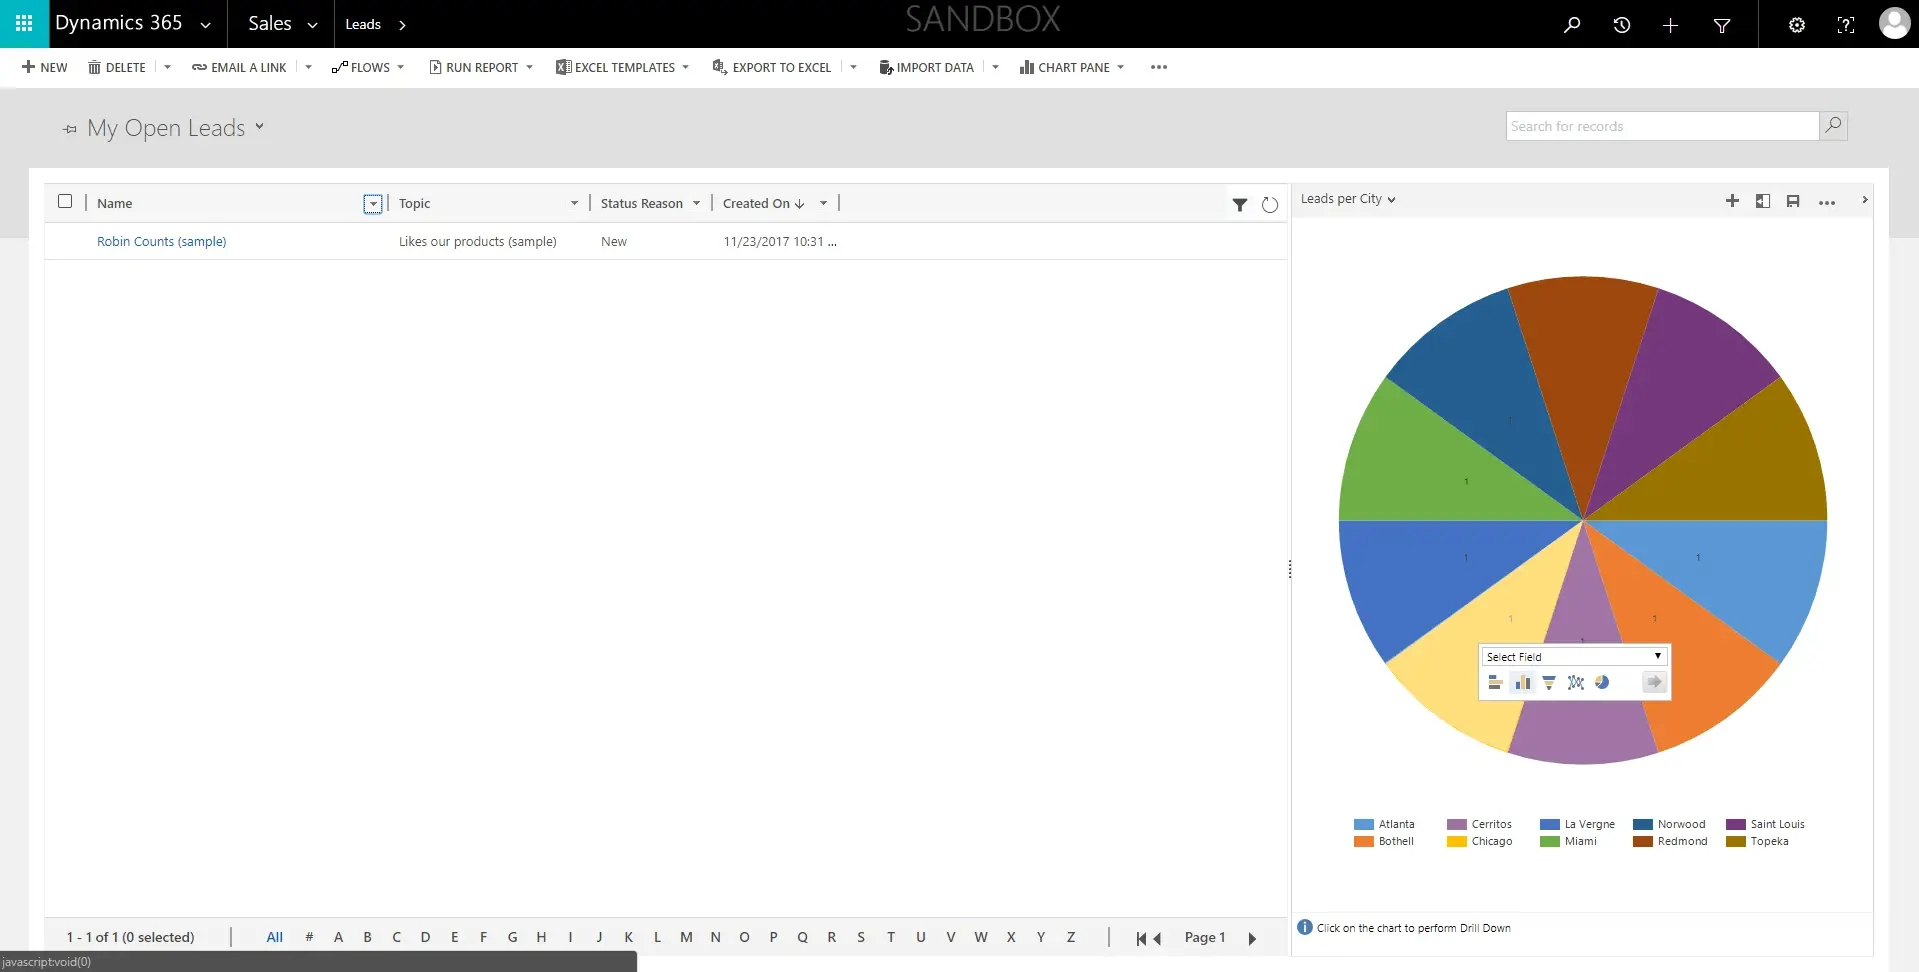
Tip 2. Diagrams
Diagrams are very handy when you need to see the overall picture. They allow grouping data by some dimensions and see aggregated values. You can use out-of-the-box diagrams and build your own.
Let’s continue our Leads investigation and see how many leads we have per different city.
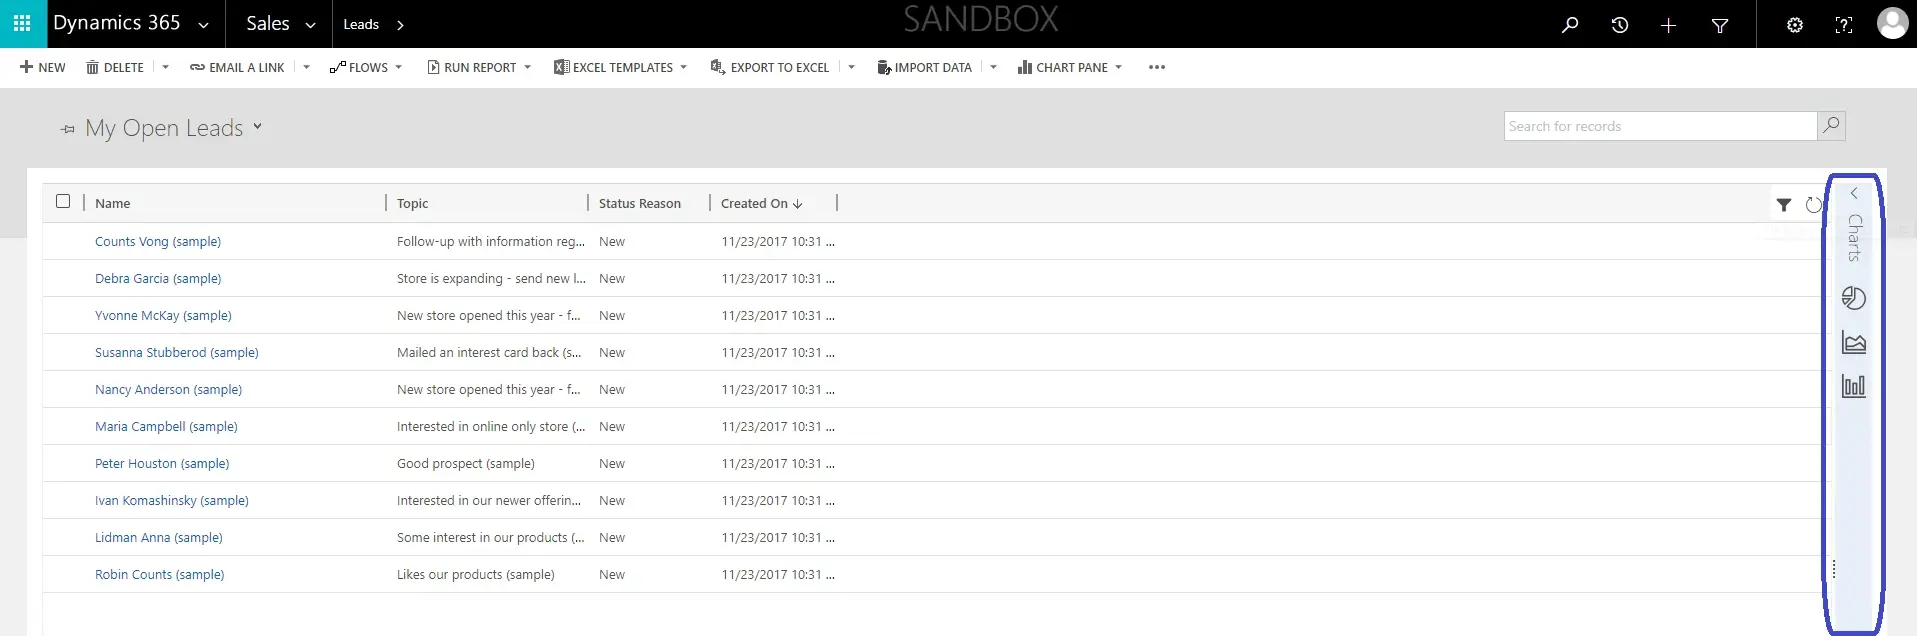
- Open Leads and expand Charts control on the right
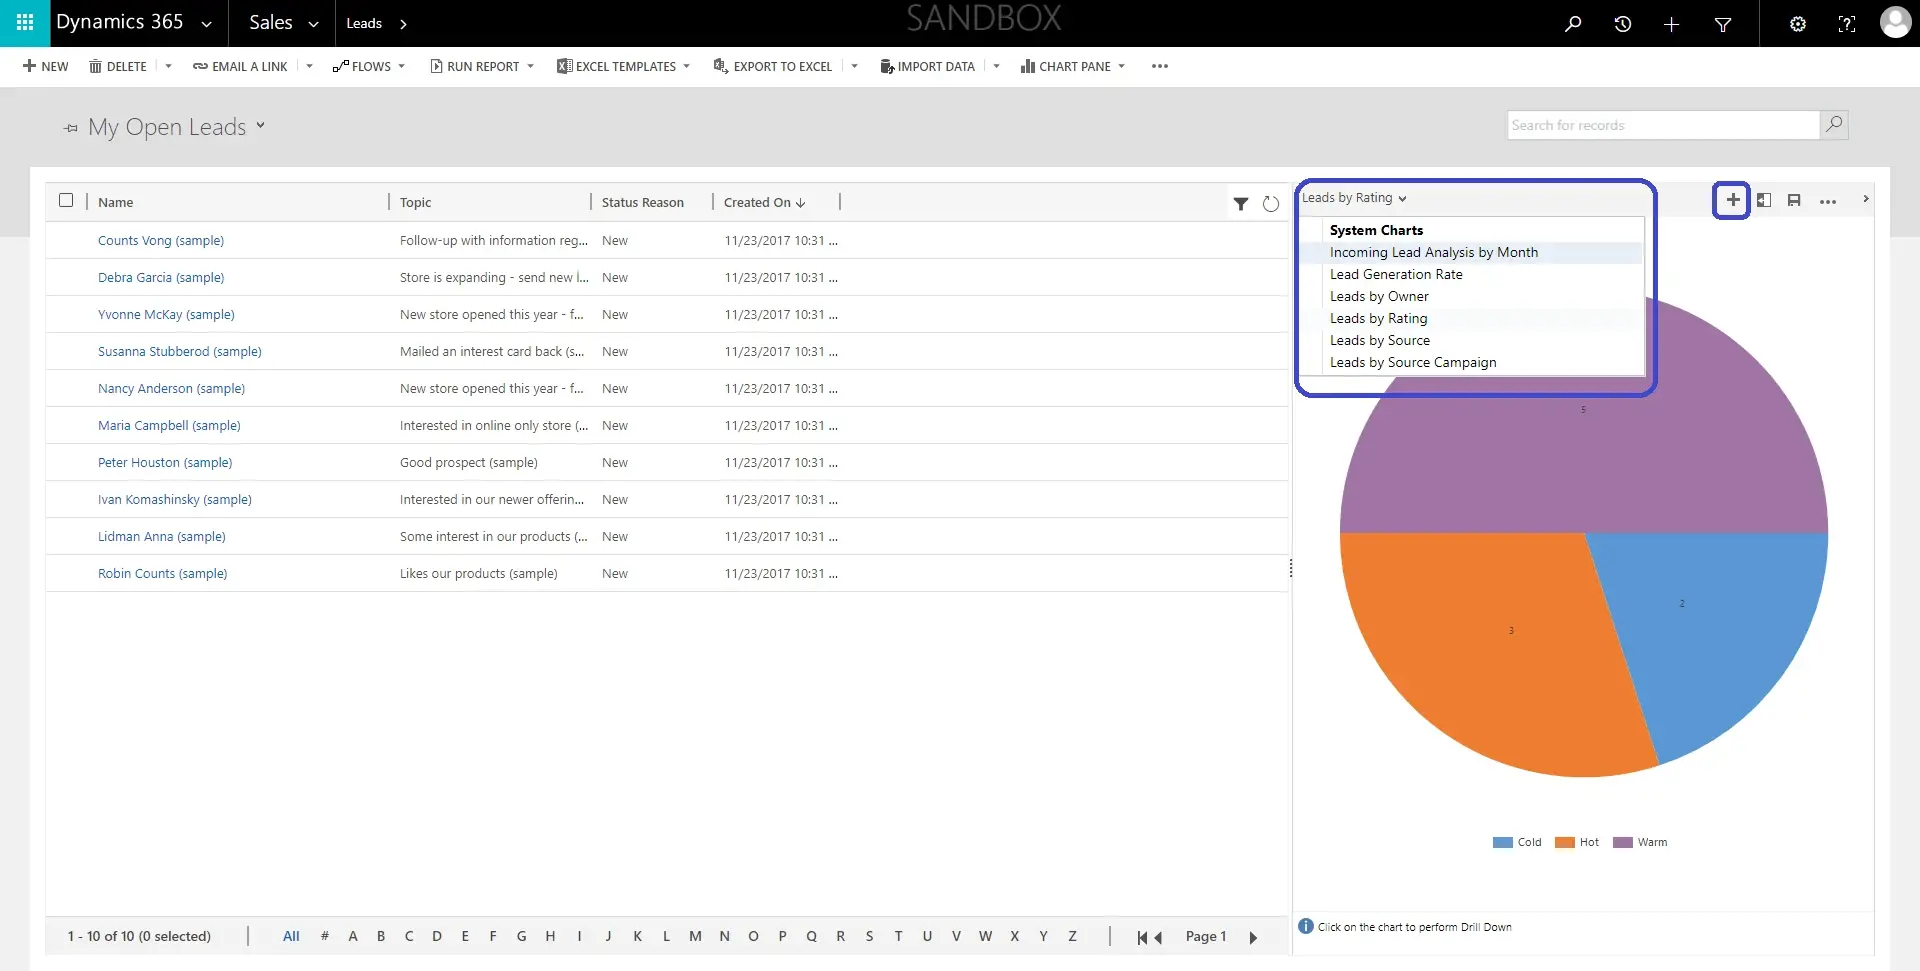
- Now you are able to select from the list of existing charts or create new ones. Let’s create a new chart
- Enter Chart Name, Series (Values), and Category (Labels). Select chart type using Chart Type Press Save

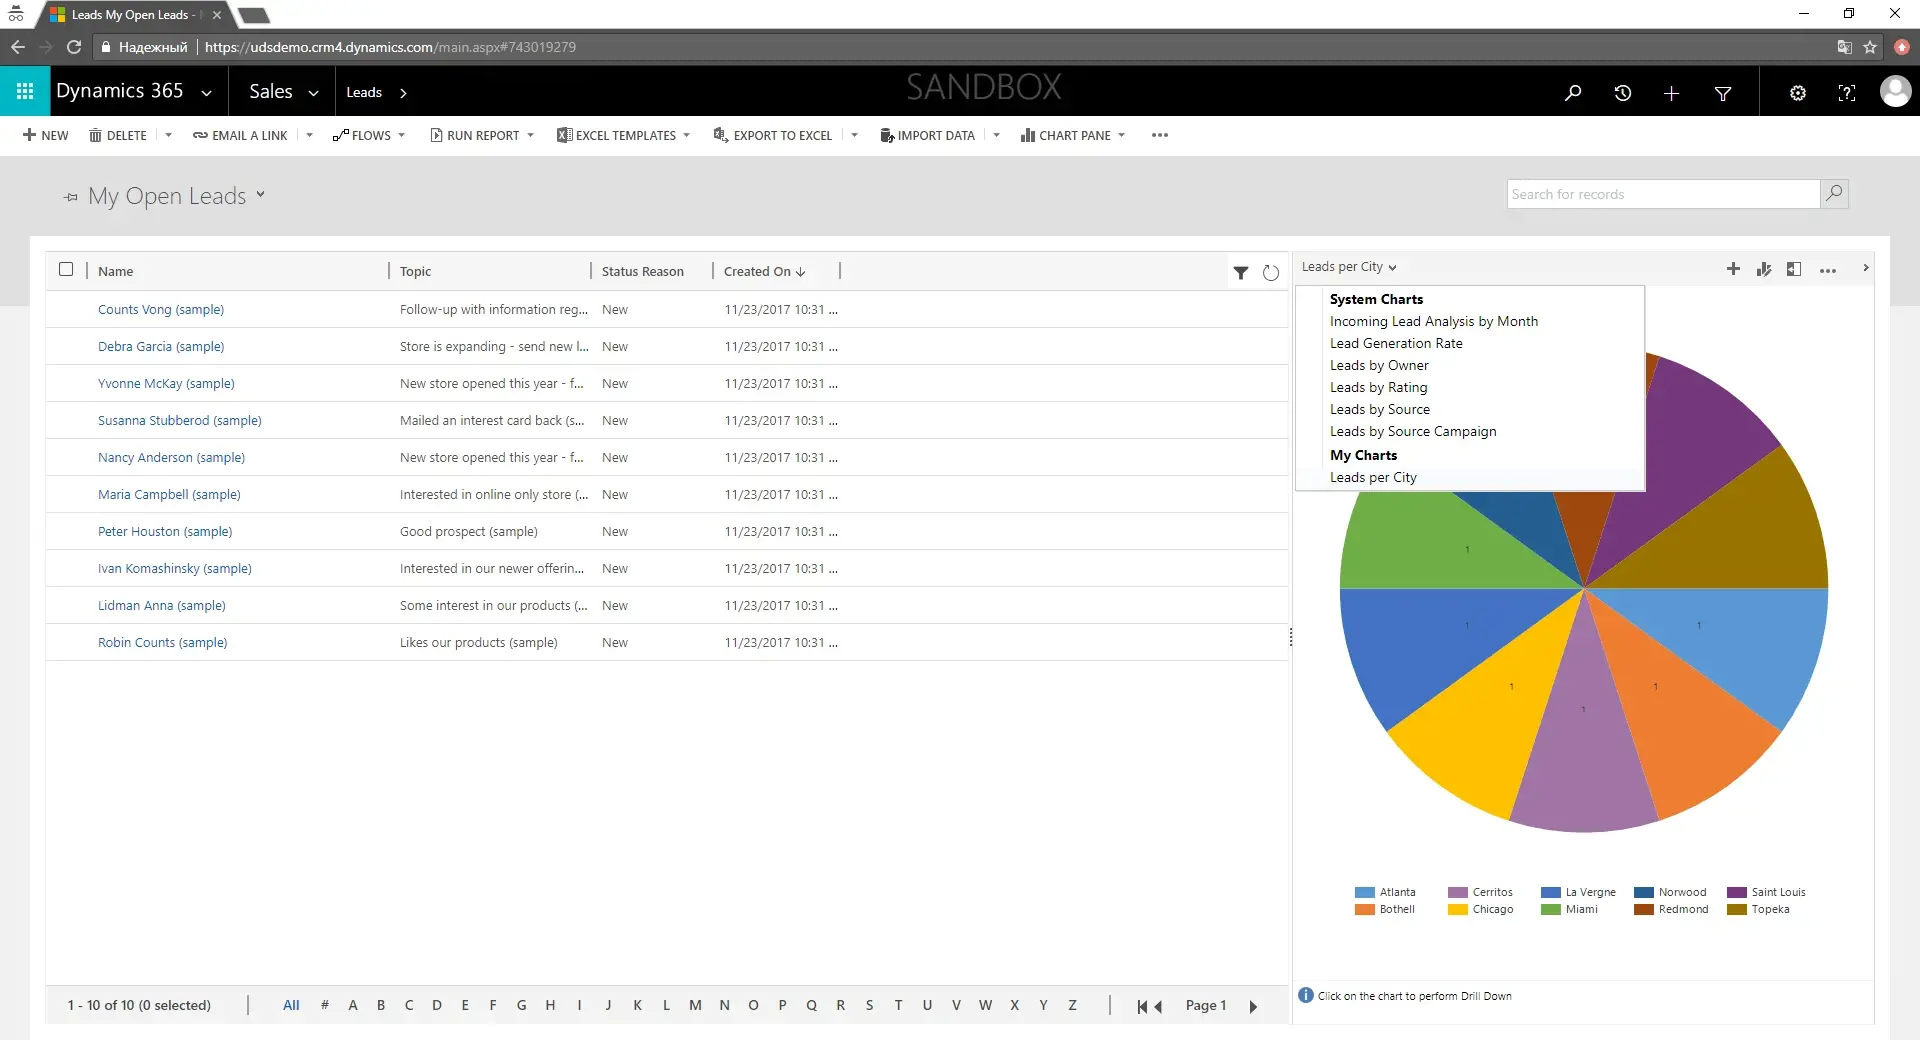
- From now on, you will be able to find this chart under My Charts in the charts selection
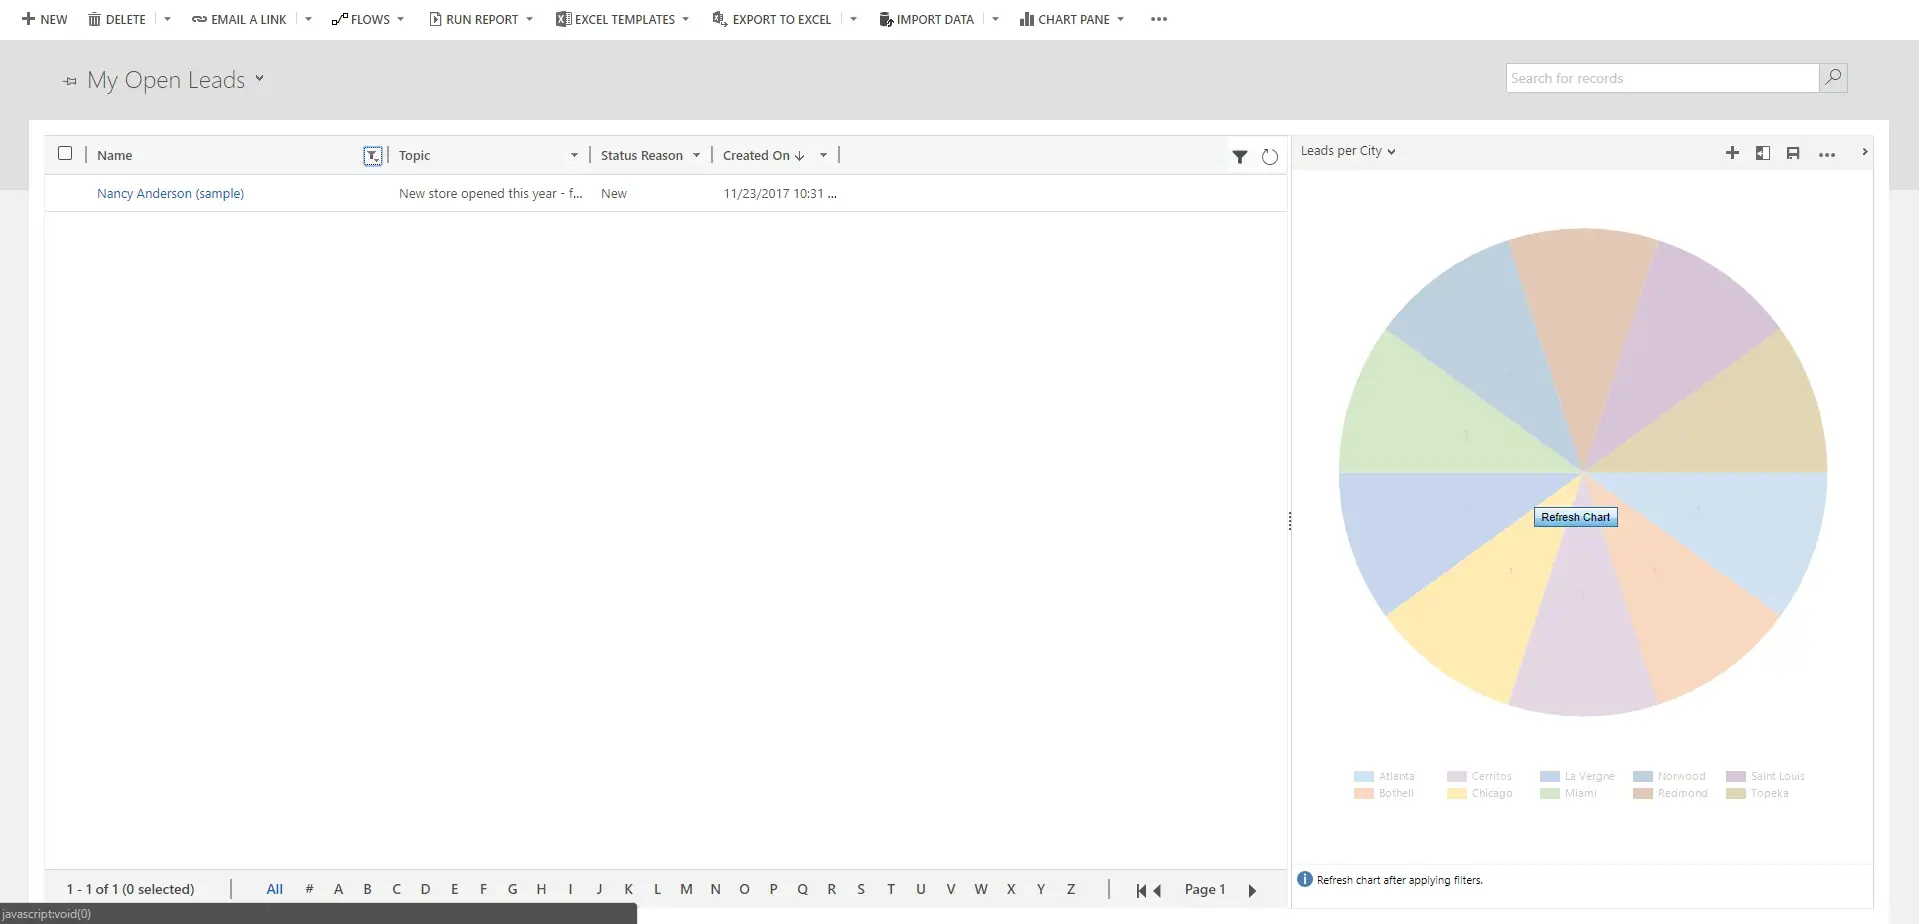
Additional Tips:
- Click on the Chart part to select included data in the view
- Filter data on view and press Refresh Chart to show chart based on selected data
Tip 3. Mass Edit
Mass editing allows you to change several records at a time. For example, you want to set the Rating to Hot for several Leads.
- Open Leads, select the records you wish to change, and press Edit

- Set Rating to Hot and press Change

That’s it! This action will change only the Rating field, so you should not worry you overwrite some data.
Tip 4. Edit in Excel Online
Sometimes you need to change many records in Dynamics 365, but all these changes are different. It is very boring to open each record and change data (I know). The mass edit tool on the other hand only allows changing all records to have the same values. FINALLY! We have the ability to edit CRM records directly in Excel. Previously you needed to export it and import it again, but not anymore.
Let’s assume we need to remove all that (sample) part from our demo data (both from Name and Topic)
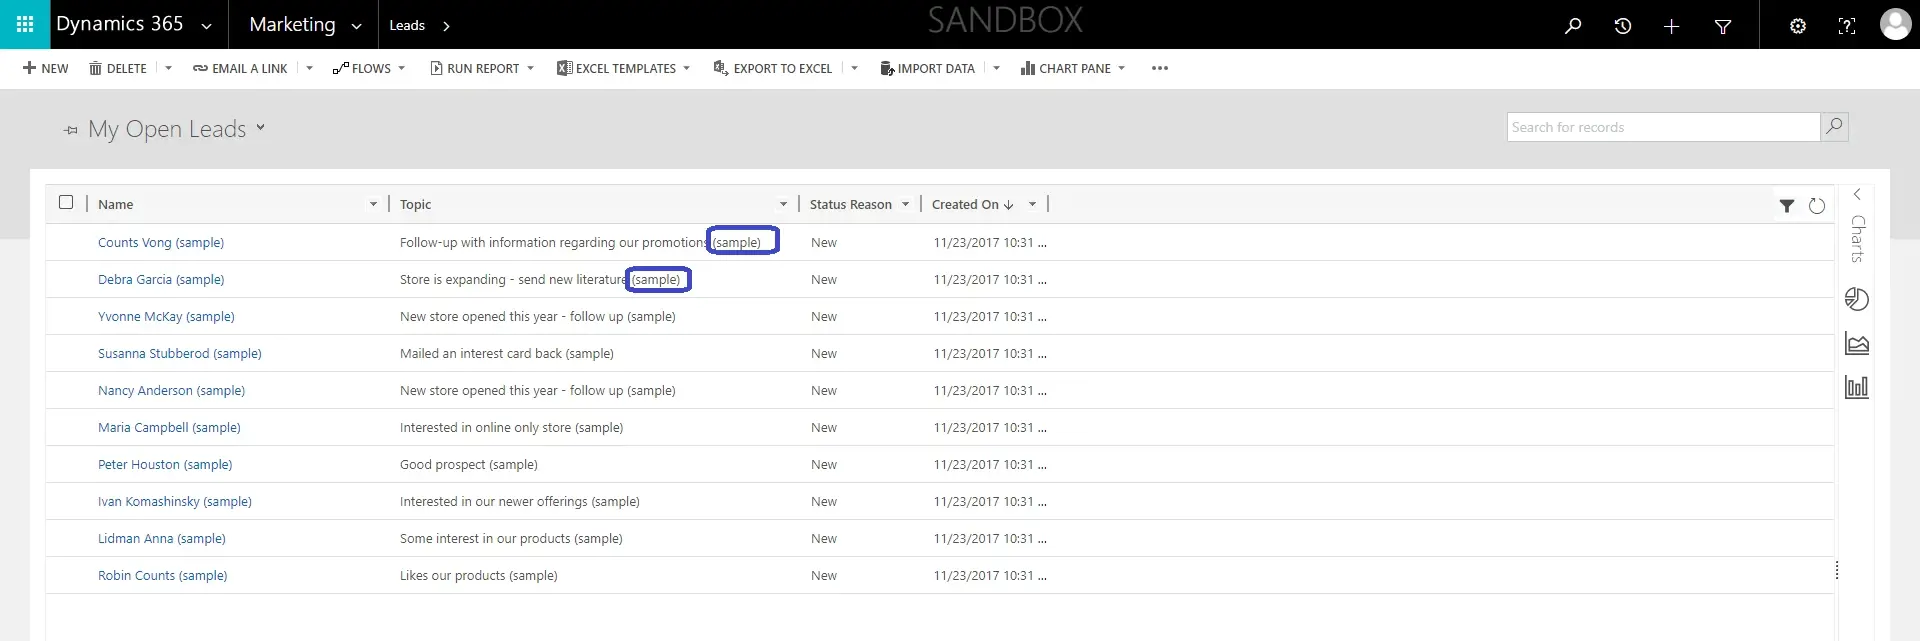
- Press the black triangle near the Export to Excel to expand possible options and select Open in Excel Online

- Edit all the data you need and press Save Changes to Dynamics 365 Please note you are not able to edit directly the Name field since it is a combination of First and Last Name. Edit them instead
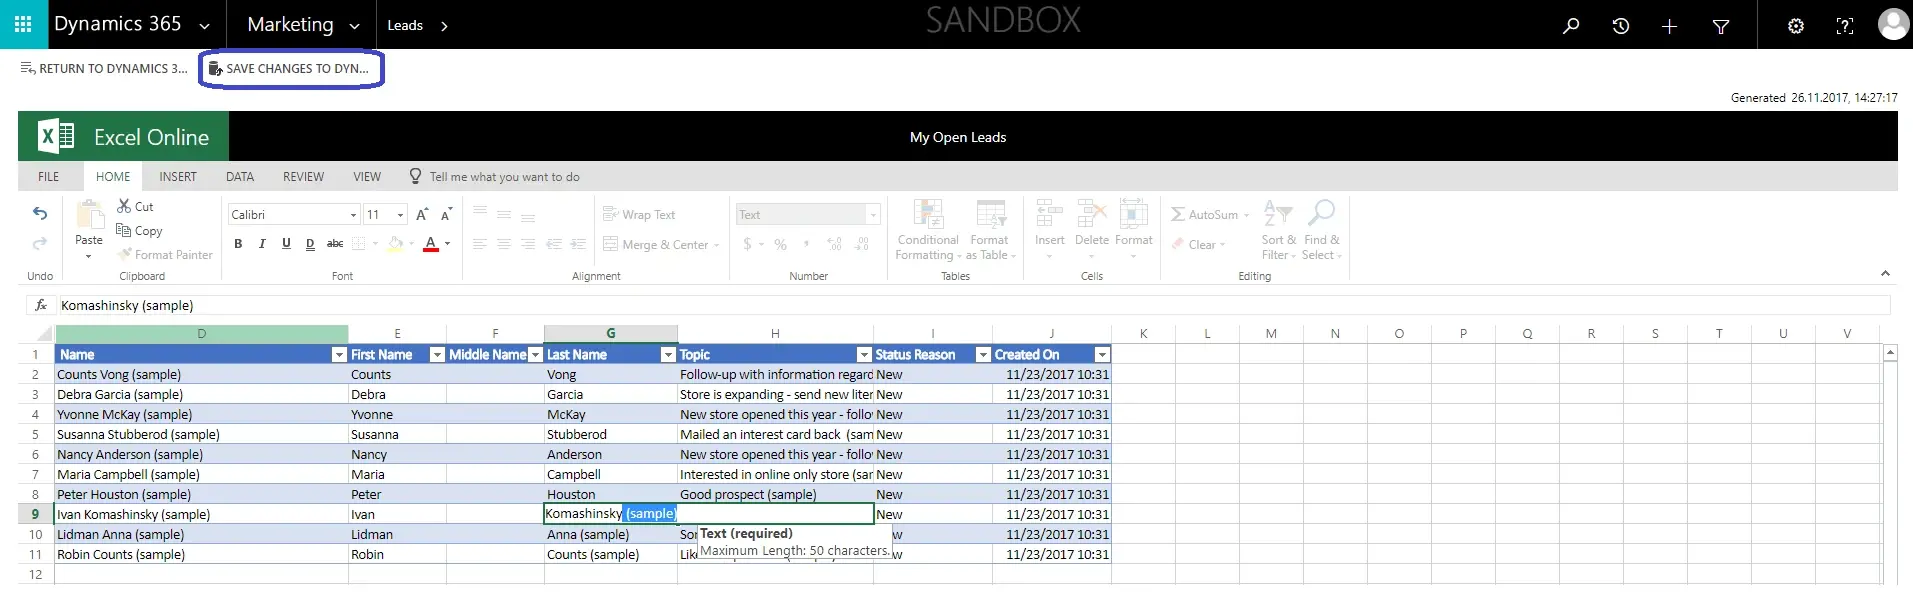
- It will notify you that the import job was created. Just press ok. It can take several minutes until your changes are reflected in Dynamics. For our sample, we should receive the end picture like this
Tip 5. Dynamic Excel Export
The last feature is a little bit technically complicated to set up but is very rewarding if you want to have all the CRM data available in Excel books and dynamically connected to Dynamics 365.
To work with this feature, you need first to set up and configure Microsoft CRM Outlook AddIn. Don’t worry if you don’t have or use Outlook. This package also contains Excel AddIn we need, even though the name does not say this directly :).
I would recommend you ask your IT Support to install it for you since it can be complicated for some users to do, or you might have not enough permissions.
Use this guide to install and configure Outlook AddIn
If you have an issue completing the last step, connecting Outlook AddIn to Dynamics 365, download the latest updated Outlook AddIn from this page. First, select the latest available update, then download and install something called Microsoft Dynamics 365 for Microsoft Office Outlook
After installing and configuring, we can start working with Dynamic Worksheet
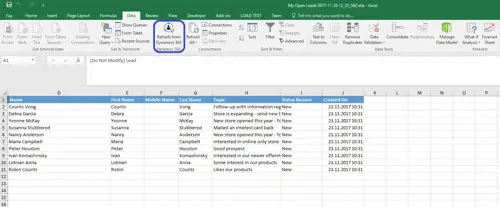
- The open list you want to export and press Export to Excel -> Dynamic Worksheet

- Select columns in the next window and press Export.
- Open the downloaded file. On the Data tab, you can press Refresh from Dynamics 365, and it will automatically get updated data from CRM. You can build fancy reports, excel diagrams, and pivot tables based on this data and update it when you need to see an actual status.
Conclusion
You can do many things with data in Dynamics 365. We reviewed just a few of the tools that are important and useful but hidden and sometimes not easy to find. Please feel free to contact our company in case you need additional info or other consulting services regarding Dynamics 365.
Good luck using Dynamics tools in your daily operations!