

Introduction
Sending a test email is a crucial step in the email marketing process. It enables you to verify your content's accuracy, assess your email's visual appeal, and ensure the functionality of dynamic elements. This feature is user-friendly in Dynamics 365 Customer Insights – Journeys (formerly Dynamics 365 Marketing). It offers several benefits to ensure your email campaigns' effectiveness and error-free nature. In this guide, we'll take you through the steps to send a test email, highlighting the advantages of this feature.
Benefits of the "Sending a Test Email" Button:
• Quality Assurance: A test email ensures a professional and consistent brand image by identifying issues before sending it to a larger audience.
• Visual Verification: Verify email design, including layout, colors, fonts, and images.
• Content Accuracy: Confirm the accuracy of content, such as product information and call-to-action buttons.
• Dynamic Content Validation: Ensure dynamic elements work correctly for personalized content.
• Link Testing: Thoroughly test links to websites, documents, or forms.
• Subject Line and Preheader Evaluation: Assess the effectiveness of subject lines and preheader text.
• Image Verification: Confirm that images load correctly and appear in their intended locations.
• Audience Segmentation Testing: Validate that segmentation criteria are correctly applied.
• Real-time Content Review: Review email content in real time and make necessary edits based on test results.
• Increased Confidence: Gain confidence that your emails are professional, accurate, and impactful.
With these benefits in mind, let's dive into the step-by-step process of sending a test email in Dynamics 365 Customer Insights – Journeys.
Step-by-Step Guide
Step 1: Accessing the Email
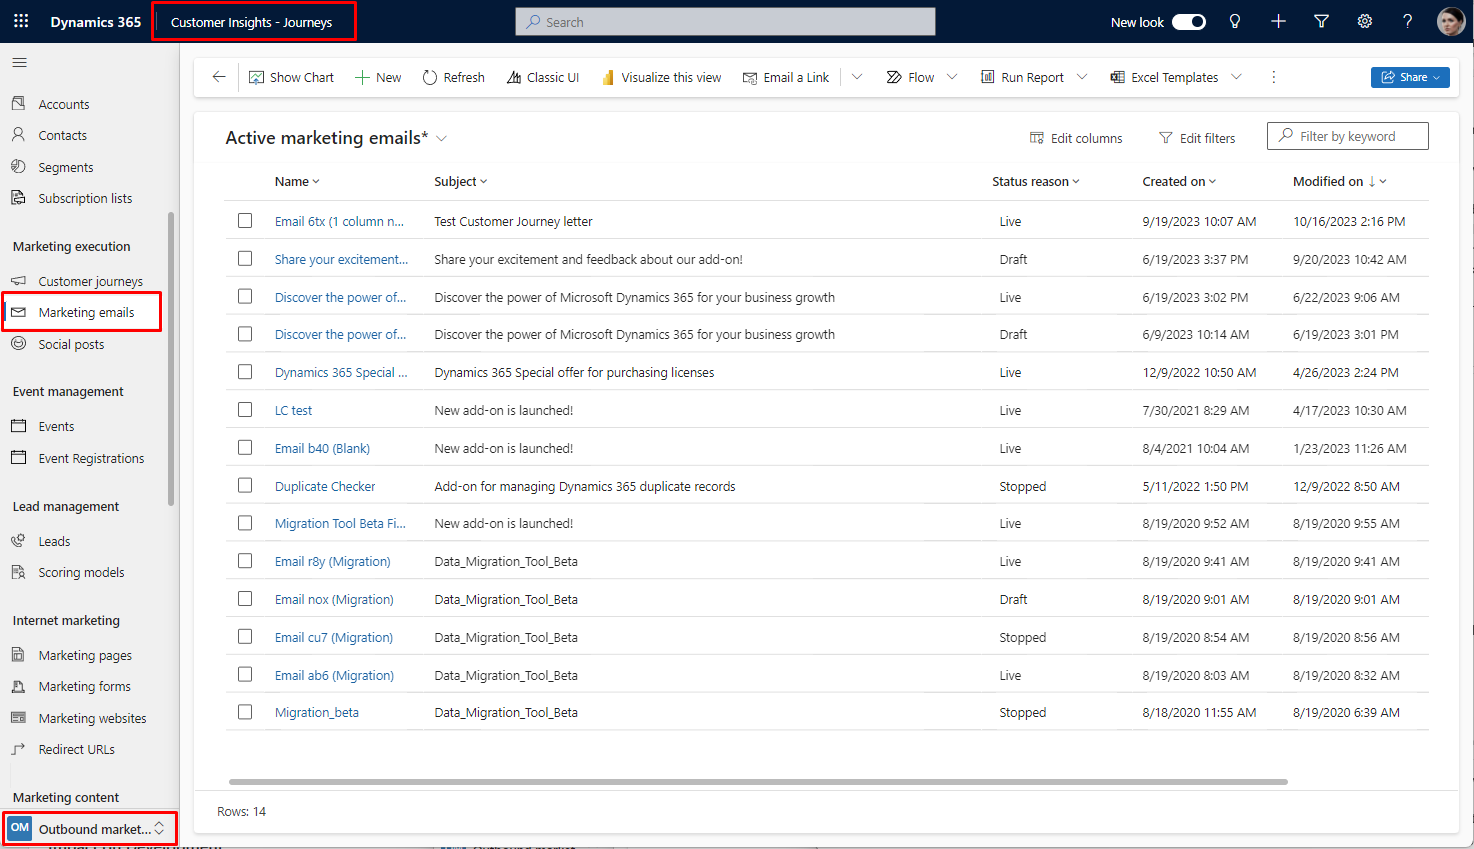
• Log in to your Dynamics 365 Customer Insights – Journeys account.
• Navigate to the email campaign you're working on.
• Click on the specific email you want to send as a test.
Step 2: Composing the Email
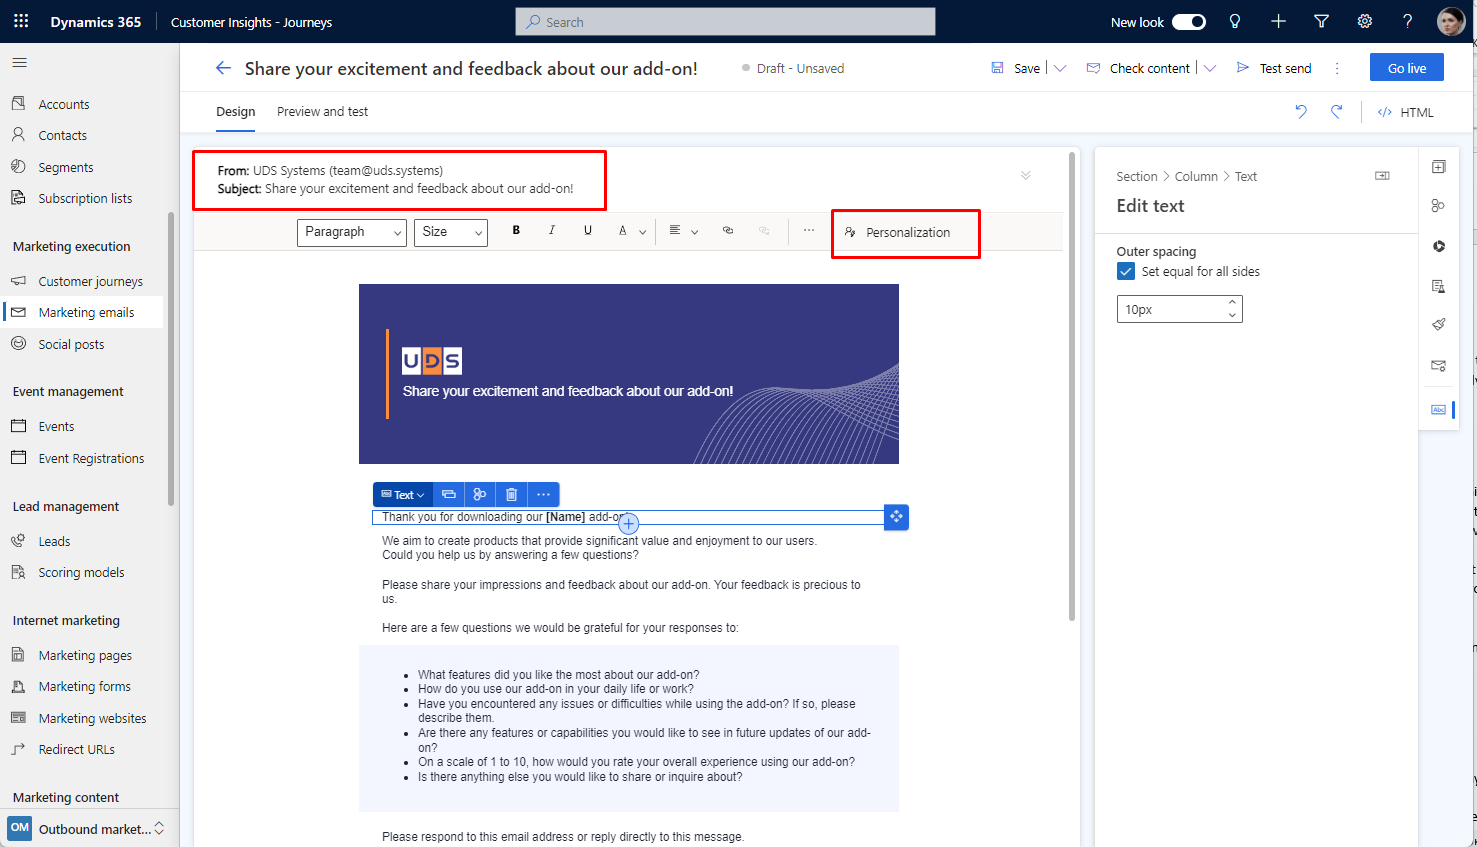
• Compose your email, ensuring all elements appear as intended for your audience.
• Add dynamic content if necessary, ensuring its proper functionality.
• Insert images and links, and verify their accuracy.
Step 3: Sending a Test Email
• With your email open for editing, locate the "Send Test Email" or a similar button and click it.
• A dialog box will open, allowing you to configure your test email. Fill in the following fields:
Send a test email to: Enter the email addresses of individuals who will receive the test email. You can include multiple addresses separated by commas.
Test contact: Choose the sender profile you want to use for the test email.
Test content settings: it allows you to review and verify how the actual content of your email will appear to recipients. It includes checking the accuracy of subject lines, body content, attachments, and any personalized elements.
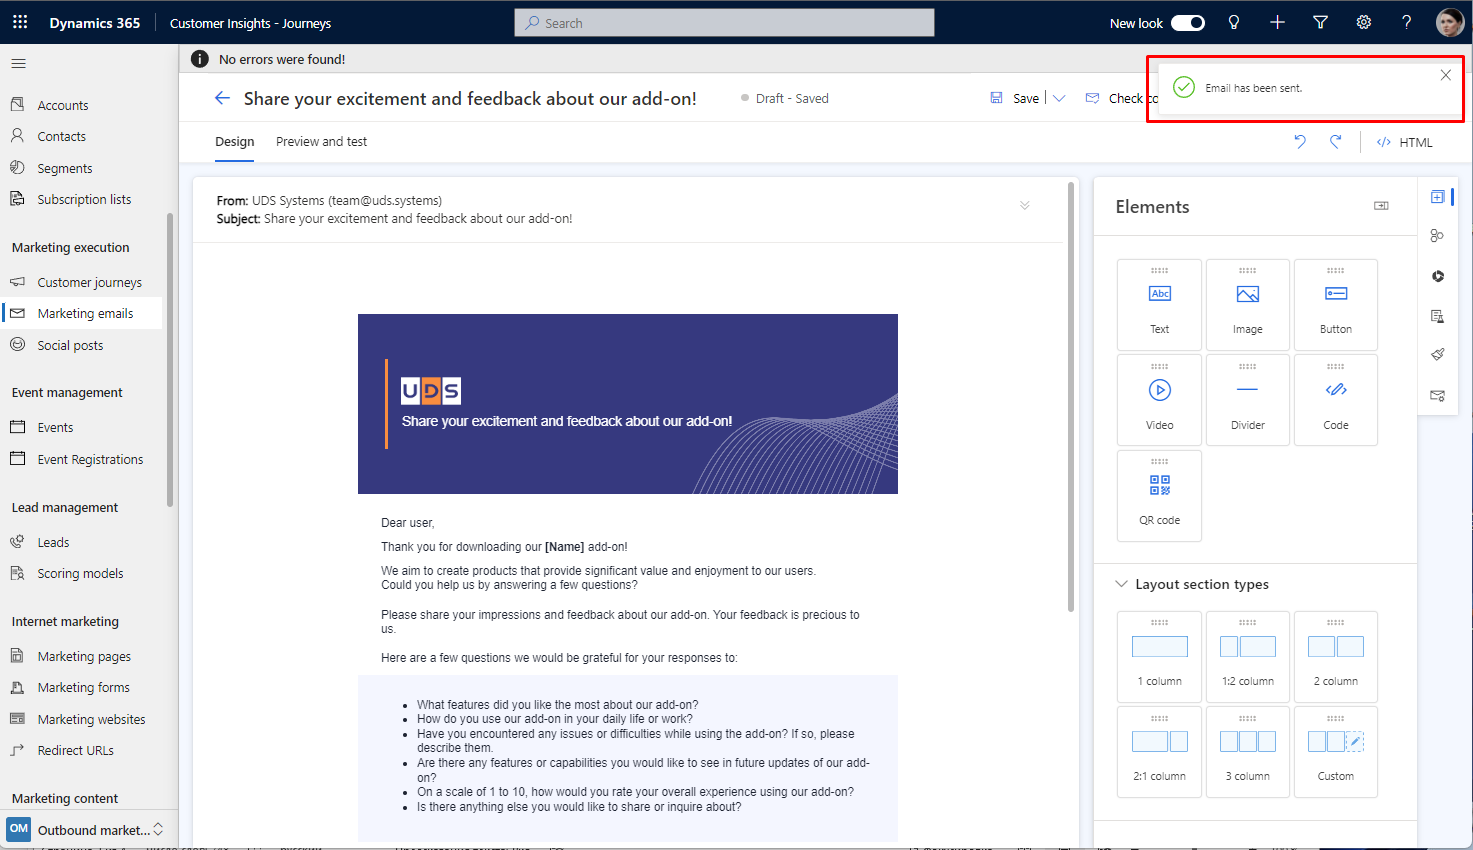
• Click "Send" to dispatch the test email to the specified recipients.

• After sending the test email, a confirmation message will appear. This message typically indicates that the test email is being processed.
Step 4: Receiving and Reviewing the Test Email
• Wait for the test email to arrive in your inbox.
• Open the received test email and verify that it appears as intended. Pay close attention to various elements, including:
Design: Ensure the email's layout, colors, and images appear correctly.
Dynamic Inserted Fields: Confirm that any personalized or dynamically inserted content displays as expected.
Links: Test all links in the email to ensure they direct recipients to the correct web pages.
Images: Check that images load properly and appear in the intended locations.
Subject Line: Verify that the email subject accurately represents the content.
Preheader Text: Ensure the preheader text complements the subject line and encourages recipients to open the email.
• Verify the design, content, links, and dynamic elements.
• Ensure that the subject line and preheader text are engaging and accurate.
Step 5: Making Edits (if necessary)
• If you identify any issues during your review, return to the Dynamics 365 Customer Insights – Journeys platform.
• Make the necessary edits based on your test email review.
Step 6: Send Additional Tests (Optional)
• If you make edits, you may want to send additional test emails to verify the changes.
• Repeat Steps 3 to 5 until you're satisfied with the email's appearance and functionality.
Conclusion
Sending test emails in Dynamics 365 Customer Insights – Journeys ensures your marketing campaigns are executed flawlessly. By following this step-by-step guide and thoroughly checking all elements, you can effectively test your emails, identify and resolve issues, and be confident that your campaigns will reach your audience as intended.