
Introduction
When working with the out-of-the-box (OOB) Model-Driven UI in Power Apps and feeling limited by its capabilities, one effective way to extend it is by building a Front-End App. While frameworks like ReactJS, Angular, and others offer sophisticated UI features, they can become challenging to develop and test, especially when dealing with data mockups and frequent deployment cycles.
As an experienced developer, you might have used a reverse proxy for development on .NET, which can help streamline the process. However, an even better solution consolidates all components in one place, eliminating the need to ask your colleagues for a proxy. This solution involves using Node.js.
In this article, I will guide you on leveraging Node.js to make your life easier when extending Model-Driven UI in Power Apps. By following these steps, you'll find a seamless way to integrate custom features without the cumbersome development and testing process.
Let's get started!
What you'll need:
- Dataverse Instance.
- App User to connect our Proxy to it. You can ask the admin to create an App User and permit it to get data from Dataverse. Alternatively, if you have access to Azure app registration, you can create it yourself. We need clientId and secret.
- VS Code.
-
Node.js and npm (https://docs.npmjs.com/downloading-and-installing-node-js-and-npm).
Step 1. Create React App
Open VS Code and create a new React App by running these commands in the Terminal:
npm i -g create-react-app
npm i -g typescript
npx create-react-app proxy-for-react-app
cd proxy-for-react-app
npm i @fluentui/react
npm i axios
npm i npm-run-all
npm i http-proxy-middleware
In our app, we will use @fluentui/react, a framework used for MS Products, including Power Apps and Model Driven Apps. It allows us to build a UI for Model Driven App with little effort. I will tell you about other packages and their use later.
Let's display a list of activities, go to App.js and add the code:
import {DetailsList} from '@fluentui/react/lib/DetailsList';
import axios from 'axios';
import './App.css';
import { useState, useEffect } from 'react';

function App() {

  const [activities, setActivities] = useState([]);

  useEffect(() =>
  {
    axios.get('/api/data/v9.2/activitypointers?$select=activityid,activitytypecode,_ownerid_value,prioritycode,subject&$top=10', {headers:{'Accept':'application/json'}})
    .then(x => setActivities(x.data.value))
  }, []);

  return (
    <div>
      <DetailsList items = {activities} />
    </div>
  );
}
If we run it with npm start, we get an error from axios: "bad request." Let's add our proxy to handle it.
Step 2. Create Reverse Proxy
To set up a reverse proxy using TypeScript in your React App, follow these steps:
- Create a new folder called 'server' inside your React App folder.
- Create a file named 'server.ts' inside the' server' folder.
- In the root of your React App folder, create two files: 'tsconfig.server.json' and 'proxy. json.'
The folder structure should look like this:

Now you can proceed with configuring and implementing the reverse proxy using TypeScript.
Let's set the configuration. Open 'tsconfig.server.json' and paste:
{

    "include": ["server"], // compile TS files in server directory

    "compilerOptions": {

      "module": "CommonJS", // classic format that Node.js understands

      "esModuleInterop": true, // allow imports of modules in ES format

      "resolveJsonModule": true, // enable import of JSON files

      "allowJs": true, // allow import of JS modules

    }

}
This configuration specifies that we want to build from the server folder with the CommonJS module system.
Now, let's create the configuration for the proxy. Go to 'proxy.json':
{
    "secret": "",
    "clientId": "",
    "target": "",
    "tenantid":"",
    "tokenAPI": "https://login.microsoftonline.com/f2782d7d-d11b-4aba-a26a-bc8782409cb5/oauth2/token",
    "grant_type": "client_credentials"
}
You need to set up the following:
-
'secret' and 'clientId' from the App User
-
'target' – the URL of your environment
-
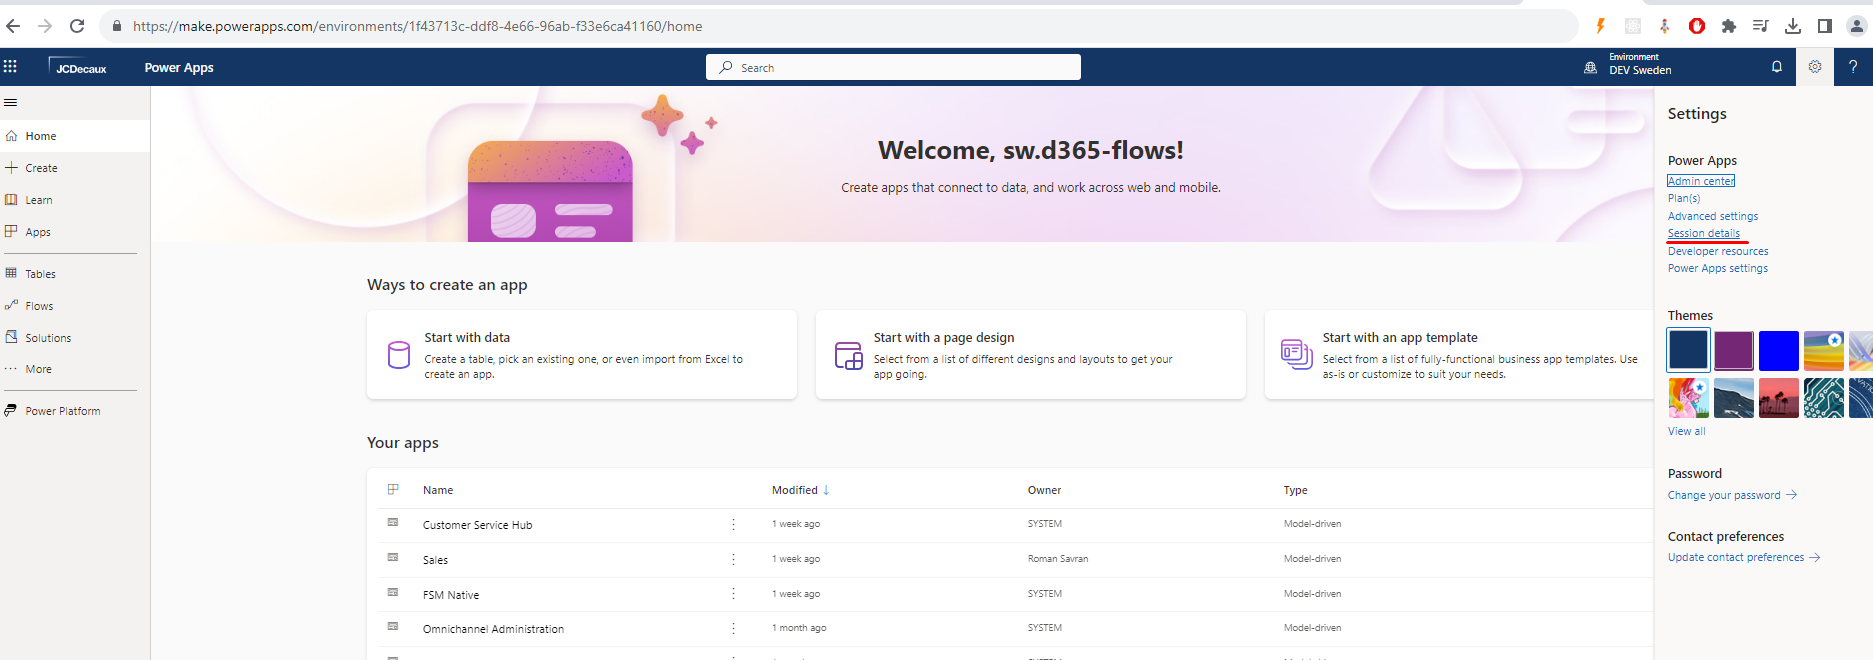
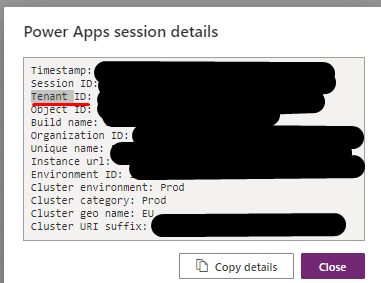
'tenantid' – ask the admin; it can be found on make.powerapps.com
Now, let's go to our 'server.ts' and write the proxy server logic:
We will set up 2 middlewares on express:
- Get Token
- Proxy request to the real Dataverse instance (target from 'proxy.json')
To get the token, we will use oauth2 and store the authHeader and expireOn in memory:
let authHeader:string;
let expireOn:number;
app.use('*',  async (req, res, next) =>
{
    if(!authHeader || expireOn < (Date.now() - 30 * 1000))
    //  Refresh auth header if it is not valid, expire in 30 seconds or allready expired
    {
      const formData = new FormData();
      formData.append('grant_type', proxyData.grant_type);
      formData.append('client_id', proxyData.clientId);
      formData.append('client_secret', proxyData.secret);
      formData.append('resource', proxyData.target);

      const res:any = (await axios.post(`https://login.microsoftonline.com/${proxyData.tenantid}/oauth2/token`, formData)).data;
      const token = res?.access_token;
      expireOn = Date.now() + Number(res?.expires_in) * 1000;

      if(token == null)
      {
        throw new Error(`Error while trying to get access_token. Please check Client Id and secret in the proxy.json file!`);
      }
      else
      {
        authHeader = `Bearer ${token}`;
      }
    }

    req.headers.authorization = authHeader;
    //  Go to the next middleware
    next();
});
To proxy our request, we will use the 'http-proxy-middleware' package:
const app = express();
app.use('*', createProxyMiddleware({ target: proxyData.target, changeOrigin: true }));

Let's see the full code of 'server.ts':
import express from 'express';
import axios from 'axios';
import FormData from 'form-data';
import { createProxyMiddleware } from 'http-proxy-middleware';
import * as proxyData from '../proxy.json';
import packageJson from '../package.json';

let authHeader:string;
let expireOn:number;

const app = express();

app.use('*',  async (req, res, next) =>
{
    if(!authHeader || expireOn < (Date.now() - 30 * 1000))
    //  Refresh auth header if it is not valid, expire in 30 seconds or allready expired
    {
      const formData = new FormData();
      formData.append('grant_type', proxyData.grant_type);
      formData.append('client_id', proxyData.clientId);
      formData.append('client_secret', proxyData.secret);
      formData.append('resource', proxyData.target);

      const res:any = (await axios.post(`https://login.microsoftonline.com/${proxyData.tenantid}/oauth2/token`, formData)).data;
      const token = res?.access_token;
      expireOn = Date.now() + Number(res?.expires_in) * 1000;

      if(token == null)
      {
       throw new Error(`Error while trying to get access_token. Please check Client Id and secret in the proxy.json file!`);
      }
      else
      {
        authHeader = `Bearer ${token}`;
      }
    }

    req.headers.authorization = authHeader;
    //  Go to the next middlewar
    next();
});

app.use('*', createProxyMiddleware({ target: proxyData.target, changeOrigin: true }));

app.listen(62078, ‘localhost’, () =>
{
  console.log(`Express server is running on ${HOST}:${PORT}`);
});
By using 'app.use', we can chain middlewares. After we set up the middlewares, we start listening to port 62078.
Let's add scripts to build and run our proxy into 'package.json':
Add to the scripts section:
"build:server": "tsc --project ./tsconfig.server.json --outDir ./build"
 "start:server": "node ./build/server/server.js"
 "run:server": "run-s build:server start:server"
The run-s command gives us the ability to run scripts sequentially.
Let's test it by running npm run run:server.
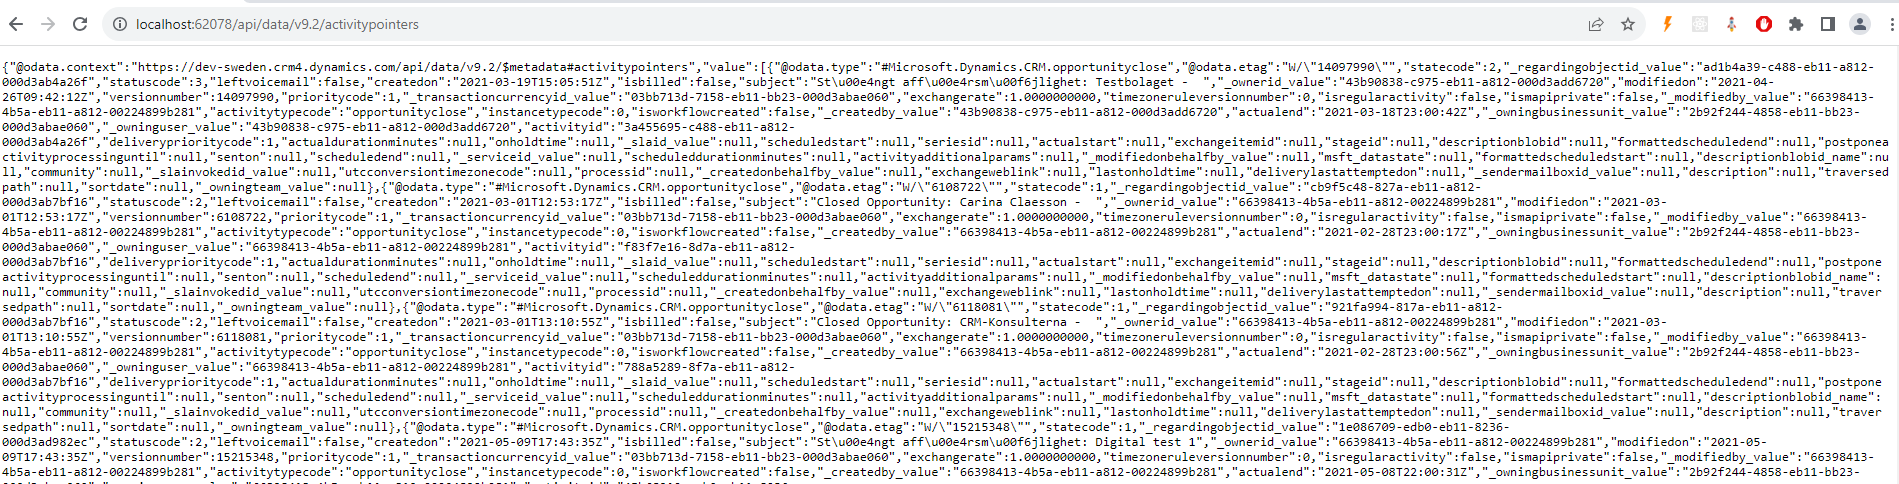
Now you can open http://localhost:62078/api/data/v9.2/activitypointers and see the result.
Step 3. Connect React App to Reverse Proxy
To redirect requests that the React App cannot handle, we add a proxy to our 'package.json':
{
  "name": "proxy-for-react-app",
  "version": "0.1.0",
  "private": true,
  "proxy": "http://localhost:62078",
  "dependencies": {
…
Now let's go to our 'server.ts' and take the proxy from 'package.json':
We need to add these lines:
const proxyurlport = packageJson.proxy.split(':')
const PORT = Number(proxyurlport[2]);
const HOST =  proxyurlport[1].replace("//",'');
And change app.listen to the:
app.listen(PORT, HOST, () => …
Now let's go to your scripts in 'package.json' and change the 'start' script to start the Proxy and React App with one command:
Add script:
"startfront": "react-scripts start"
And replace the 'start' script with:
"start": "run-p run:server startfront"
The updated 'package.json':
"scripts": {
"startfront": "react-scripts start",
"build": "react-scripts build",
"build:server": "tsc --project ./tsconfig.server.json --outDir ./build",
"start:server": "node ./build/server/server.js",
"run:server": "run-s build:server start:server",
"start": "run-p run:server startfront"
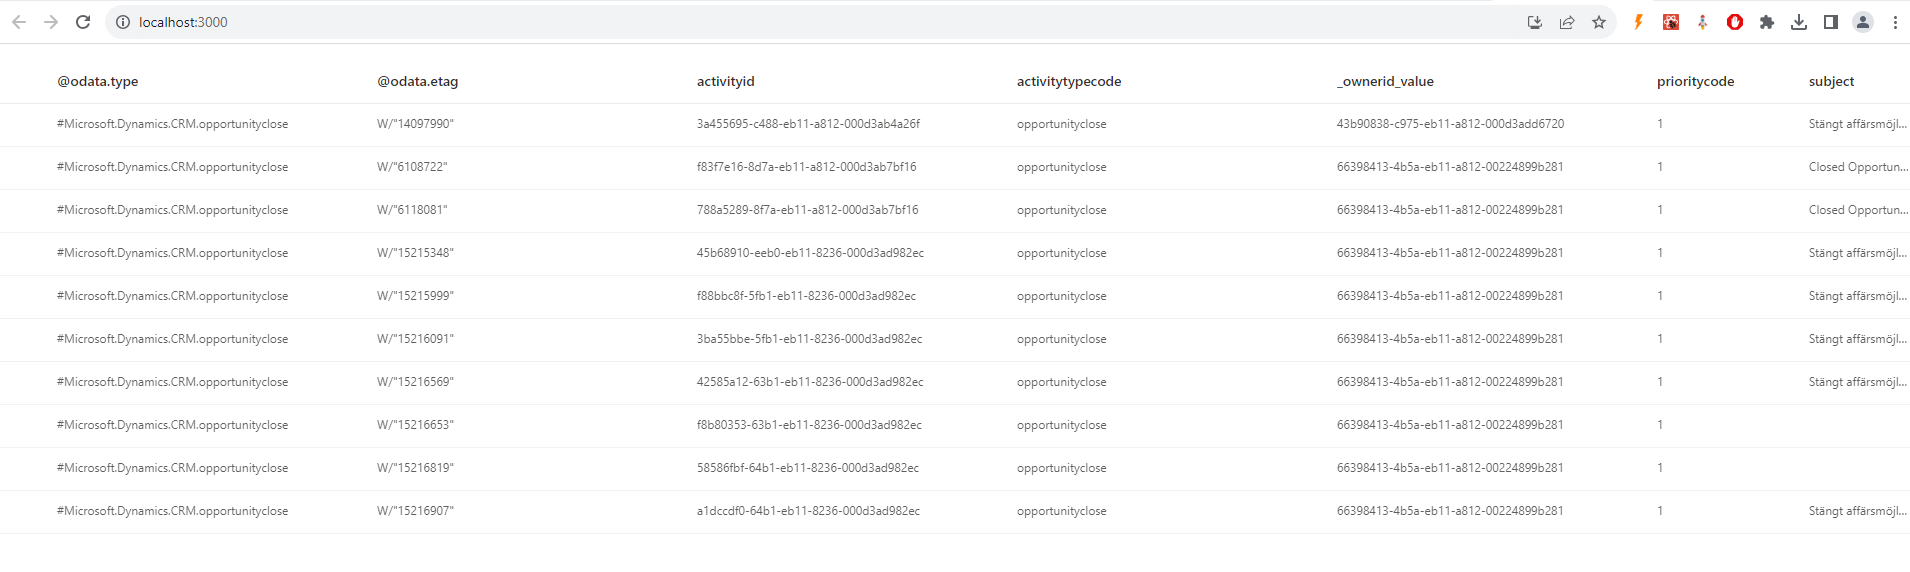
}Now, let's run it: npm start. You will see the result.
Summary
We have seen that we can easily add a proxy to ReactJS and make life easier for Model Driven App Front-End customizations. The same approach can be applied to other frameworks like Angular, Vue, and more. No extra tools are needed, and the entire setup can be managed in a single location. Remember to validate the server.ts code to ensure its accuracy.
If you have any questions, we are here to help. Please do not hesitate to contact us at any time.