
Introduction
If you, like me, find it annoying to be interrupted by emails that don't need your immediate attention while working, you need a solution to make the noise vanish and let you focus in peace.
Over the next several minutes, I will show you how to create a simple notification system that will only notify you about emails that matter.
I recommend using Power Automate flow and Power Automate application notifications to achieve this result.
Requirements
Before we begin, ensure the following prerequisites are met:
1. Install the Power Automate mobile application.
2. Log in to the application.
3. Verify that your phone's settings allow notifications from this app and are not set to block them.
Step-by-step setup
If you follow the Power Automate flow configuration tutorial, I assume you possess all the required licenses and access rights to execute the setup.
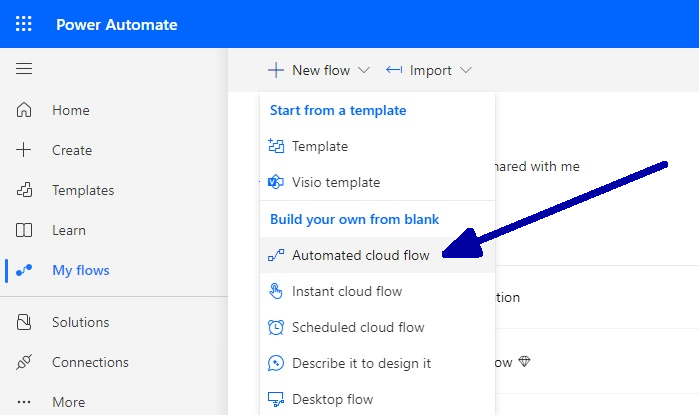
1. The first thing you need to do is:
a. Open Power Automate at make.powerautomate.com.
b. Open the “+ New flow” dropdown.
c. Select the “Automated cloud flow” option.
This selection implies that our flow will automatically start whenever a trigger condition is met.
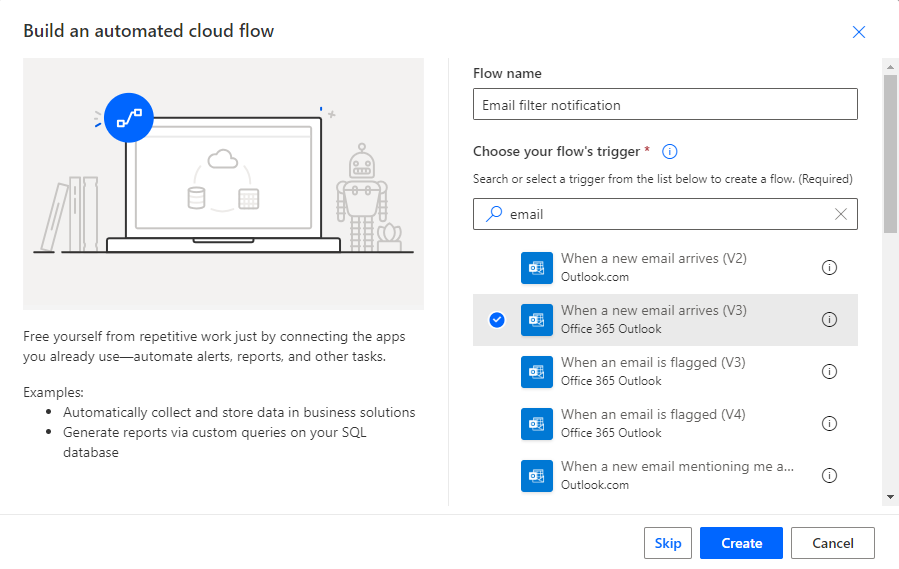
2. In the popup window, assign a name to this flow, locate and select the "When a new email arrives" trigger, and click the “Create” button.
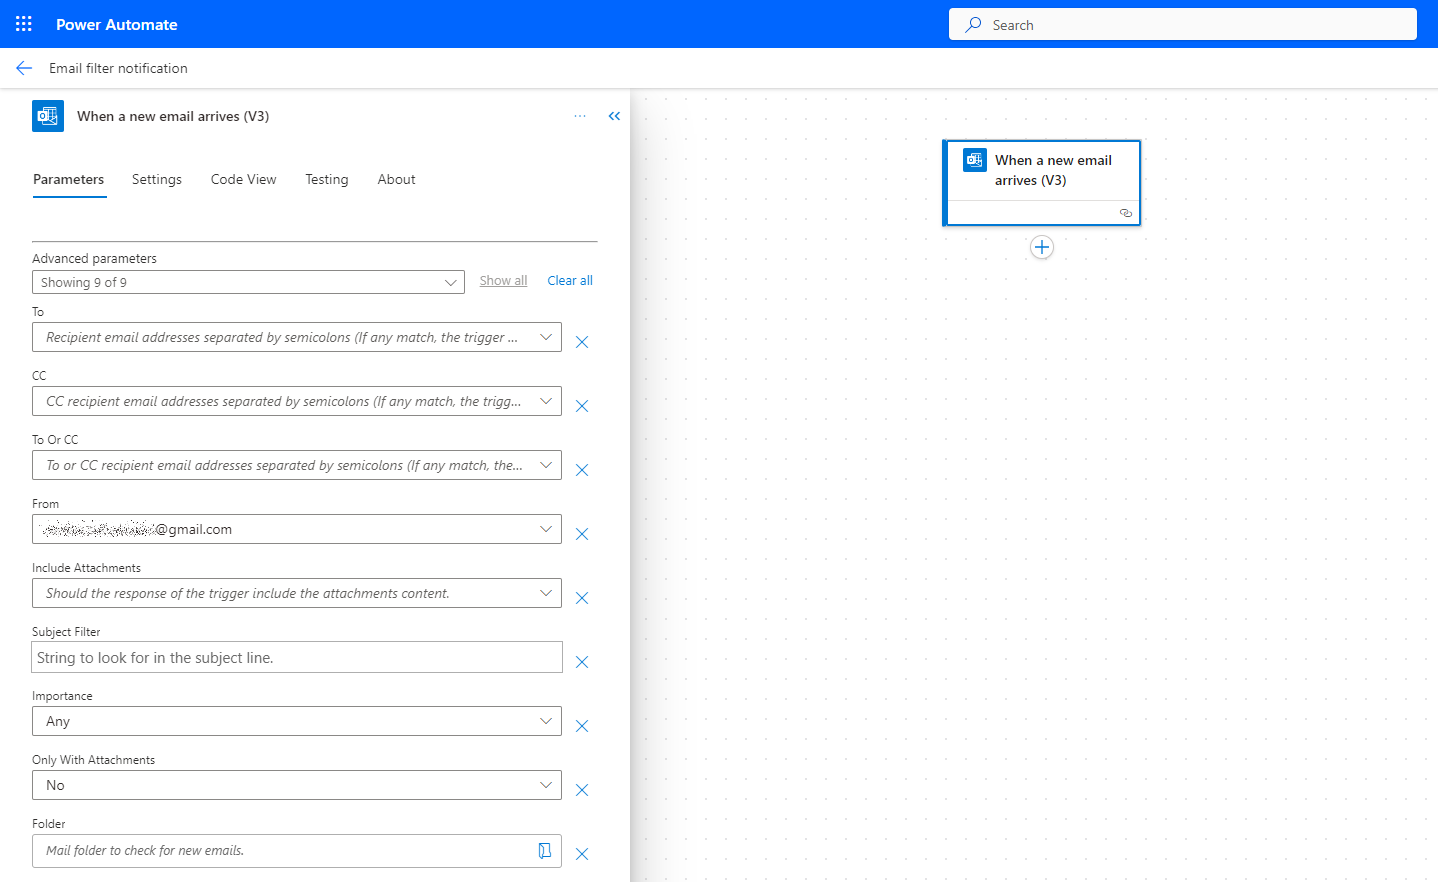
3. Now, we have reached the stage of tuning the flow trigger.
Let's consider a scenario where we want to receive notifications only for emails from a specific person. We must enter this person's email address into the "From" field to achieve this. If there are multiple email addresses, they should be separated by semicolons. The flow will be triggered if any addresses are in the "From" field.
Since we are indifferent to the importance and attachment of the emails, we will choose 'Any' and 'No' for these respective parameters.
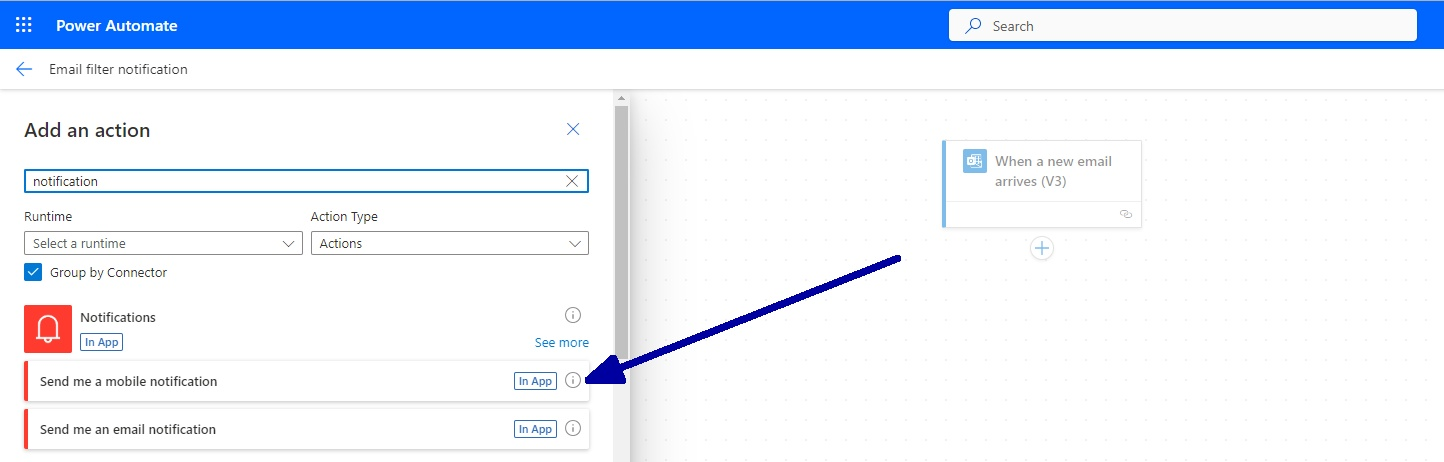
4. To enhance your workflow, click the "+" sign beneath the trigger step and choose the 'Send me a mobile notification' action.
5. Since we aim for our notification to include details about the received email, we will append the subject information to the Text field of the notifications. Of course, in your scenario, you can include any required information or none at all.
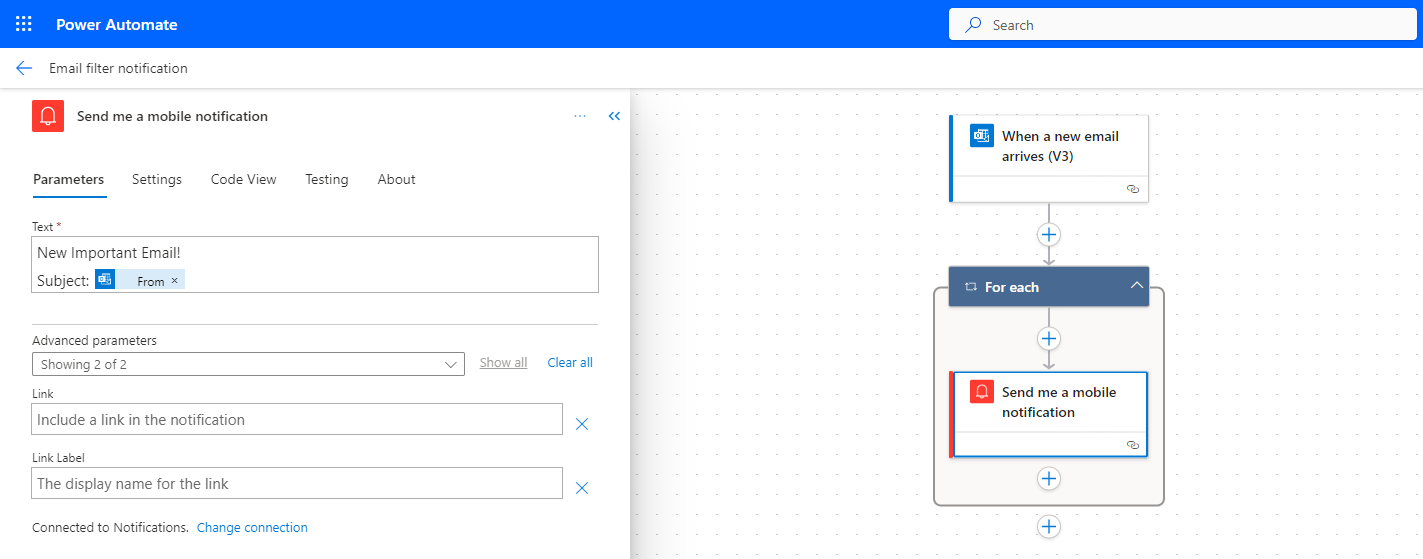
6. Don't forget to click 'Save' at the top right to save your flow.
That's it for the flow setup – just follow these few easy steps to bring back your peace of mind. 😉 And don't forget to test this flow.
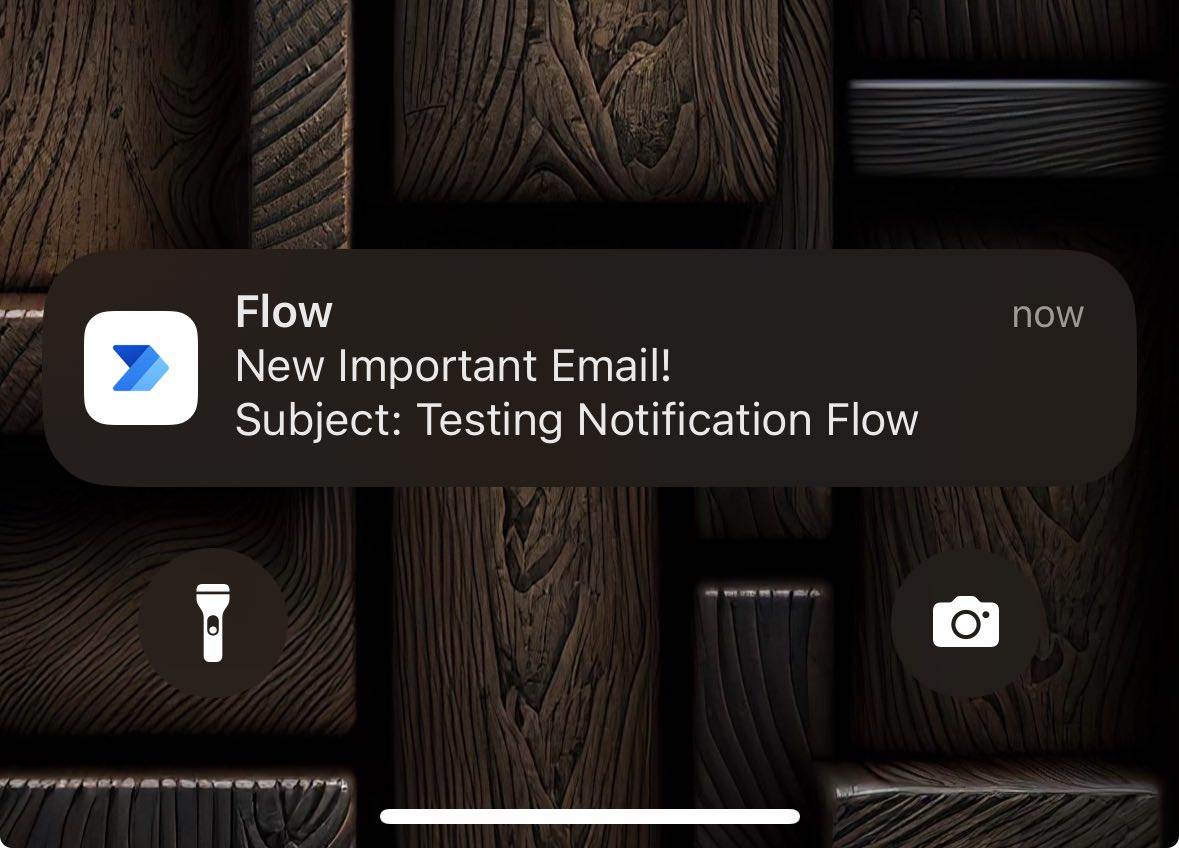
To do so, use the email address preconfigured in the third step to send yourself an email with the subject "Testing Notification Flow."
Within a few seconds of the email arriving in your inbox, the Power Automate mobile application should notify you about this email.
Conclusion
The step-by-step guide we've walked through ensures a seamless setup process, from configuring triggers to customizing the content of mobile notifications. The flexibility of Power Automate allows you to adapt this system to your specific needs, whether it's filtering by sender, subject, or any other criteria that matter to you.
This is just one helpful example of how you can use a notification like this. We will certainly explore and share other implementations with you.
Stay tuned!