
Introduction
Efficient navigation in Microsoft Dynamics 365 for Customer Engagement is the key to streamlining business processes. The sitemap acts as the main navigation structure, offering users an organized layout to access different functions. Customizing the sitemap helps tailor the interface to match specific organizational requirements and user workflows.
In this guide, we will edit the sitemap and add items to the menu in Microsoft Dynamics 365. If you follow these simple and detailed recommendations, you will unlock the full potential of Dynamics 365 and maximize your company’s operational efficiency.
Video
Microsoft Dynamics 365 Menu Structure
Before we start, let us review the structure of the Microsoft Dynamics 365 menu:
Area: An area represents a significant functional aspect of the application, such as Sales, Marketing, or Service.
Subarea: A subarea is a grouping of related entities within an area. For example, the Sales area might have subareas for Leads, Opportunities, and Quotes.
Group: A group is a kit of associated subareas. For instance, the Marketing area might include groups for Campaigns, Contacts, and Leads.
Subarea Item (Page): A subarea item represents a specific entity or action within a subarea. For example, the Leads subarea might include subarea items for Create Lead, View Leads and Edit Lead.
Once we understand the menu layout, we can quickly move on to the step-by-step guide for editing the sitemap and adding items to the menu. There are two methods to do this.
Editing Sitemap Using Power Apps
If you are working with a model-driven app, access the sitemap through the App Designer in the Power Apps (https://make.powerapps.com):
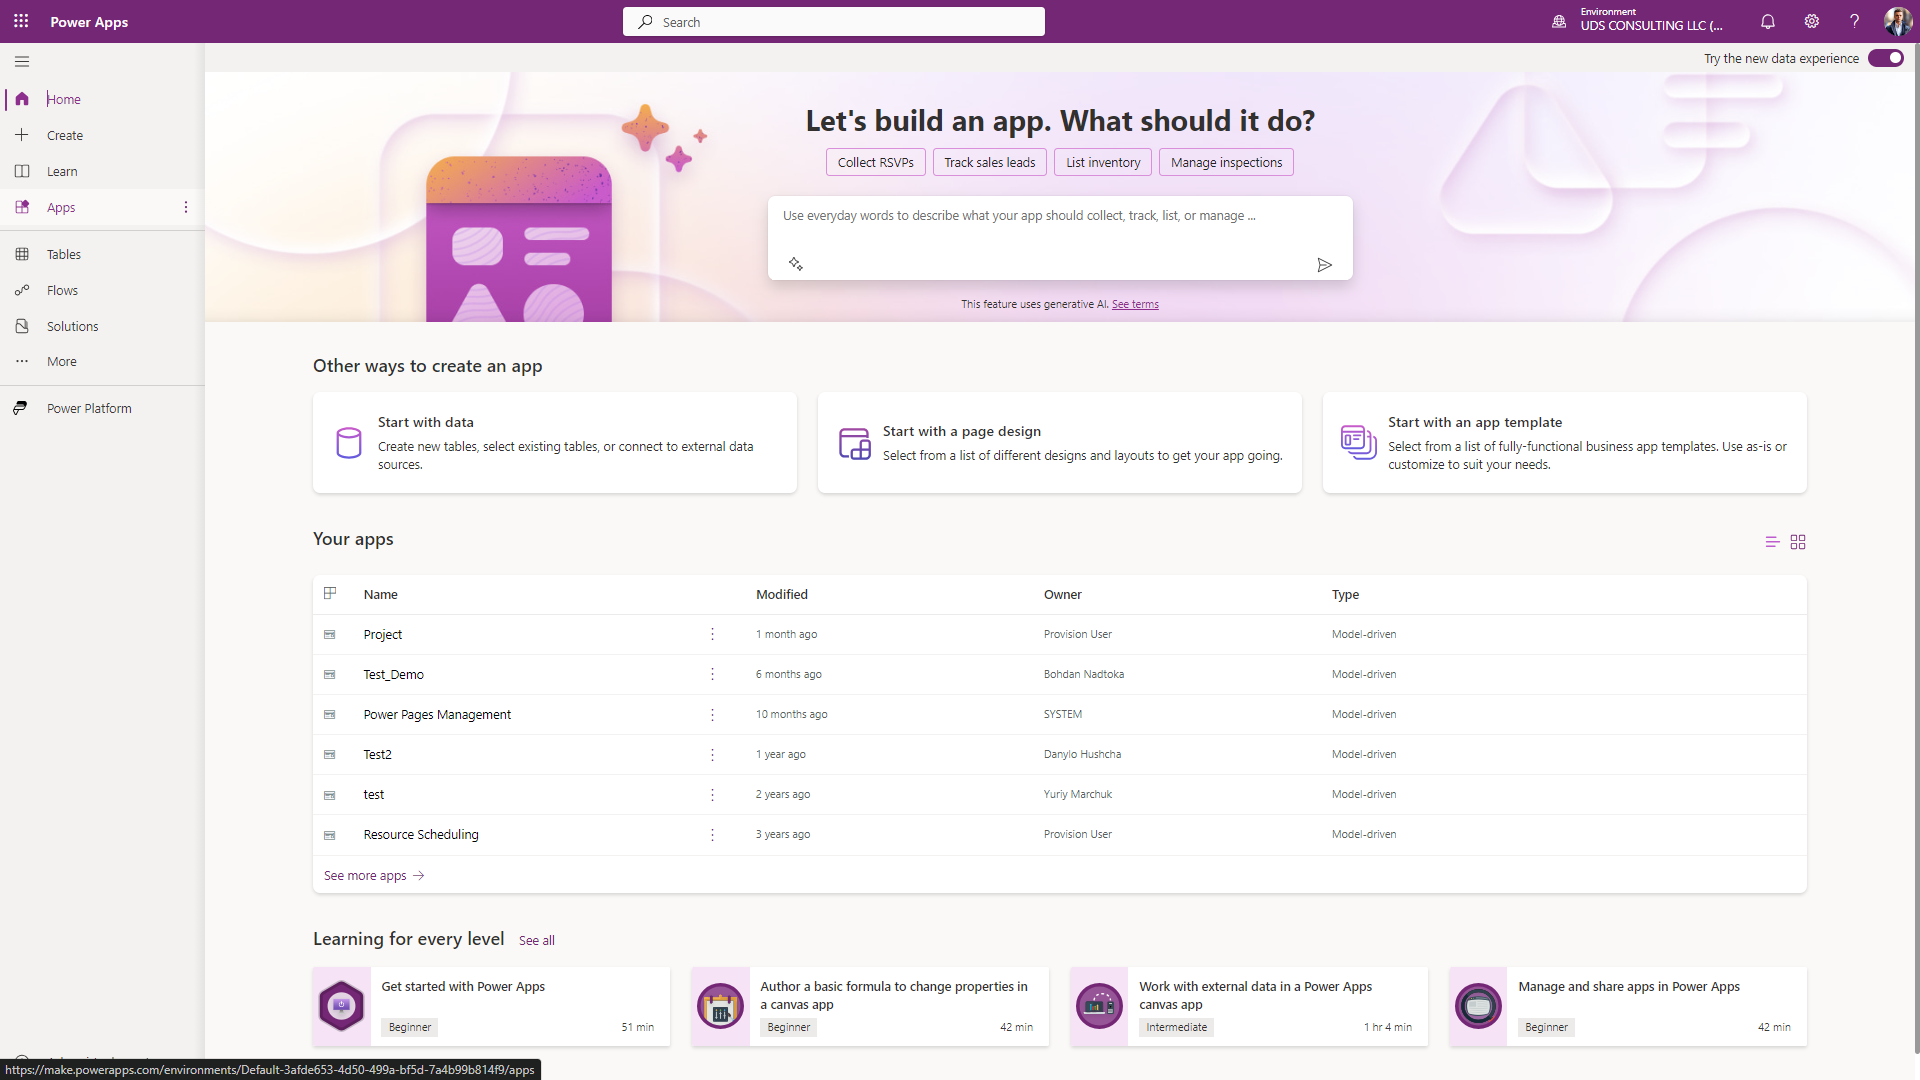
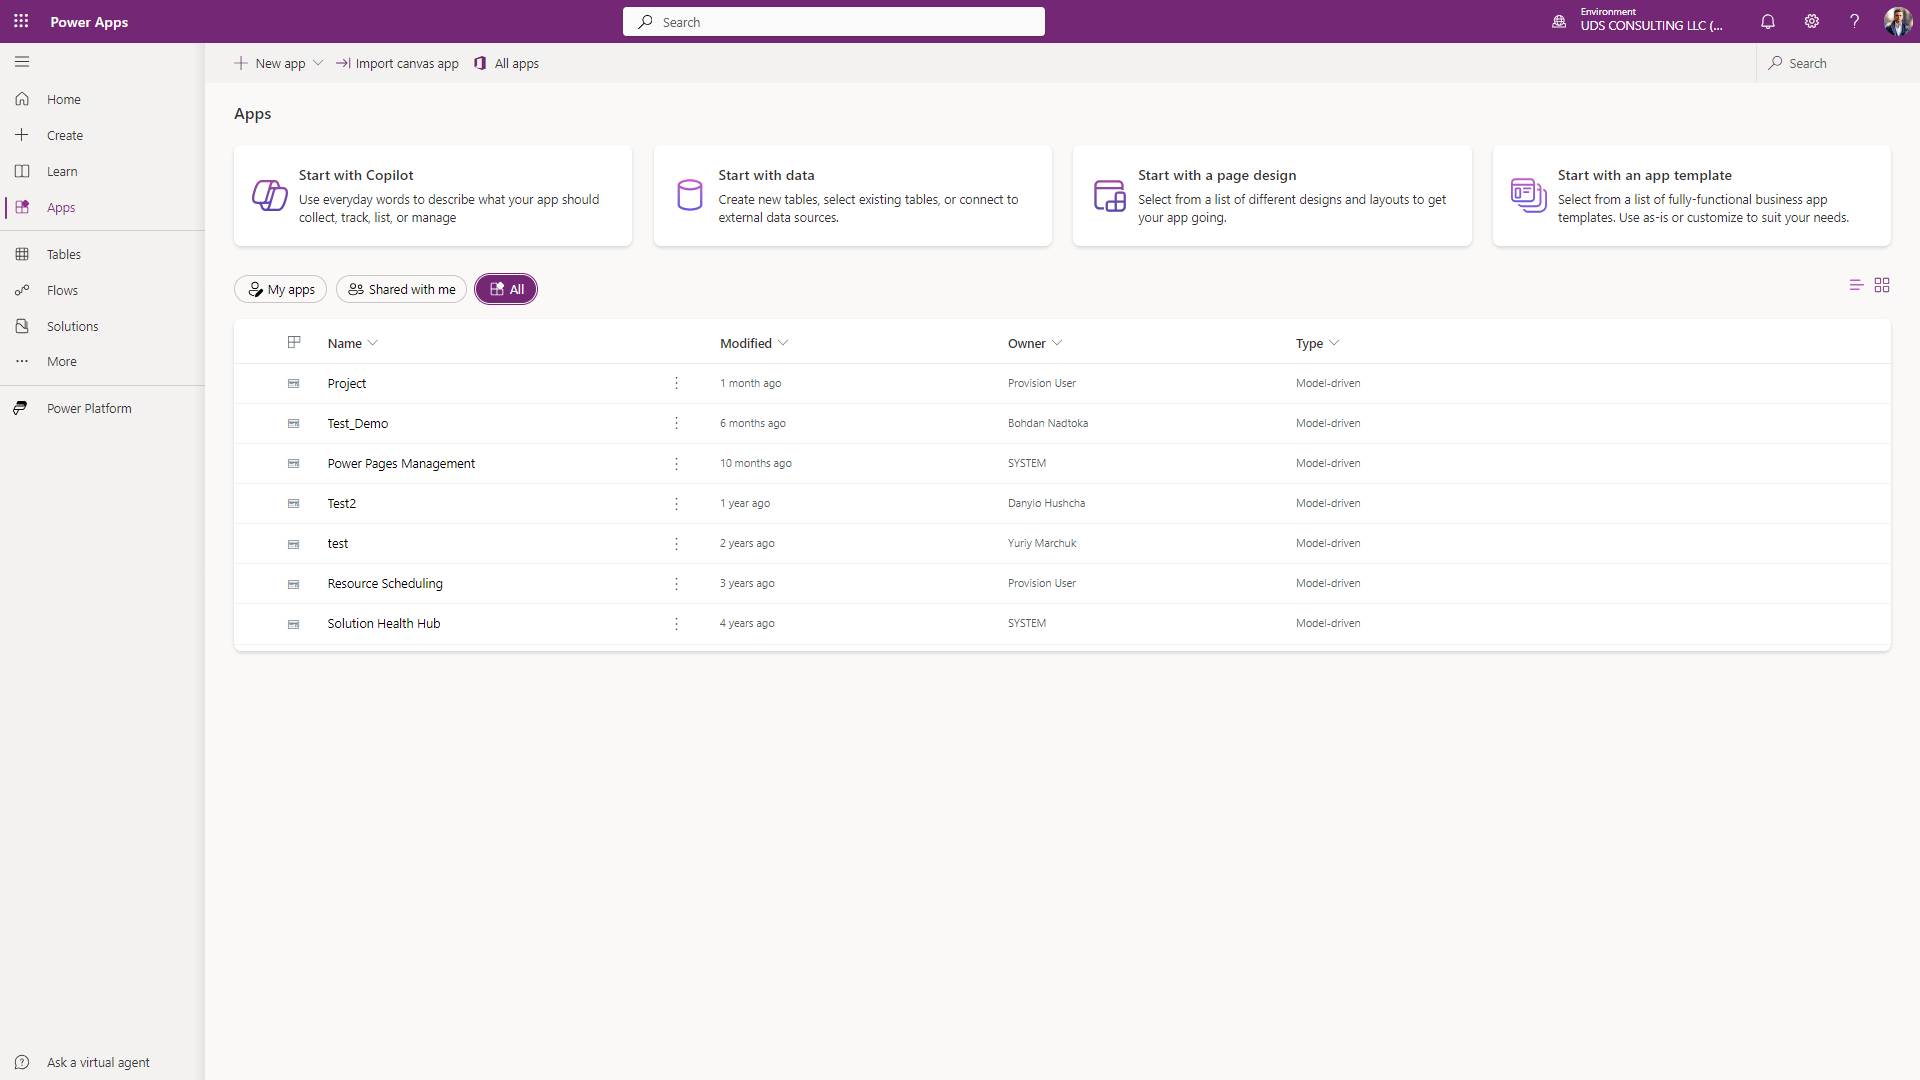
1. Open “Apps” and find the app you want to edit.
- If you do not see it in "My Apps," check "Shared with Me" and "All."
- If you still do not see the corresponding app, ask the system administrator to help you.
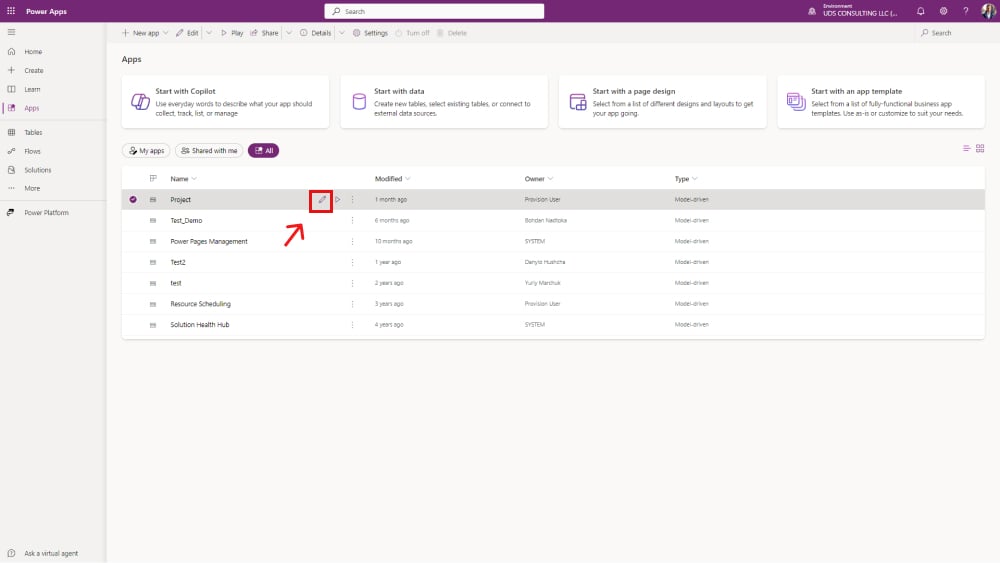
2. Pick the corresponding app and click “Edit.”
3. Edit the navigation structure by adding, removing, or organizing groups and pages:
- Use the Navigation column.
- Select the appropriate element, then press <…>.
- Apply the following actions: Move Up, Move Down, Remove from the navigation.
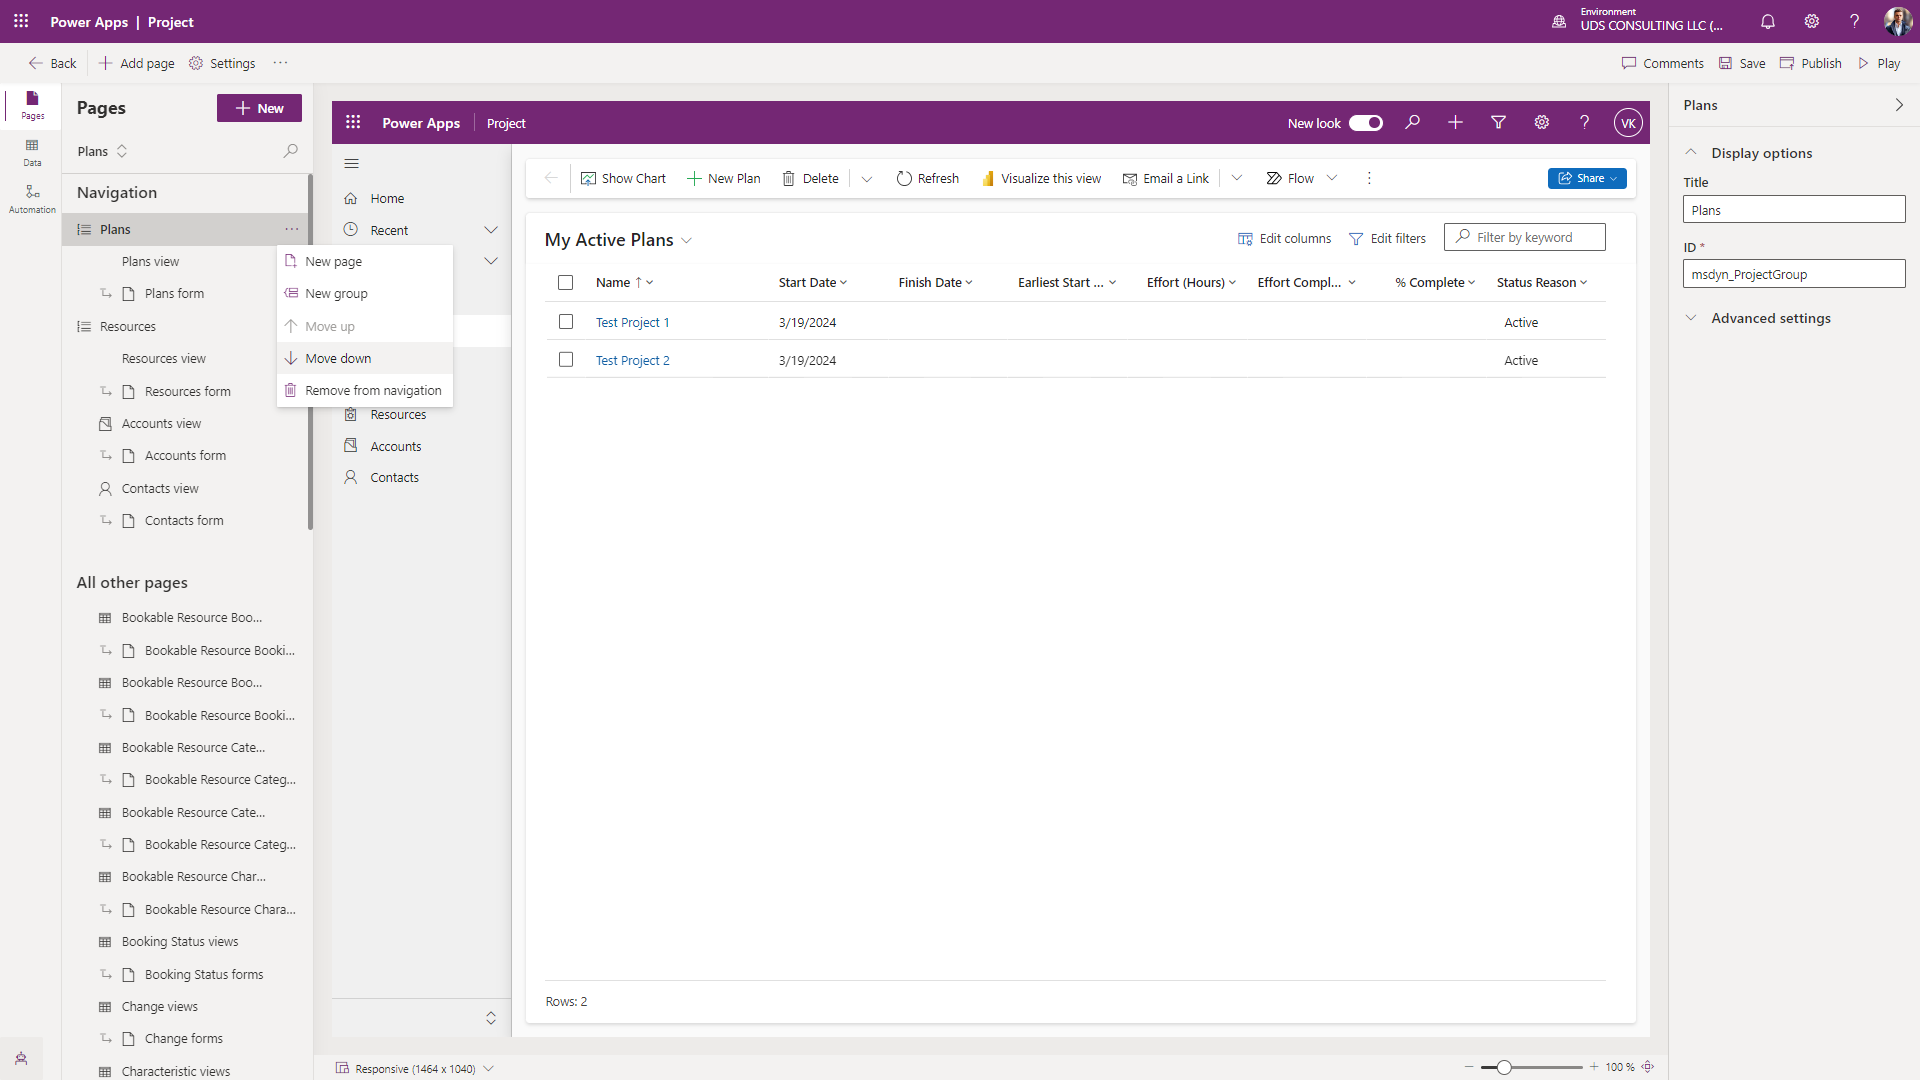
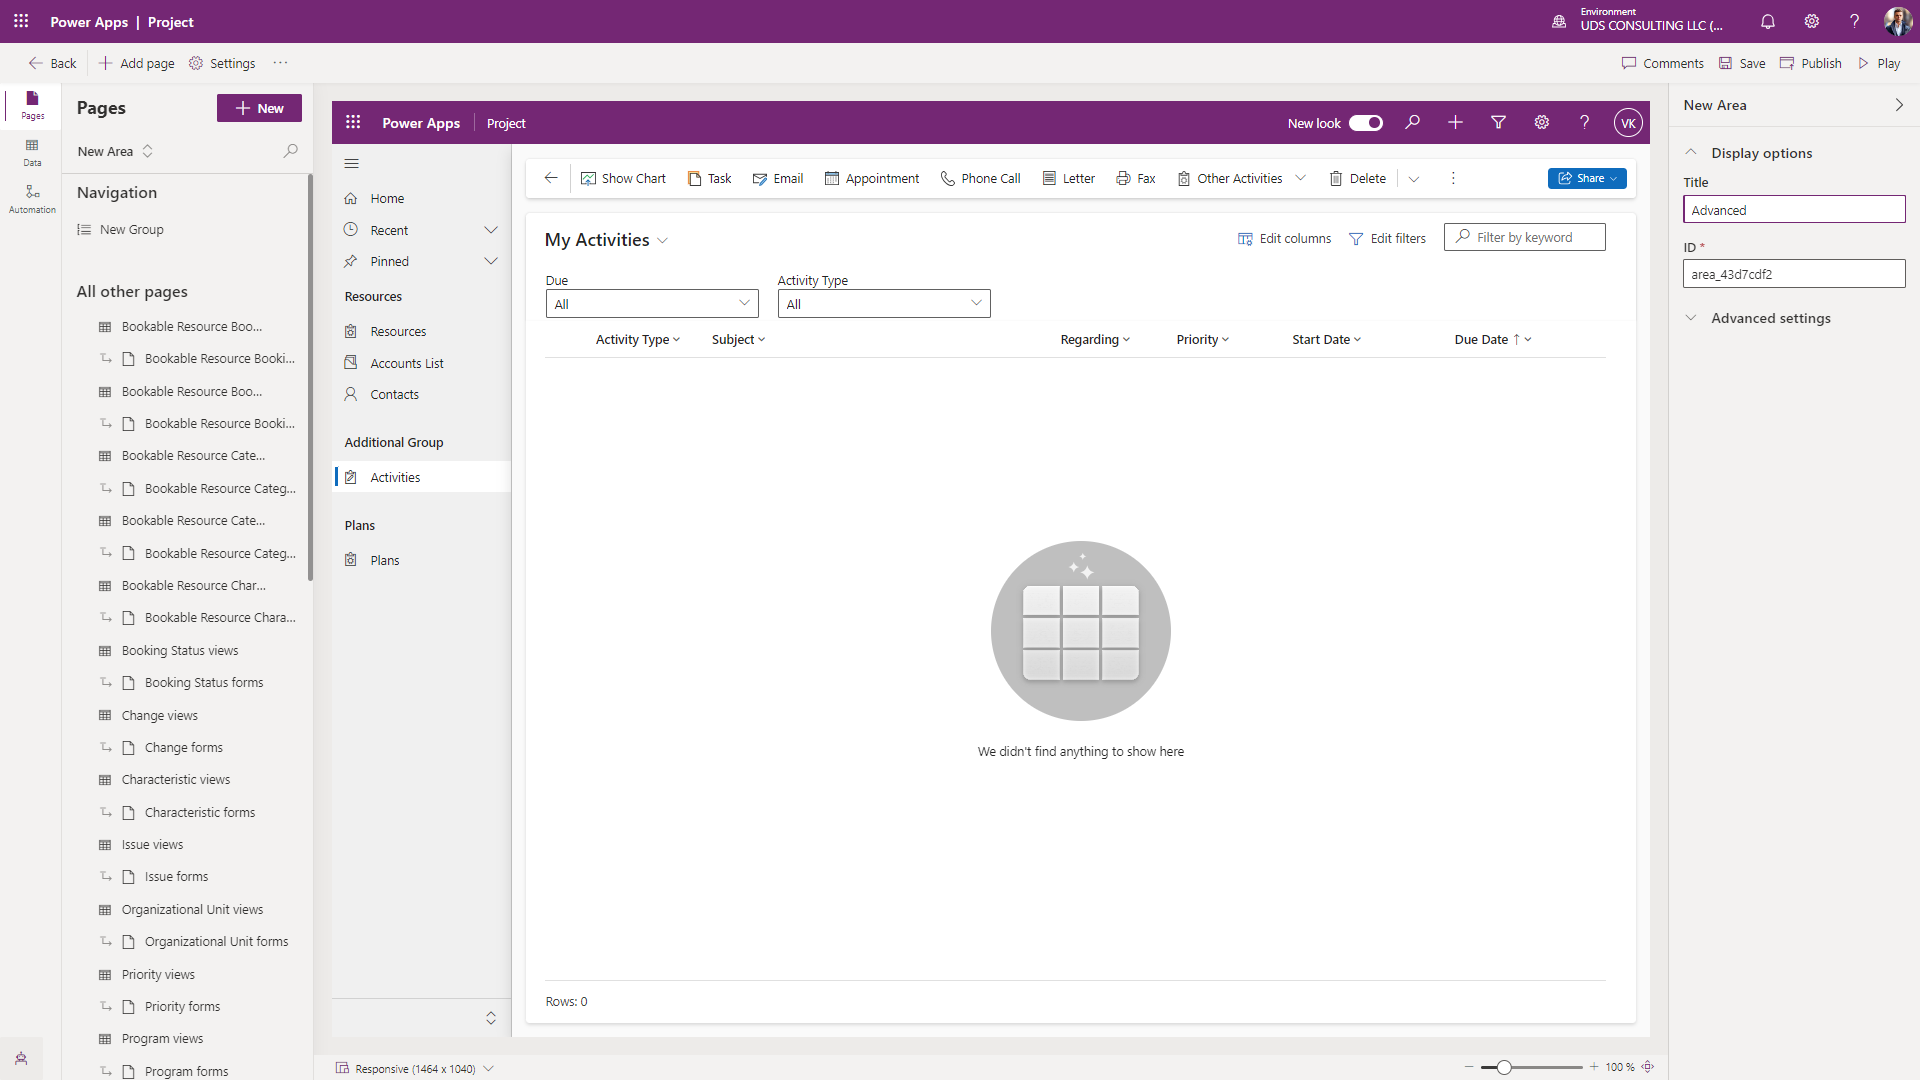
You can also edit the properties on the right side, such as titles, IDs, localized variables, and descriptions.
If you choose a table in the navigation properties, you will be able to select a set of views and charts to be applied there.
Besides, in the settings tab, you can reset the properties connected to the content type, on the selected item, its title, label, and ID.
In addition, you can create a new page or group in the Navigation pane:
- Click <…> next to any navigation element.
- Press the button “New” or “Add Page” to add a new page.
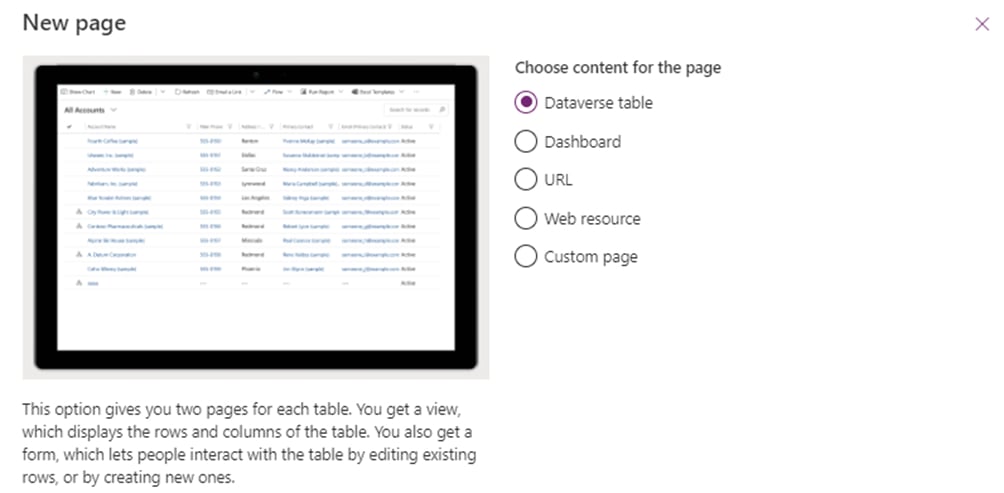
3. Check which views are available on the mobile app for each table in the sitemap and choose the appropriate one.
As you have seen, we have considered adding “Pages” and “Groups”.
If you want to work with “Areas” as well, perform the following actions:
- Open Settings -> Navigation -> Set the appropriate checkbox.
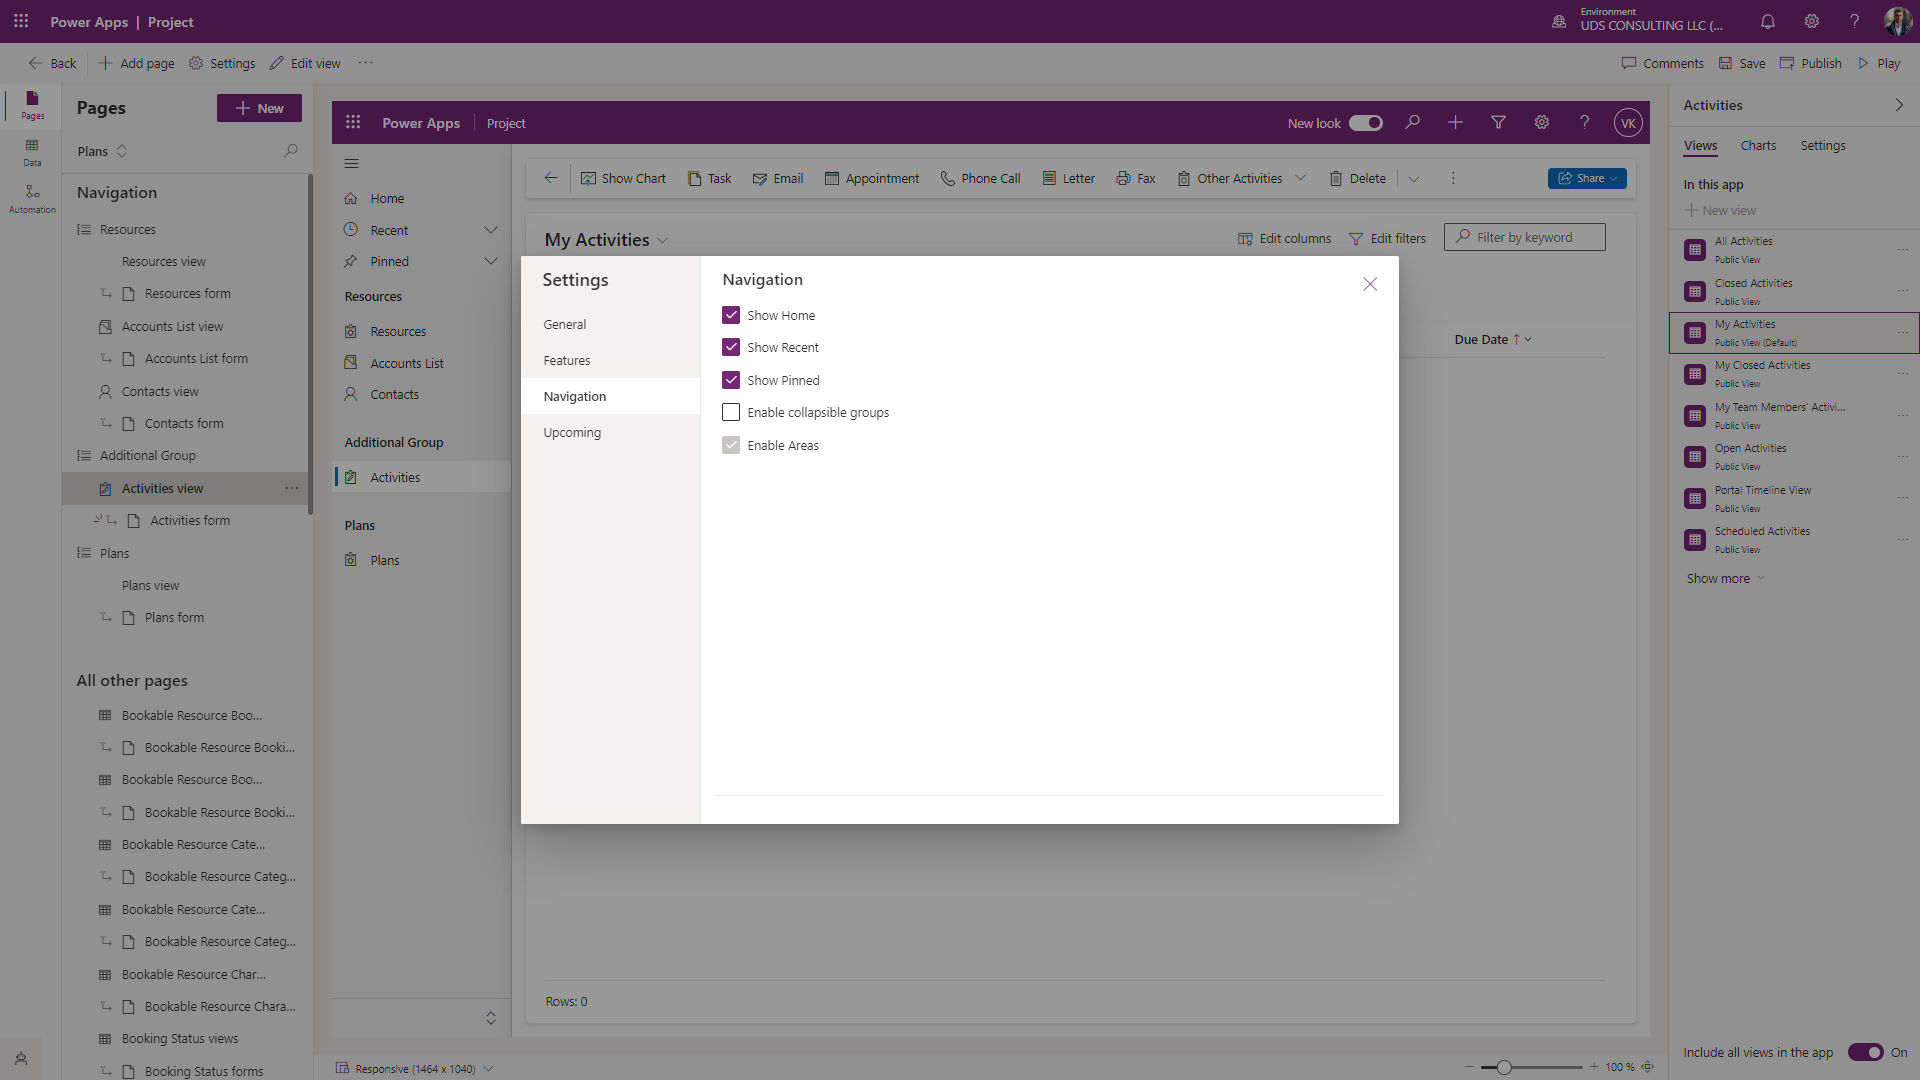
2. Now, you can work with “Areas” above the navigation tab.
Editing the Default Sitemap in Advanced Settings
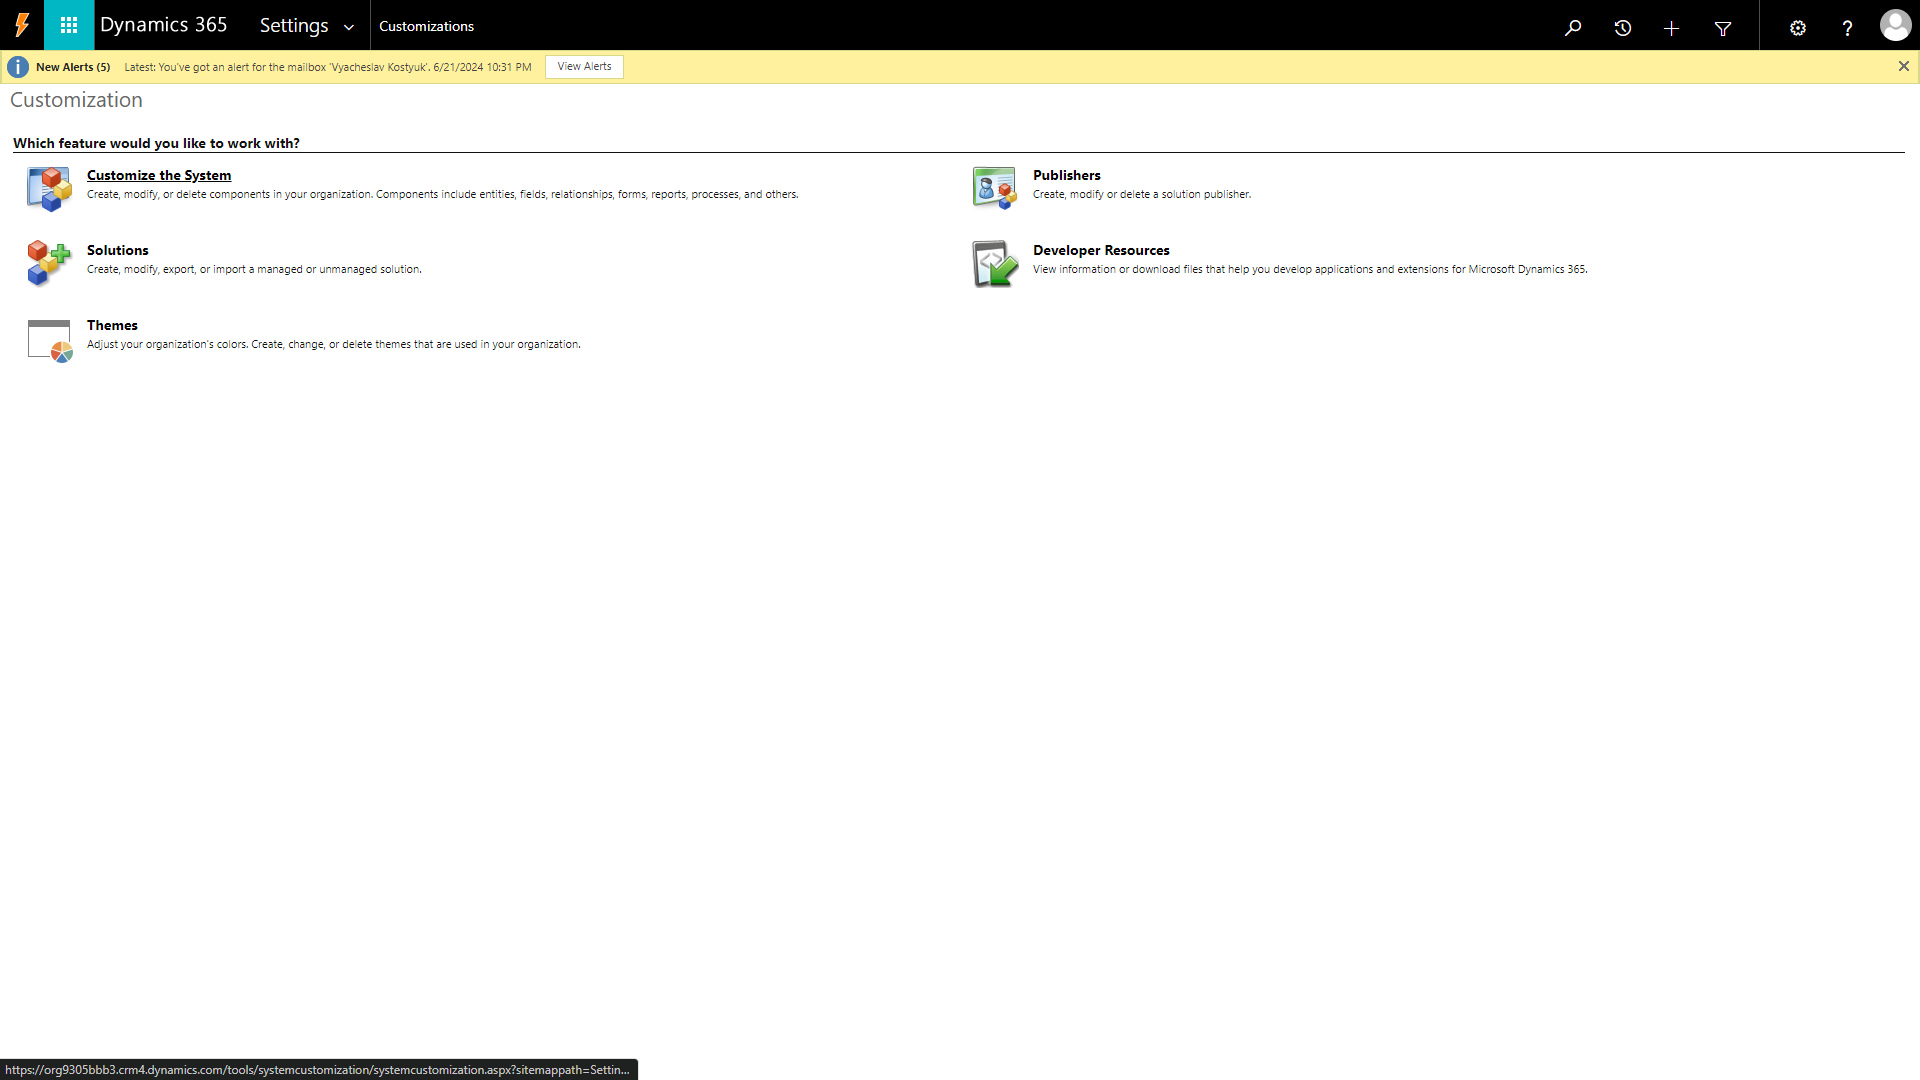
1. Navigate to the Customization Settings:
- In Dynamics 365, go to Settings > Customizations.
- Opt for "Customize the System."
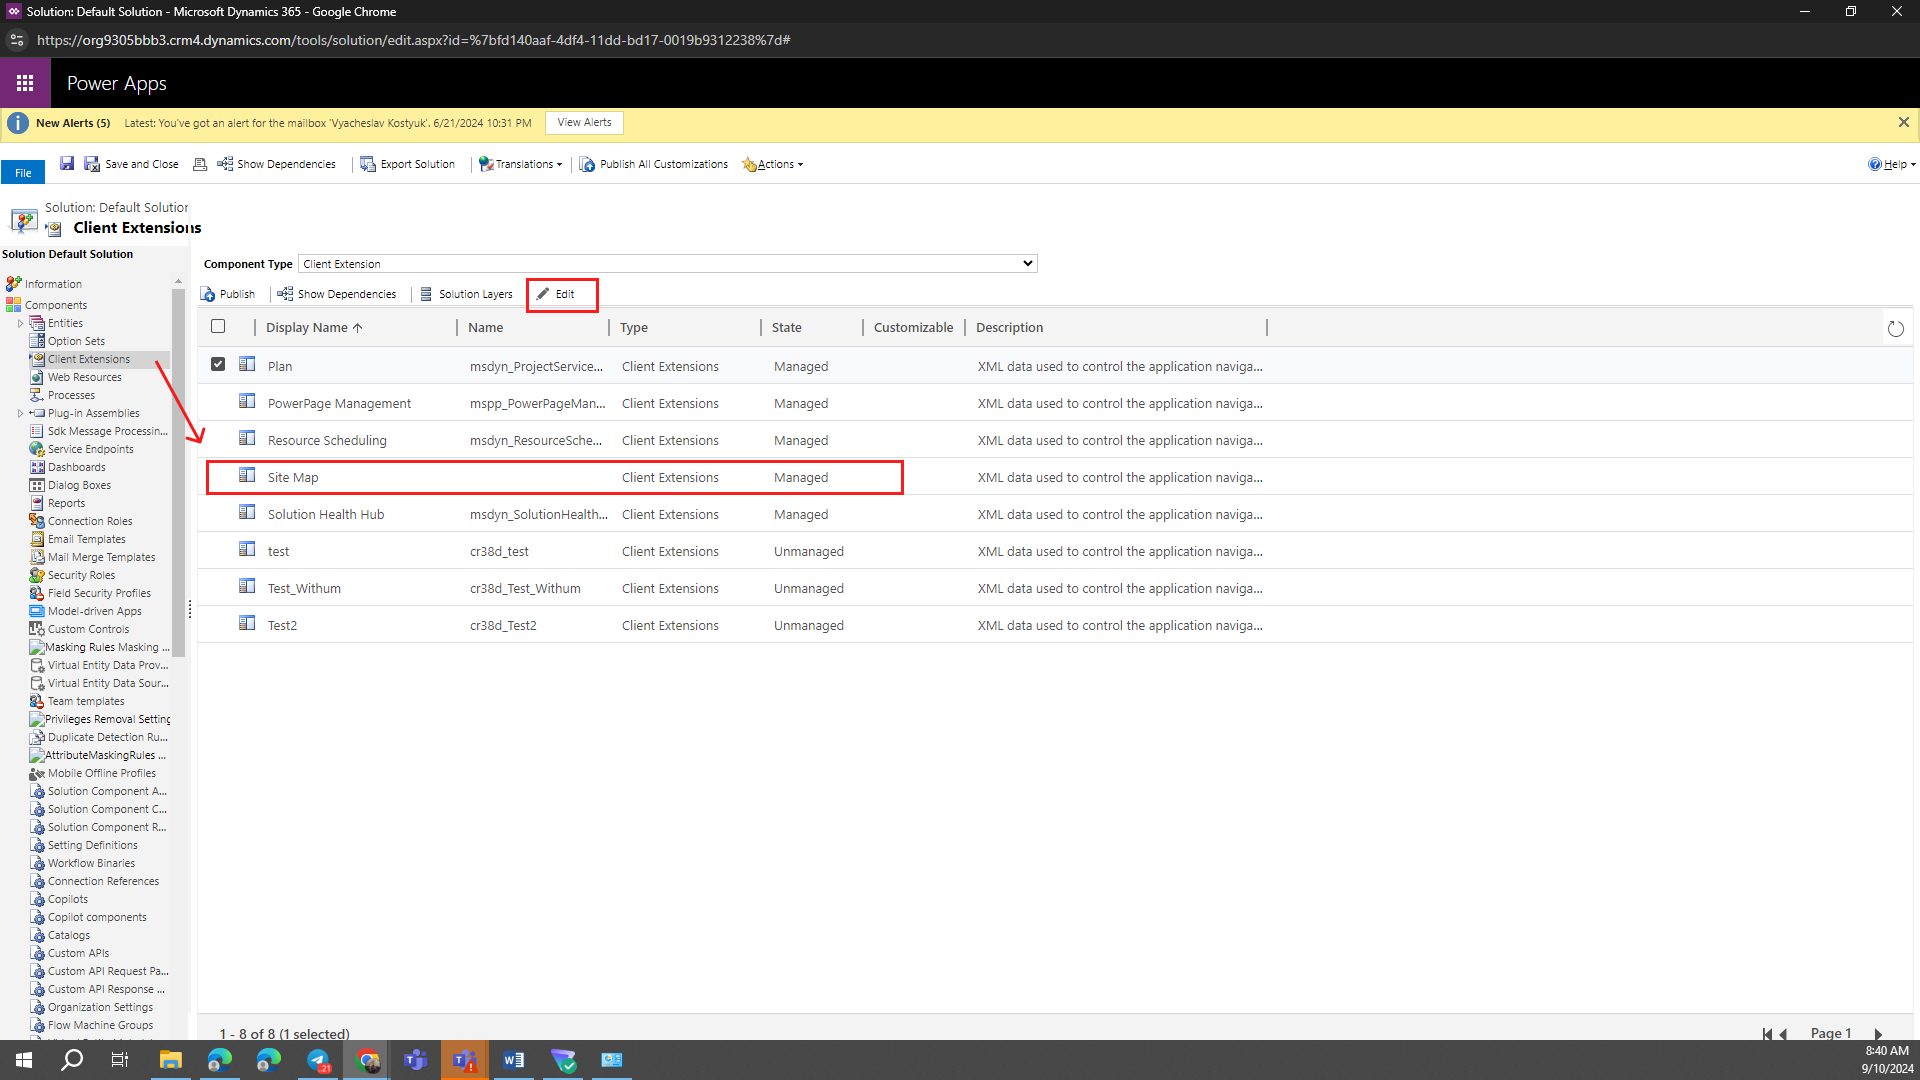
2. Find the Sitemap:
- Under Components, pick "Client Extensions."
- Locate the sitemap named "Site Map" in a "Managed" state. You can double-click it or limelight it and after that choose "Edit" from the toolbar.
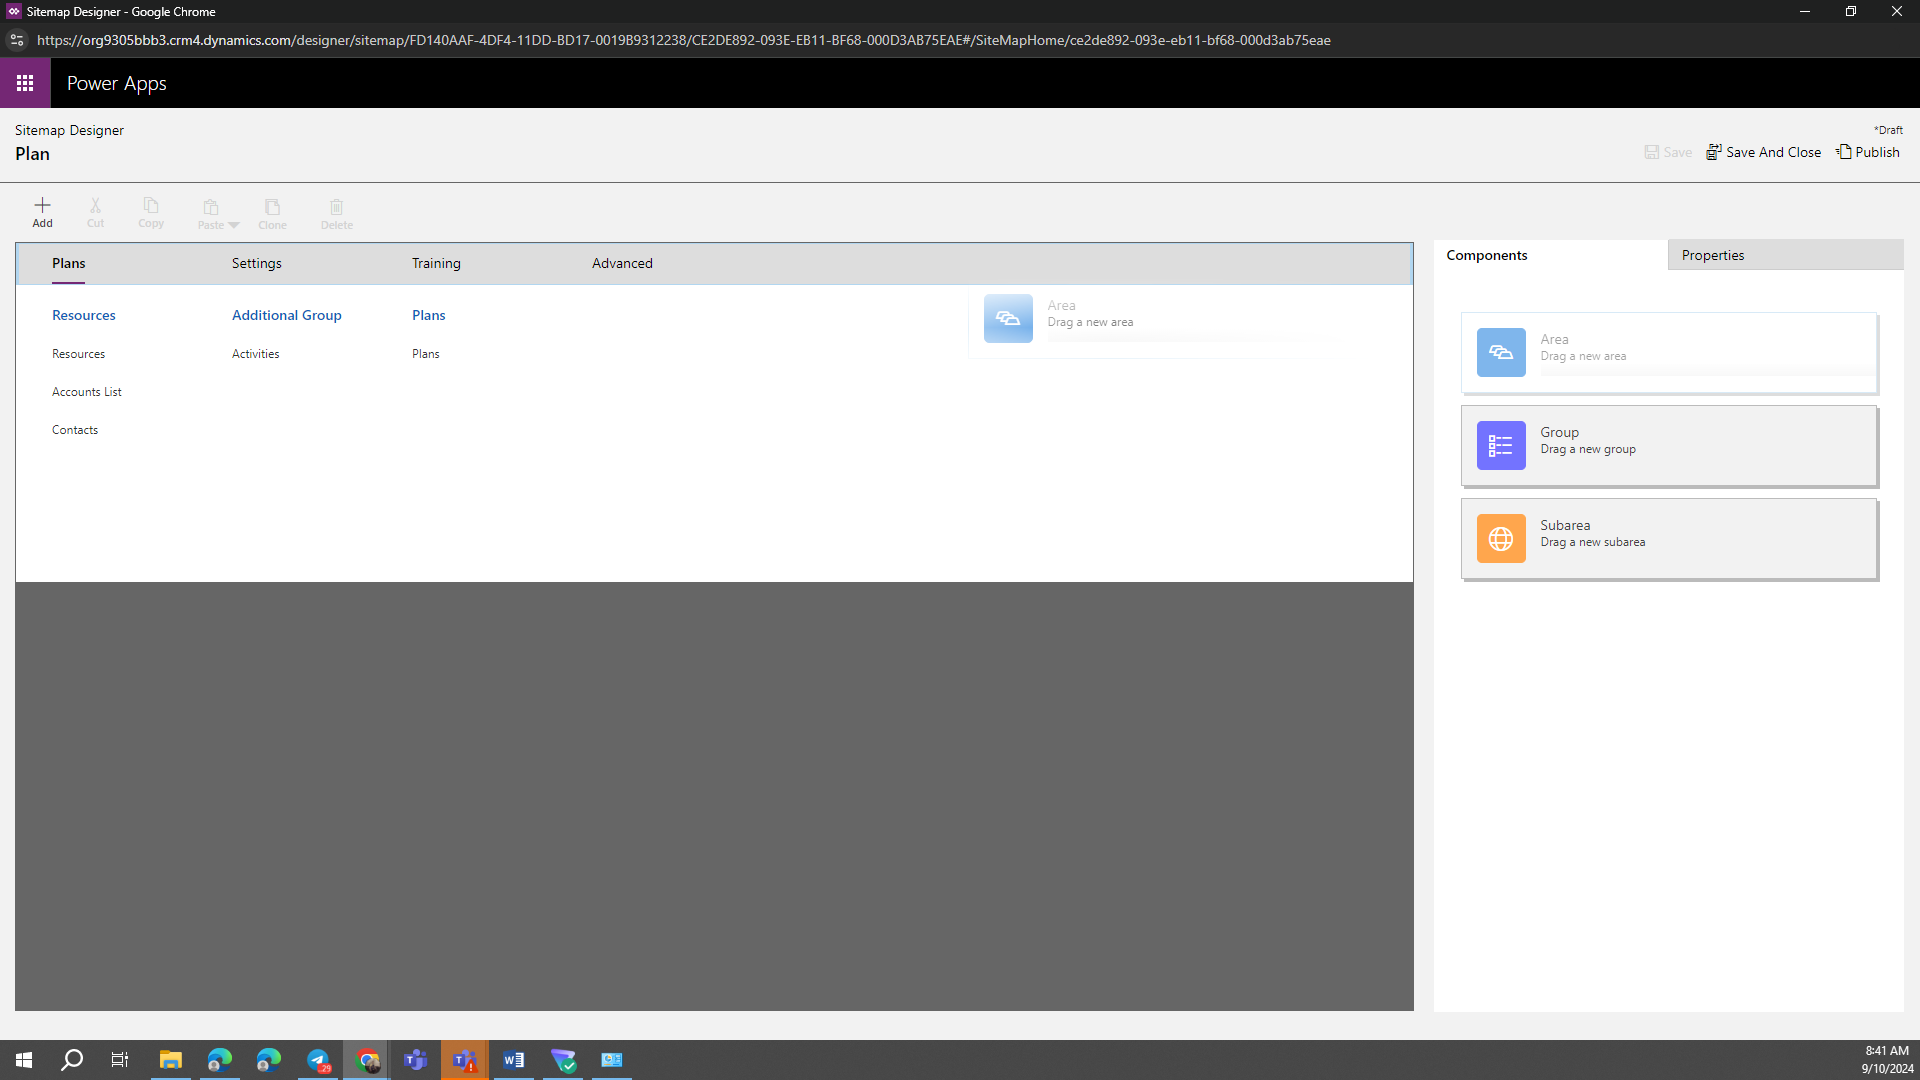
3. Edit the Sitemap in the Designer:
- Elect the area, group, or subarea tile to change its properties. Additionally, you can drag and drop items and change their positions.
- If you want to add a new item, then on the sitemap designer “Canvas”, select the place where you want to add the corresponding element. Then pick the "Add" button on the designer, and after that choose "Area/Group/Subarea." If you are working with a subarea, opt for what you are adding: a dashboard, entity, web resource, or URL.
4. Click on "Publish All Customizations" to save the changes and for your edits to take effect.
Summarizing
Customizing the sitemap in Microsoft Dynamics 365 lets organizations adjust the user experience to their unique demands.
Users can easily access essential functionalities by fine-tuning the navigation structure, increasing productivity and user adoption. Whether through Power Apps or the Advanced Settings interface, the ability to edit the sitemap empowers organizations to create a more intuitive and efficient Dynamics 365 environment.
By tailoring the navigation experience, companies can enhance productivity and streamline user interactions within Microsoft Dynamics 365.