Introduction
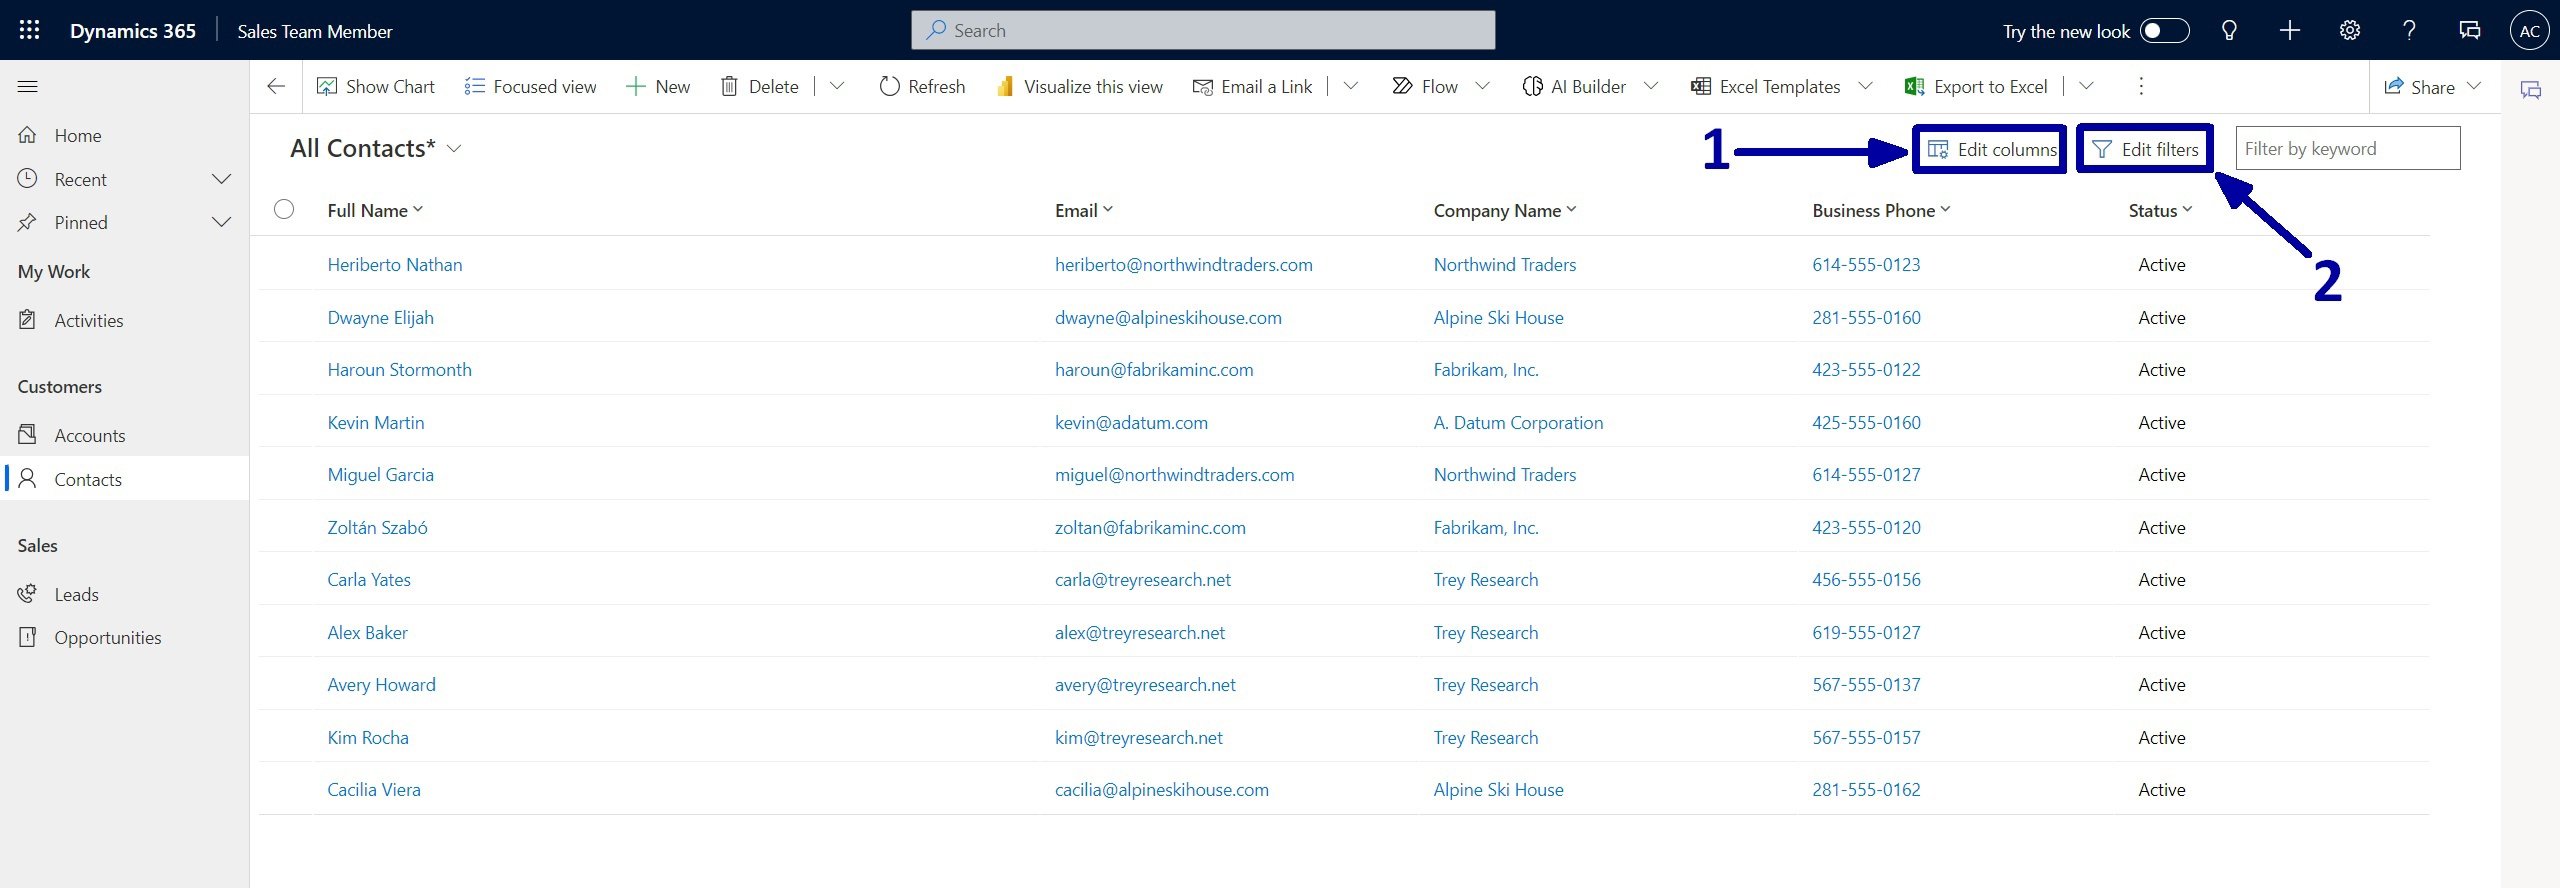
As you already know, when creating a personal view or temporarily modifying the current view, you often need to use two tools offered by Dynamics 365: Edit columns (1) and Edit filters (2).
This guide will show you how to edit filters in Microsoft Dynamics 365 to streamline your data searches effectively. Our earlier blog posts covered the "Edit columns" feature and personal view creation process.
The Requirement
In our example, we will use the 'All Contacts' view.
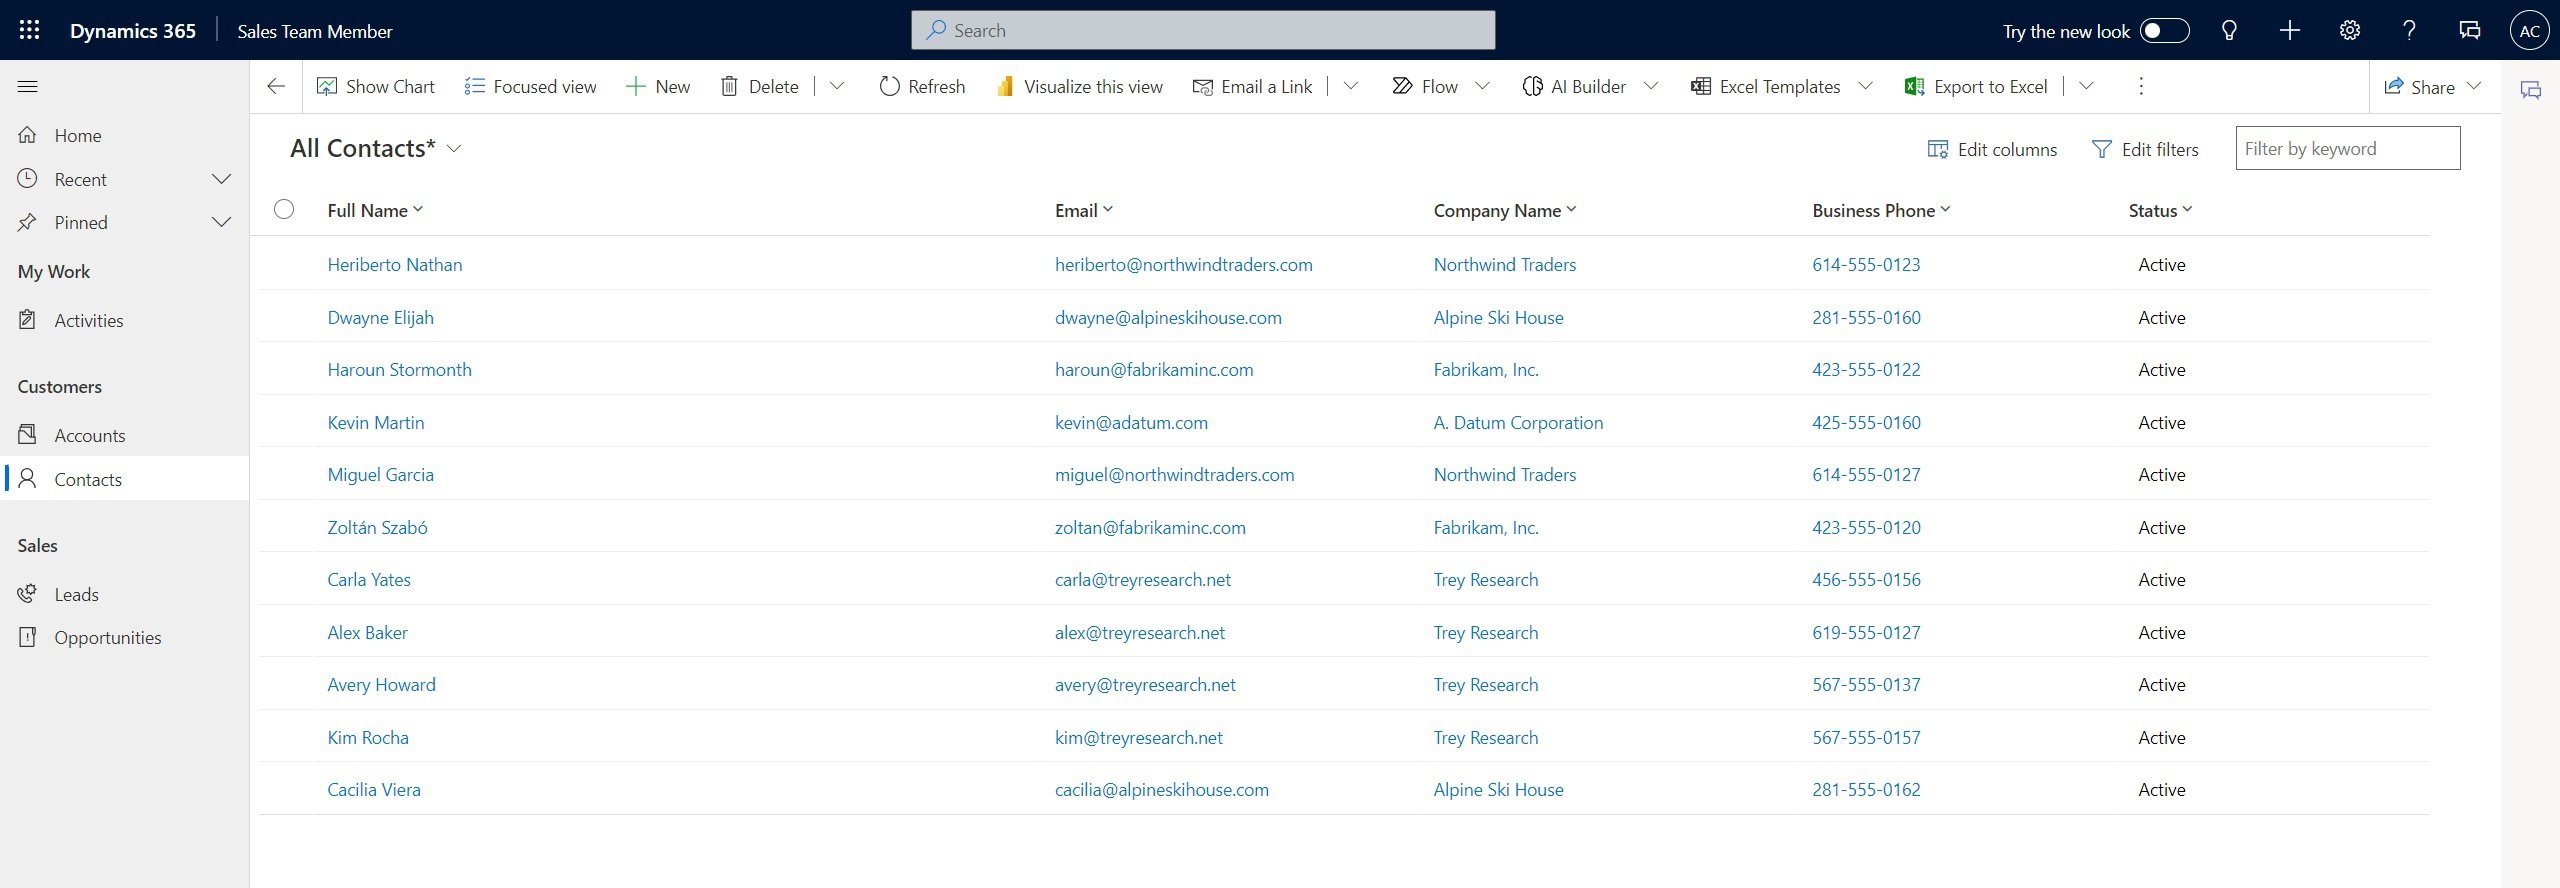
Let's imagine the scenario: your manager wants you to check one of the Contact records and gives you a handwritten note with some data about this contact. But on your way to the work desk, you decided to make yourself a coffee first and spilled some water on this note, so now it looks unreadable like this:

Now we know that this Contact's name starts with Alex, the Company name has "Re" in it, and the mobile phone number ends with 0129.
During this tutorial, we will create several filters to help you locate the required Contact in CRM without asking the manager.
How To Add Filters
The first step is to click on the "Edit filters" button (option 2 in the first image in this tutorial).
A large right sidebar will automatically open.
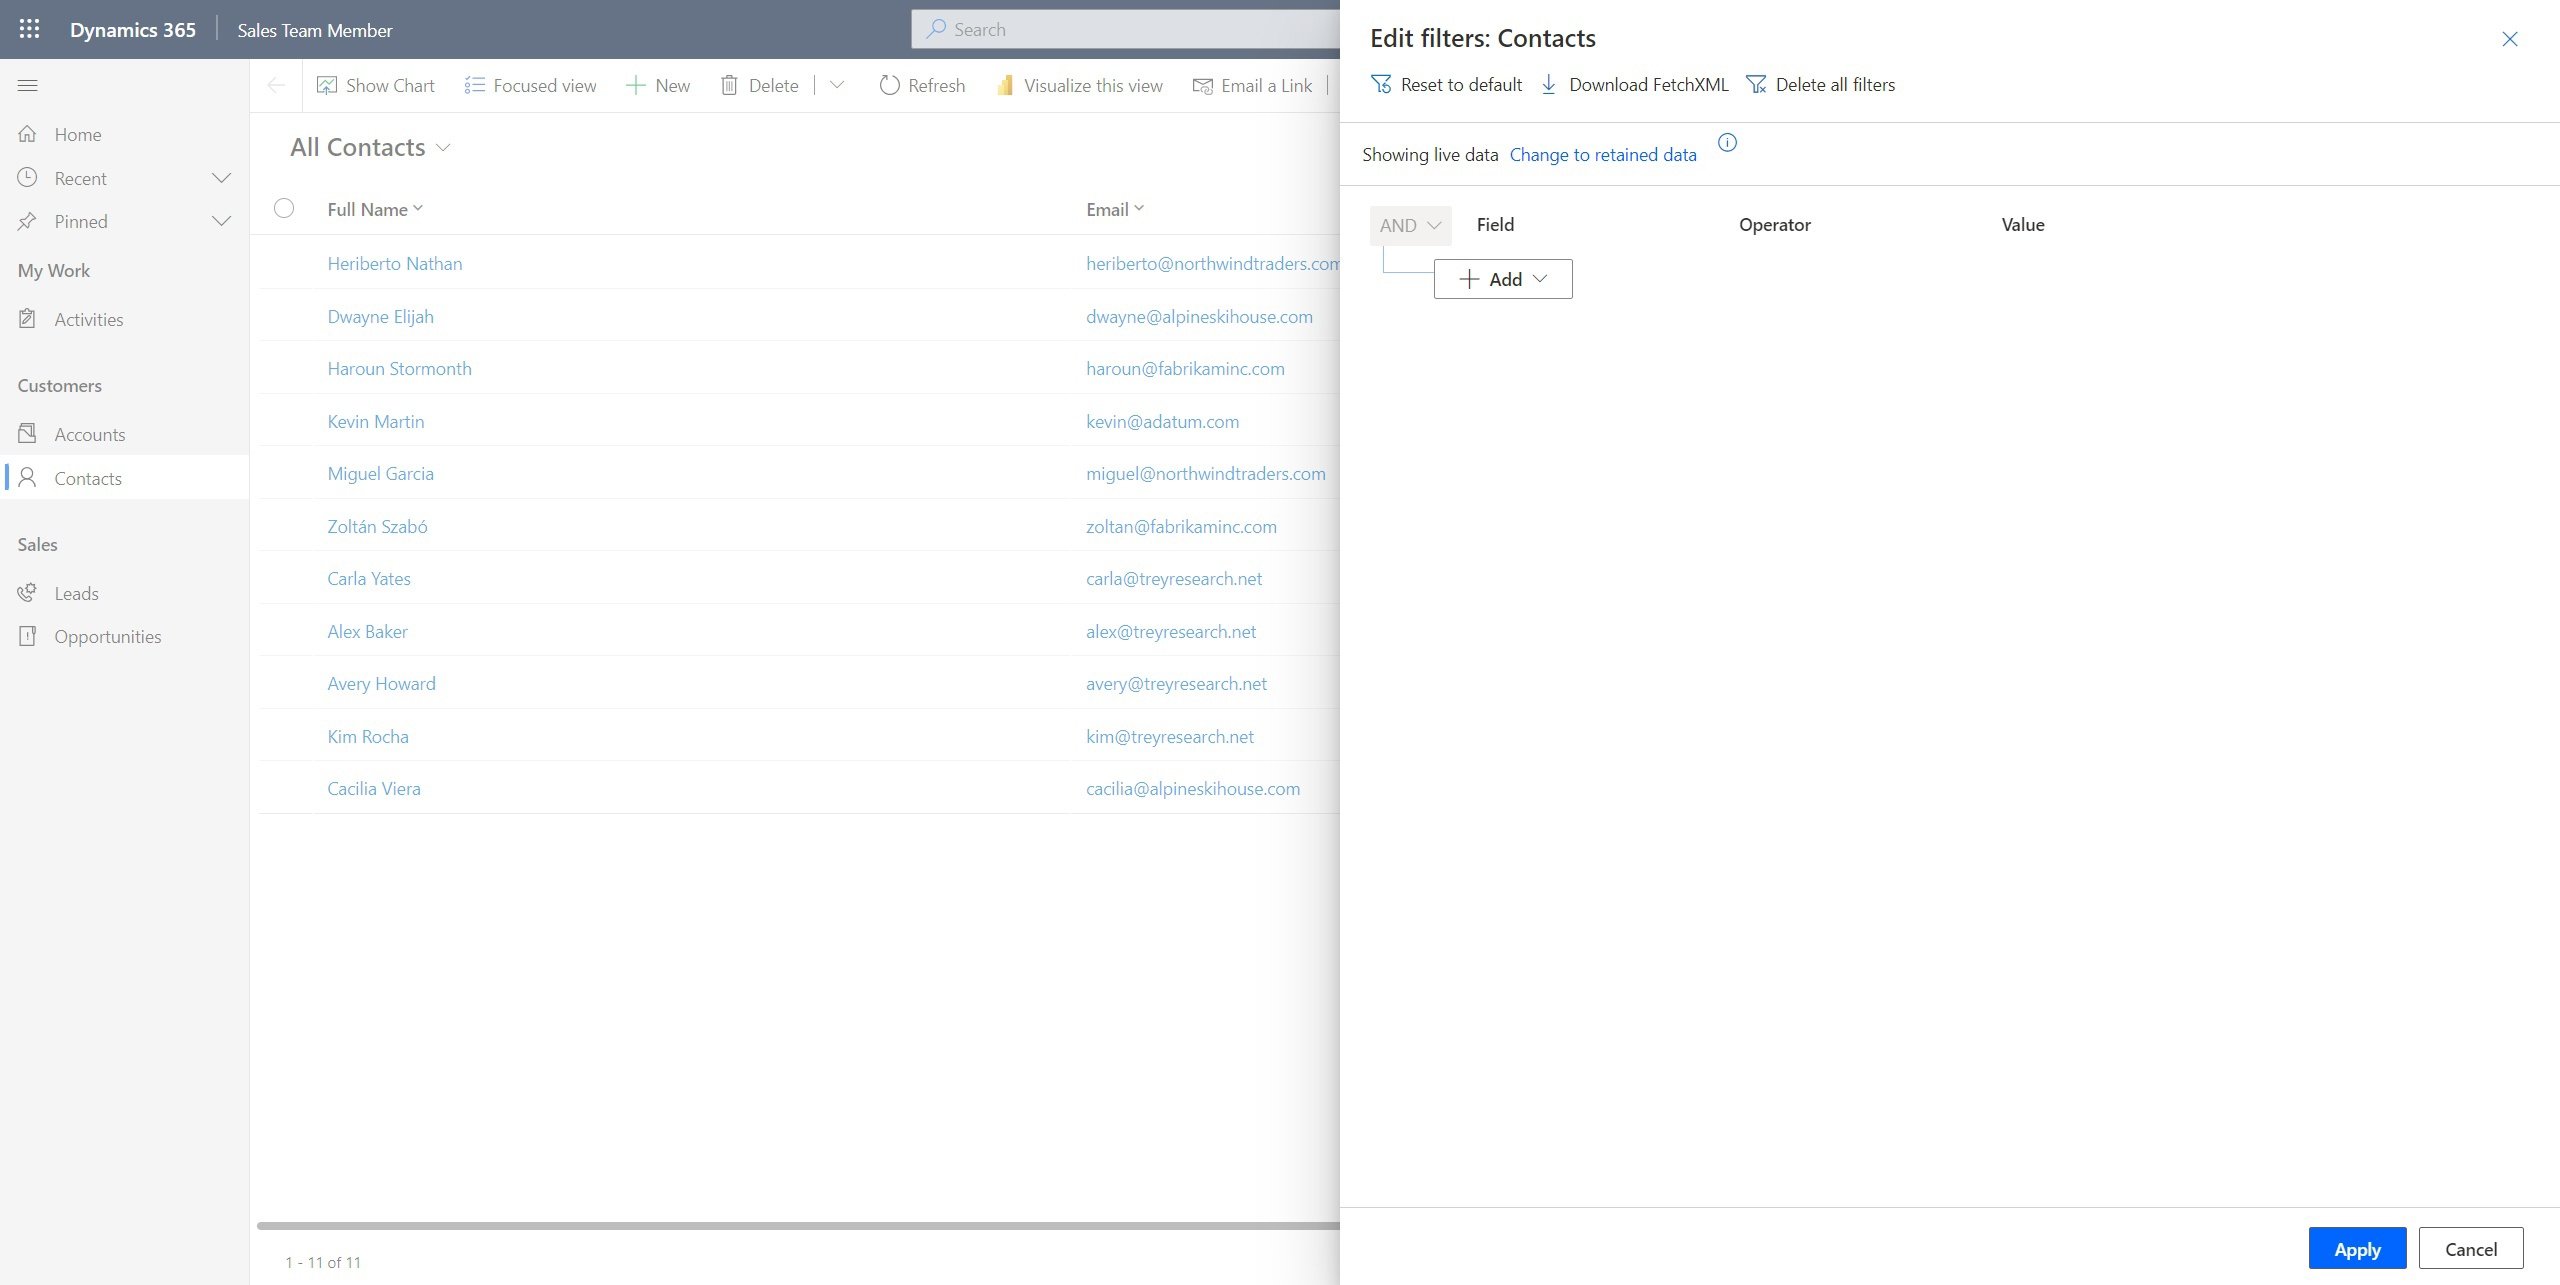
In our case, the 'All Contacts' view has no additional filters applied, and the sidebar also contains no filters.
Now, let's create a filter to help you locate Contacts with Alex as their first name.
To do so, open the +Add dropdown (3) and select the "Add row" option.
In the dropdown, you can also find the "Add group" option, which is helpful for creating OR/AND conditions, and the "Add related entity" option, which is required to create conditions based on related entity data.

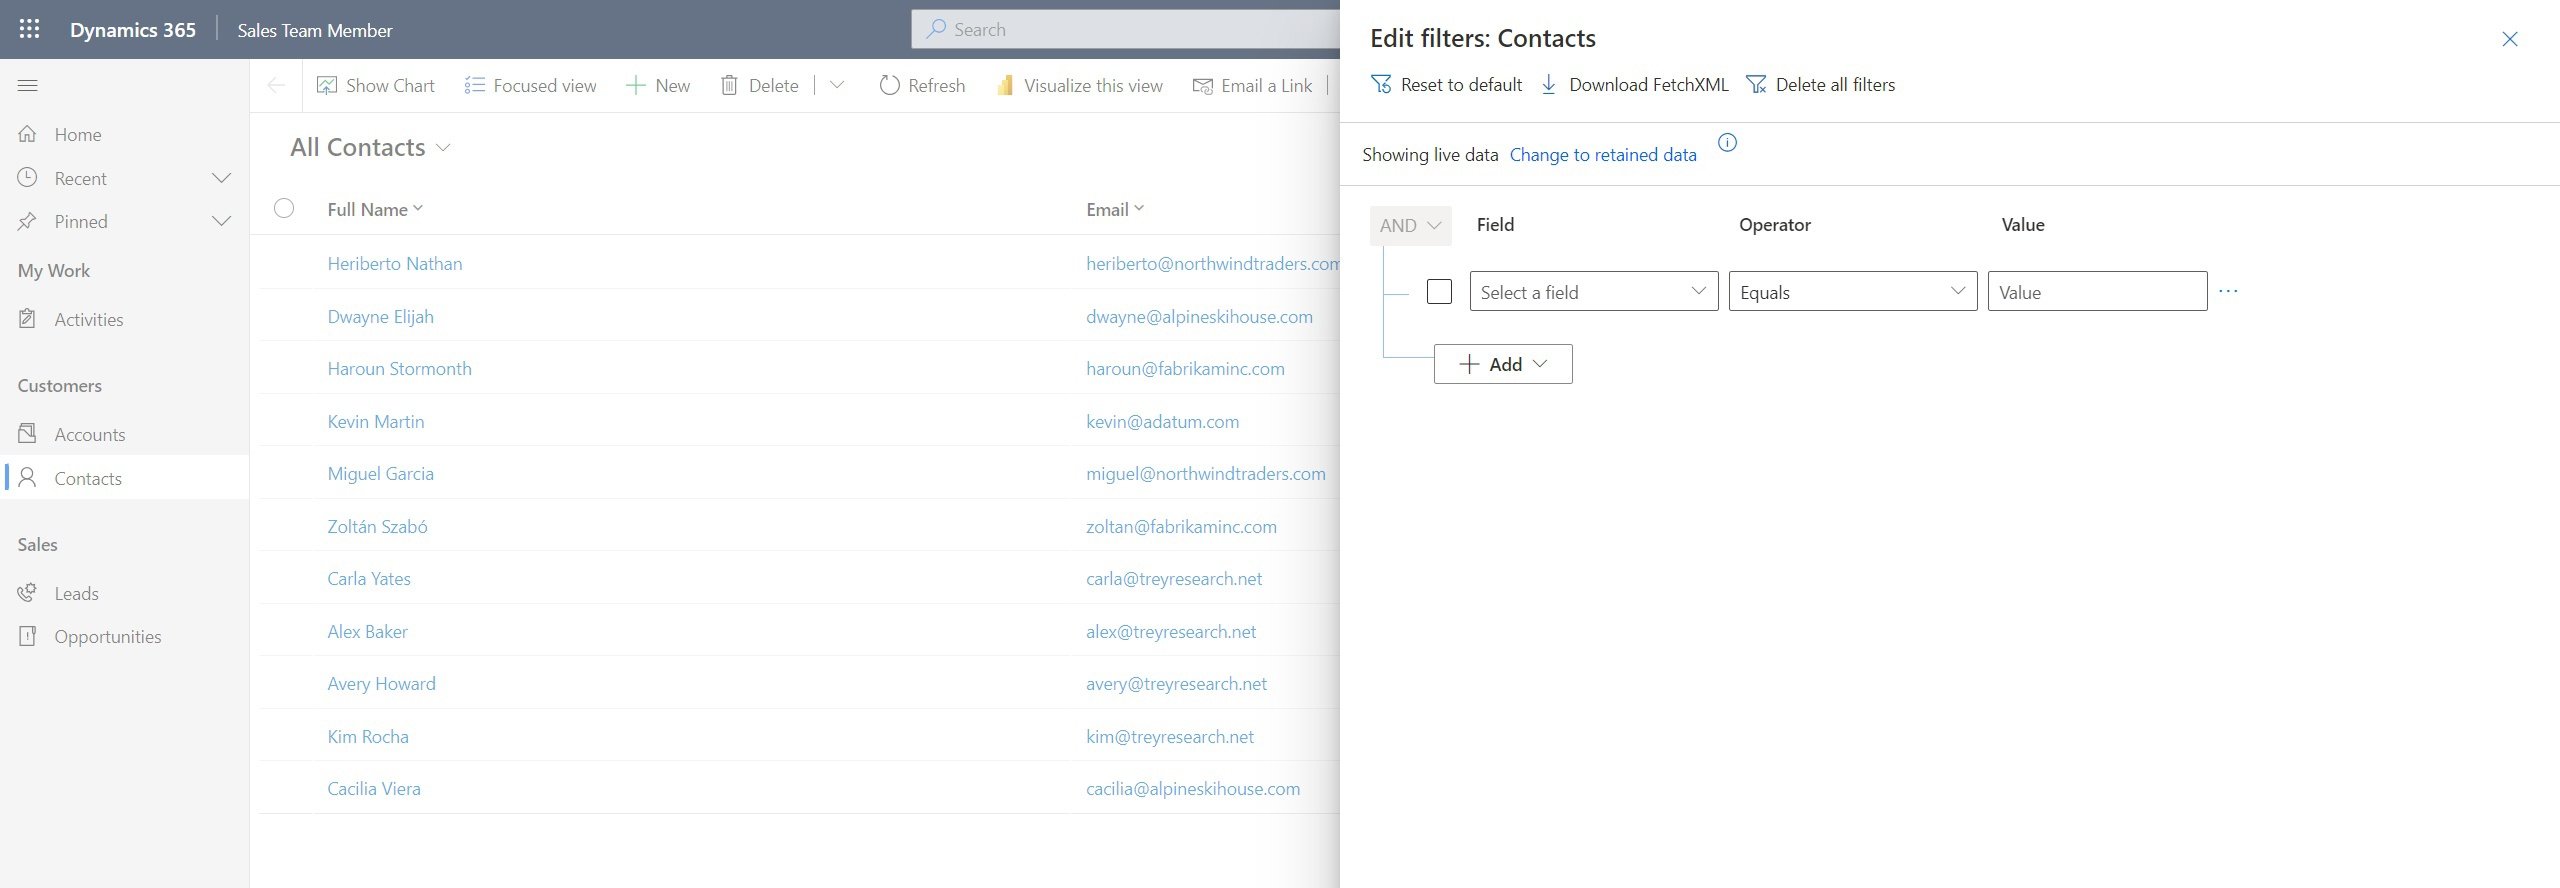
After that, you will get an empty filter template.
The first field needs to be selected, the second needs to select the operator (equals, contains data, etc.), and the final field needs to contain the data we are looking for.
In our example, we need to find a Contact whose name starts with Alex, so our first filter should look like this:
Now let's add a second filter for the Company Name that should contain "Re" as a part of it:

The third filter you need is the one about the Mobile Phone field that ends with 0129.
After that final filter is added, click the 'Apply' button (5) at the bottom right corner.

As a result, you will get your mysterious Contact record.
Please note that the Mobile Phone column is not present in this view, so do not mistake it for the present Business Phone column.
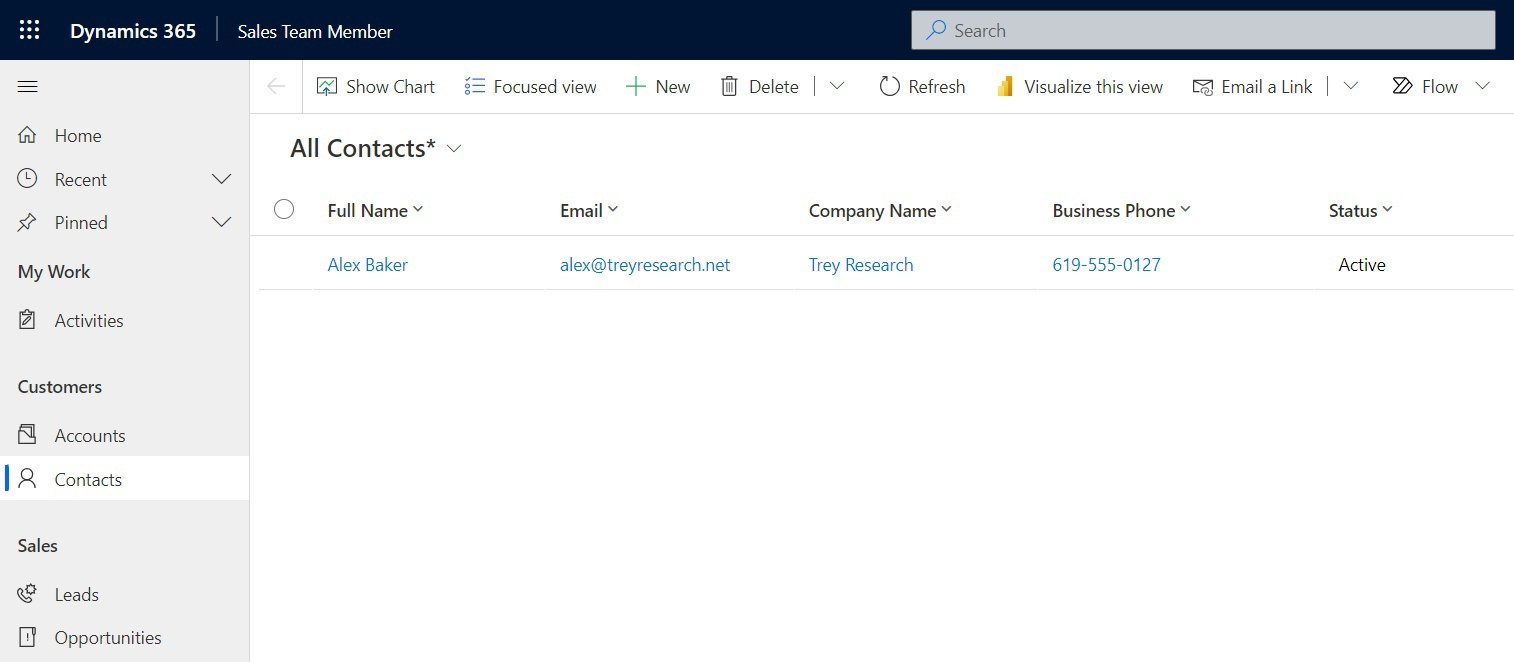
If you need to adjust current filters, just click on the "Edit filters" option again, and all your filters will be displayed.
I need to mention that different types of fields have different Operators available. As an experiment, add the CreatedOn field to the filter and check the available Operator options.
That's it!
Conclusion
The "Add filters" functionality in Dynamics 365 CRM serves as a powerful tool for users to refine their searches and streamline their data management processes. By applying specific criteria or conditions, users can precisely tailor their queries to extract relevant information, enabling them to make informed decisions and take targeted actions. Whether it's in generating reports, creating views, or analyzing data within dashboards, the ability to add filters empowers users to extract actionable insights from their CRM data swiftly and efficiently. Embracing this feature enhances user productivity, improves data accuracy, and ultimately contributes to the overall success of CRM implementations.
Remember, changes made to the view are not permanent. To retain modifications, create a personal view.

